Late Production Tiger 1 Project

For you guys who don´t understand Swedish or just prefer English.
User avatar
Kent W
Medlem
Medlem
Posts: 719
Joined: August 27th, 2008, 9:31 am
Location: Luleå

Post by Kent W »

Hi my friend,

We see the birth of another stunning build of yours and my mouth keeps drawling.
You know my love for the Late Tiger I and it is pure porn to watch your photos... :D

Those bump stops is it the final cast metal ones or the prototype resin ones?
Looks stunning and I doubt they can be made better then this.
The cast numbers are perfectly made, I simply love them.
I hope they will be available for sale in the future, well worth waiting for!
Combined with Steve’s castle nuts the 1:1 look is there for sure.

Kind regards
Kent

TBowman
Medlem
Medlem
Posts: 186
Joined: November 23rd, 2010, 11:43 pm
Location: Northern California
Contact:

Post by TBowman »

Thank you all for your friendly support. It is very nice and appreciated.
cahlfors wrote:
There are a couple of things that I wonder about: It looks like you are using square standoffs for the exhaust shields. Did you make them yourself? How? The hoist support collars on the front deck - did you make them truly vertical? How did you do that?

/Chris
Hi Chris, The standoffs for the heat shields are the same ones that are for the side fenders. My kit did not come with enough for the rear plate and some extras were sent to me from a friend in the UK. They would be easy enough to make and in fact, Steve Winstone's Jack brackets have a few that come with it so perhaps he would sell the standoffs separately? If not, I will check how many I have left and would be happy to send them to you.

Good eye on the hoist points. I simply milled new holes on the front deck so they would sit correctly, parallel to the ground.

Hi my friend Kent, The stops in the photos are some extra patterns I have and wanted to keep the build moving along so they are place-holders for the moment. I have spoken to Steve Winstone several months ago about possibly having him do the casting and sales of the stops since I simply do not have the time to spend doing that when I would rather spend my free time with the builds themselves and am more interested in getting onto the next detail parts...interior details??? :D

Zimmerit coming soon.
regards
Tim

TBowman
Medlem
Medlem
Posts: 186
Joined: November 23rd, 2010, 11:43 pm
Location: Northern California
Contact:

Post by TBowman »

Thanks guys

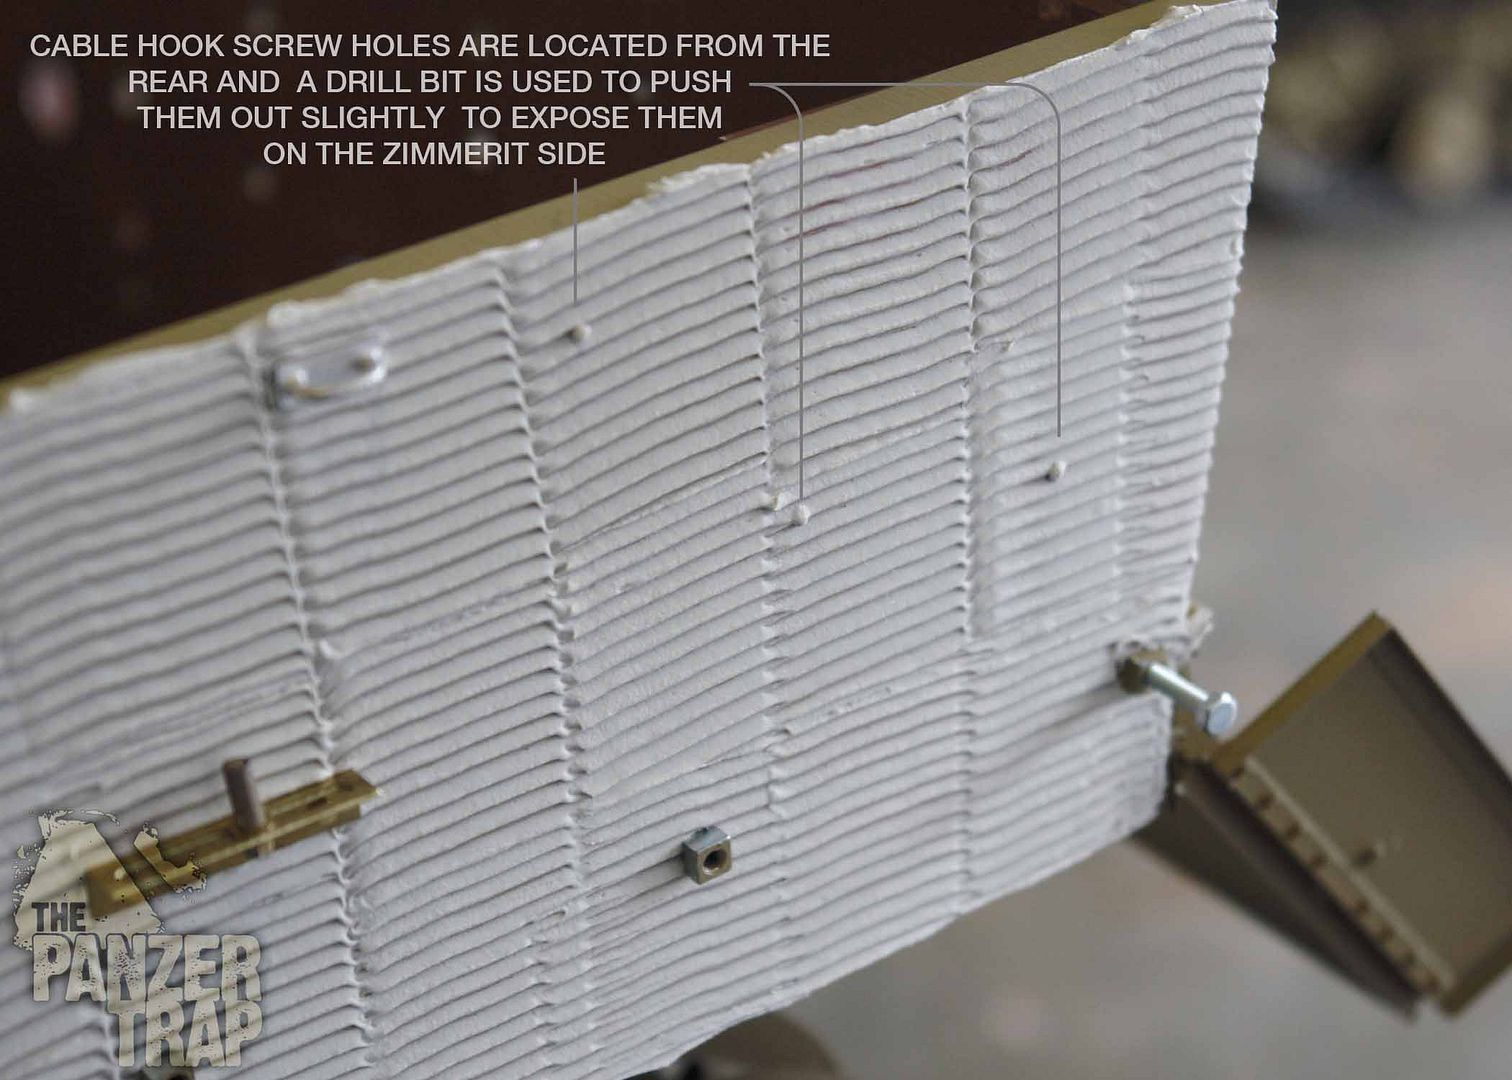
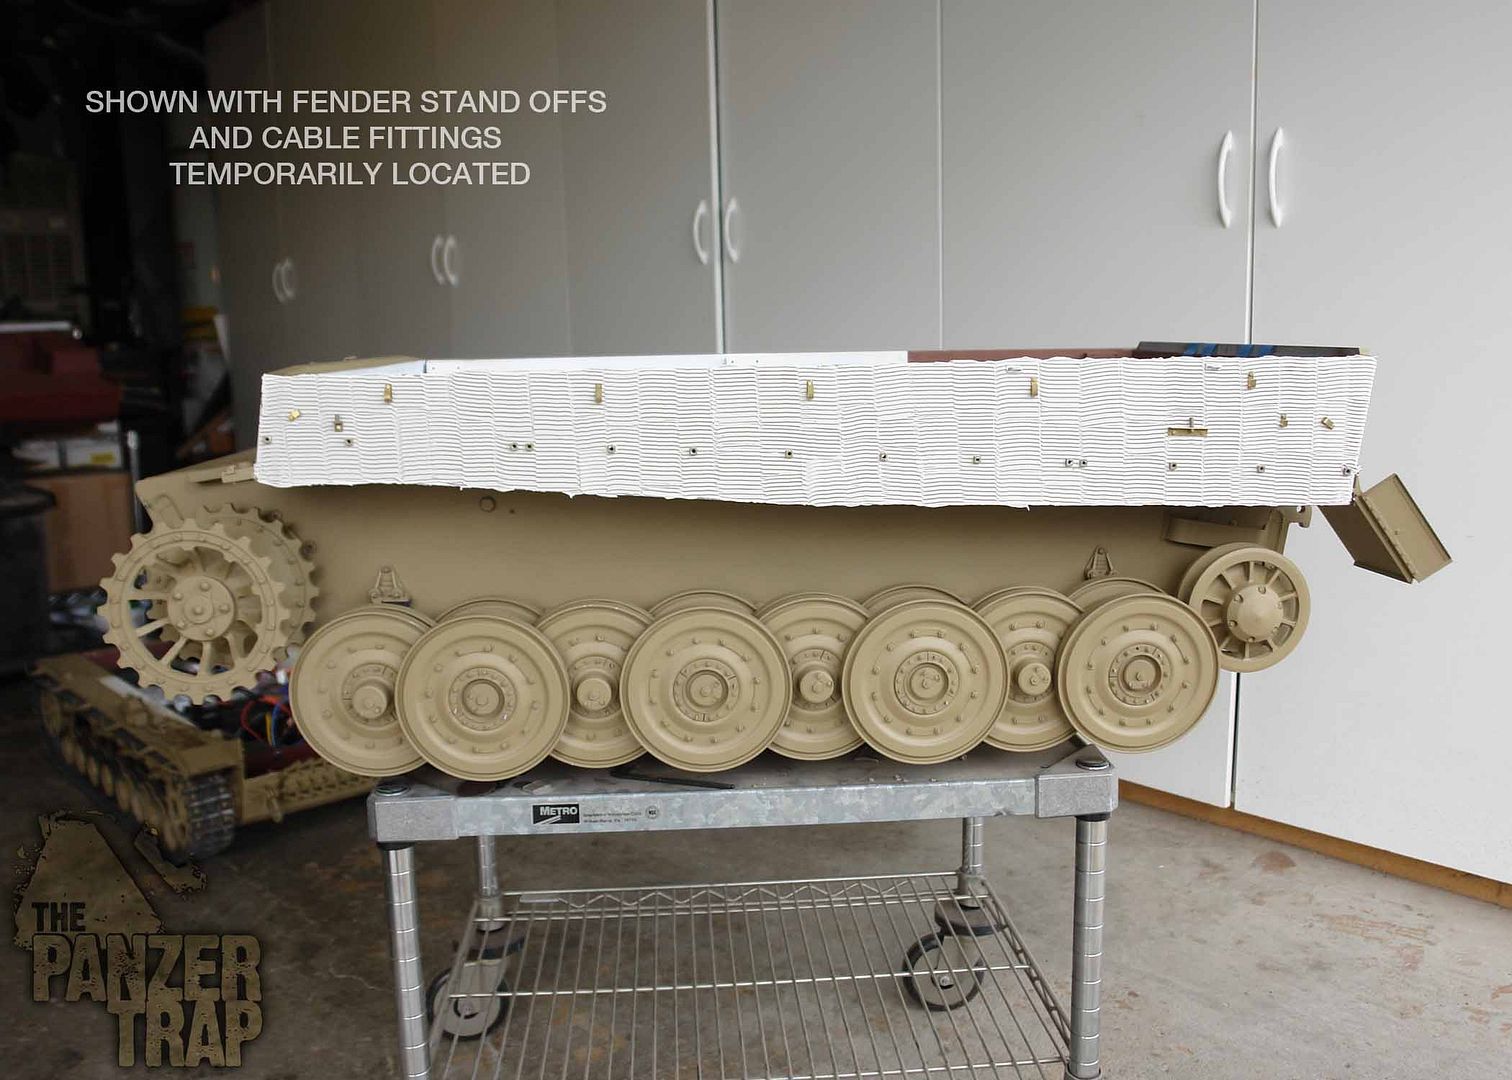
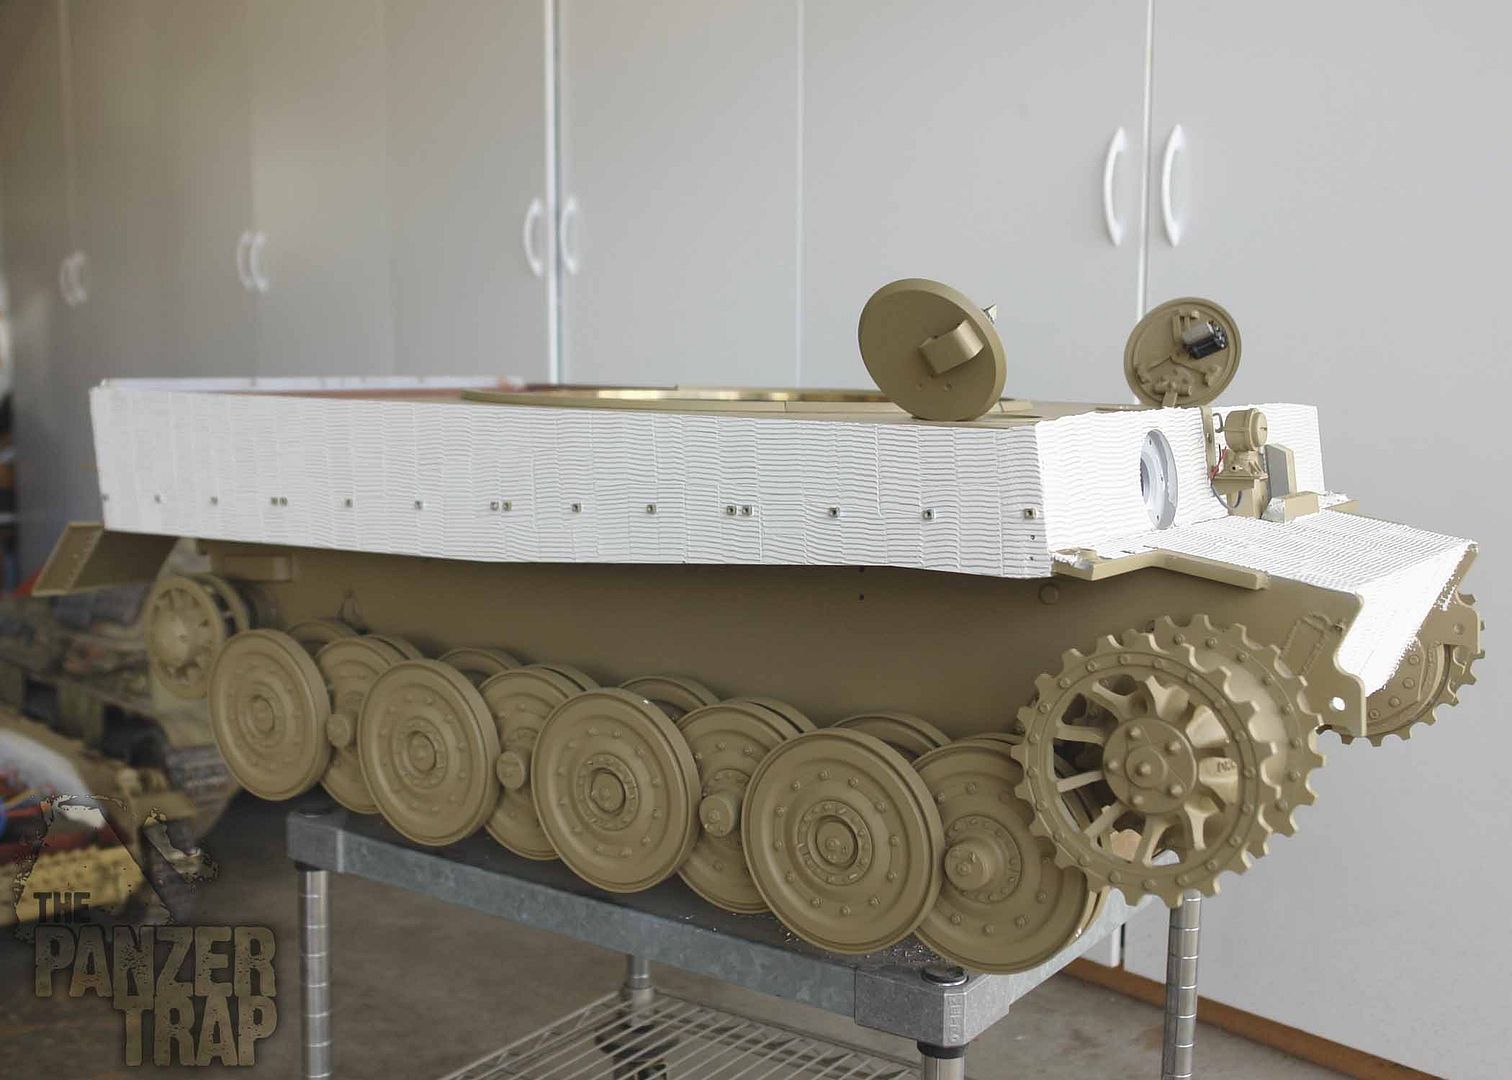
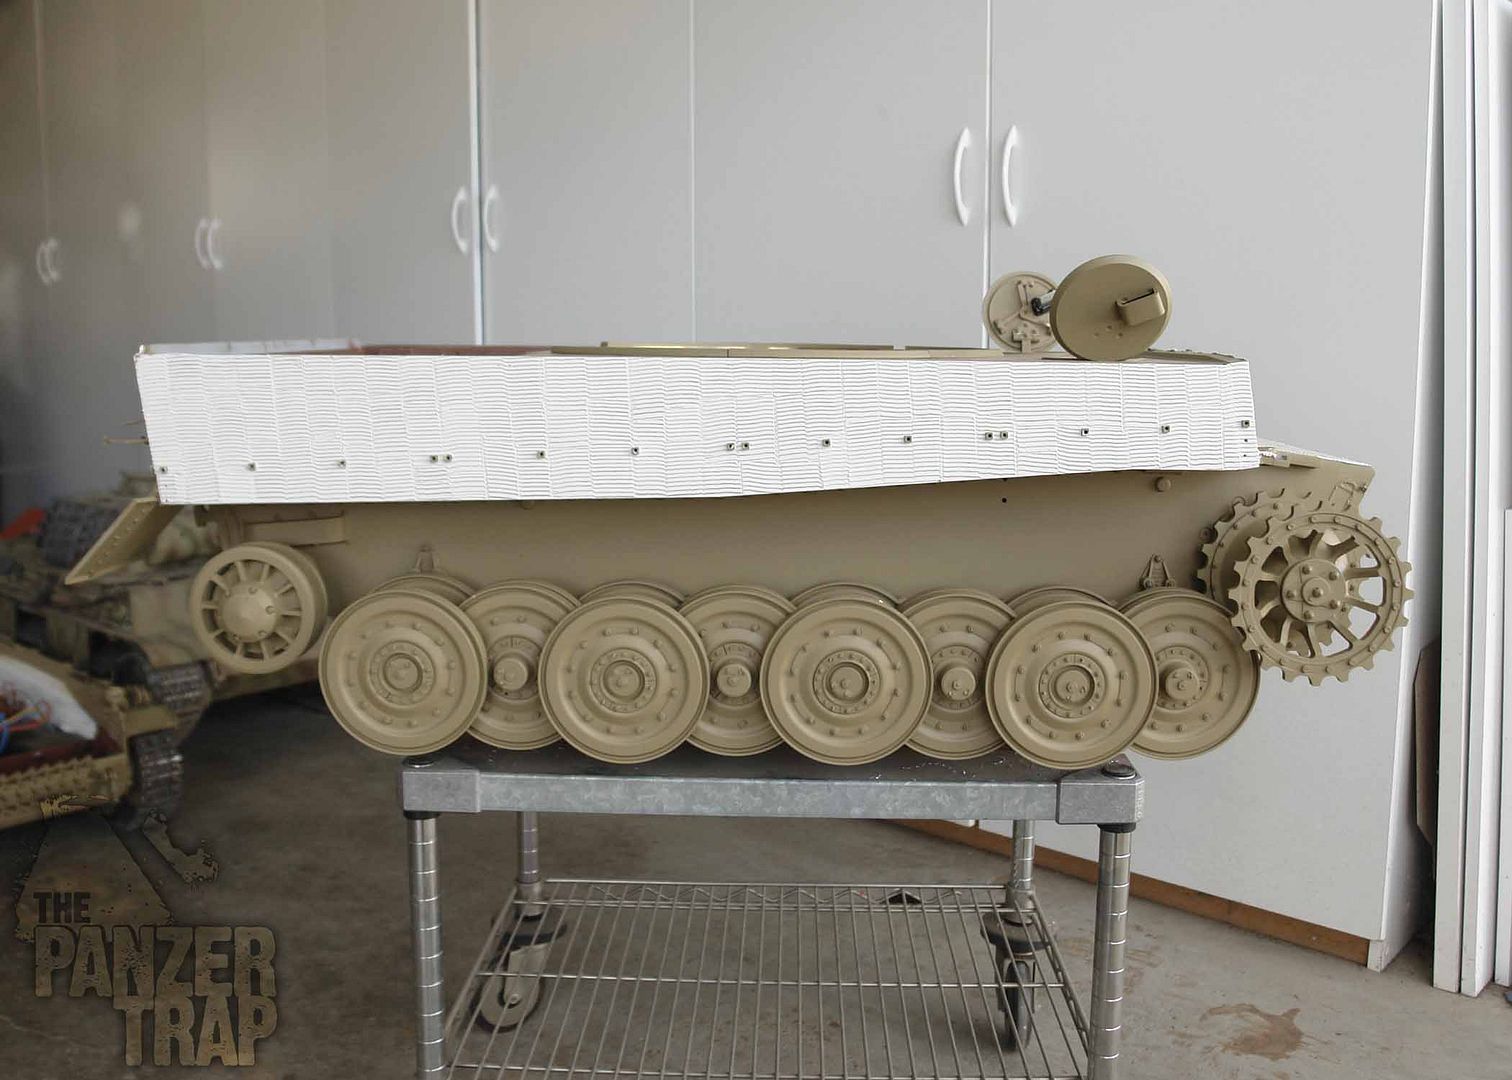
Finally found some time to apply one side of zimmerit on the Tiger. First, all the cable brackets were positioned and temporarily fitted to locate the holes that needed to be drilled. Once that was done, I could begin.

This is the lazy mans way to do with stand offs and hardware removed. I have done it both ways and chose to do the Tiger this way to keep it simple. The scale of the material makes it hard to get a scale look around finer details without a giant blob forming right where you don't want it.

Here's the tools and material I use.

I know many who make their own tools or use saw blades to make the zimmerit pattern but Mike has done a nice job replicating the correct profile of the teeth(and in various sizes). For my Panther, I used a smaller tooth pattern as this is what I observed while researching Panther factory applied zimmerit. The Tiger will use a larger version and I also used it on my Panzer IV already. I'll get into it more when I post the photos and will include some side by side comparison of the patterns.

Again, this is only meant to show what I have found to work for me and not the 'end all' material or method.

The tools and material
Image

Image

Image


Step One

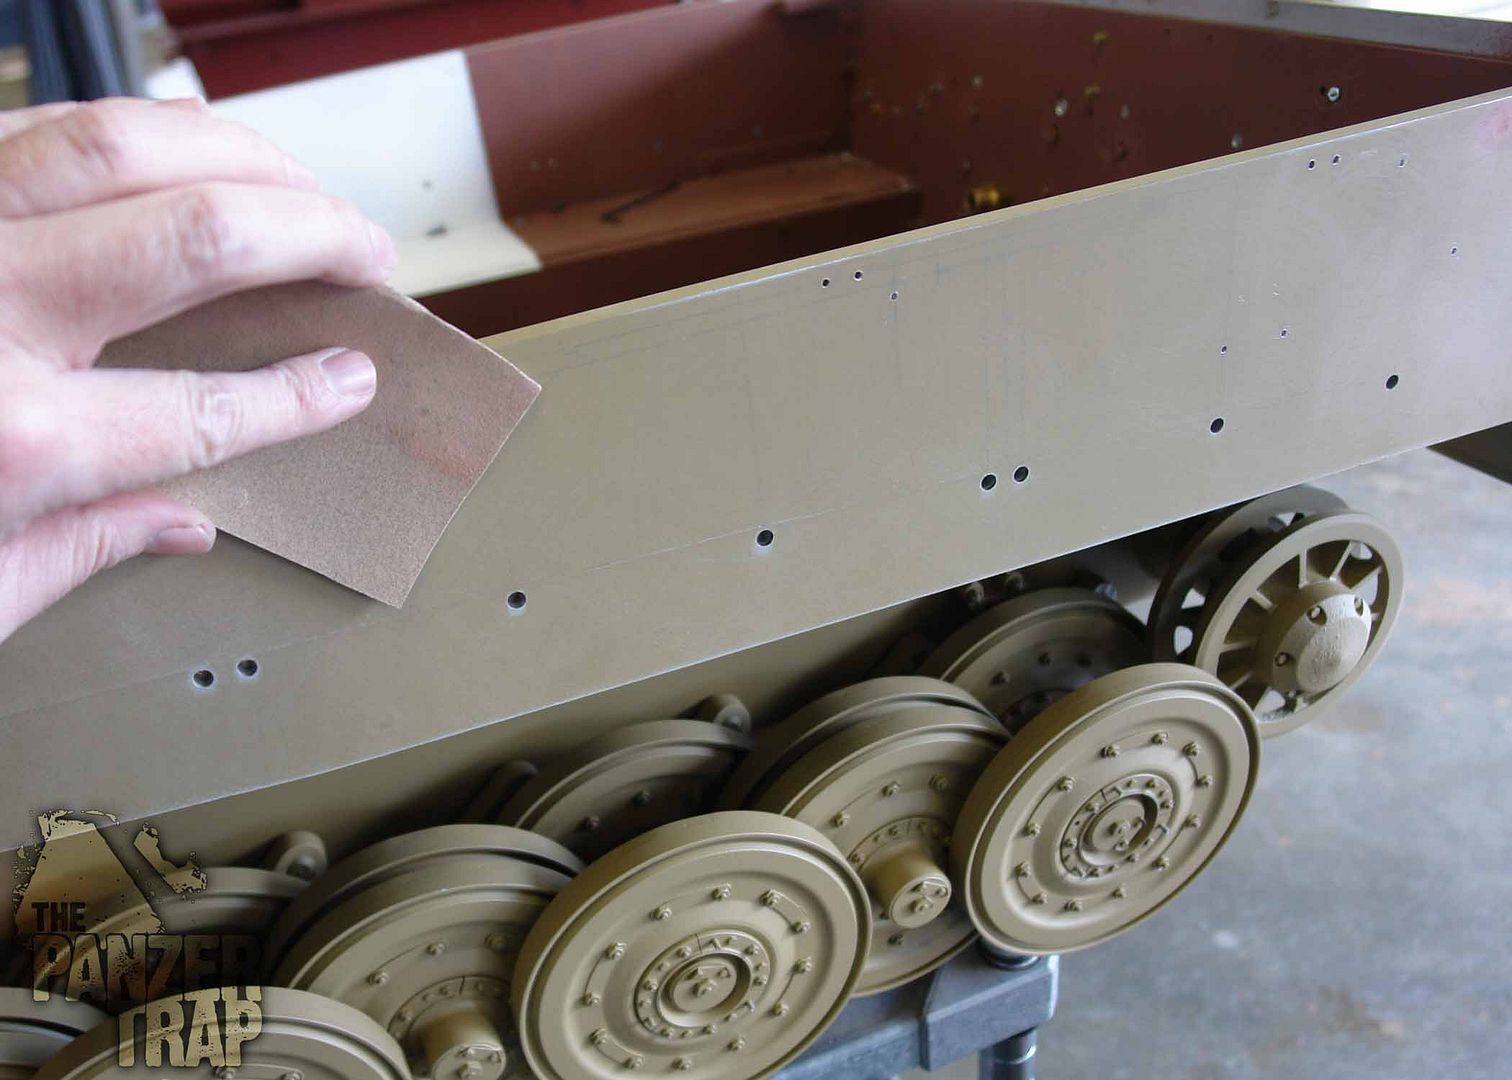
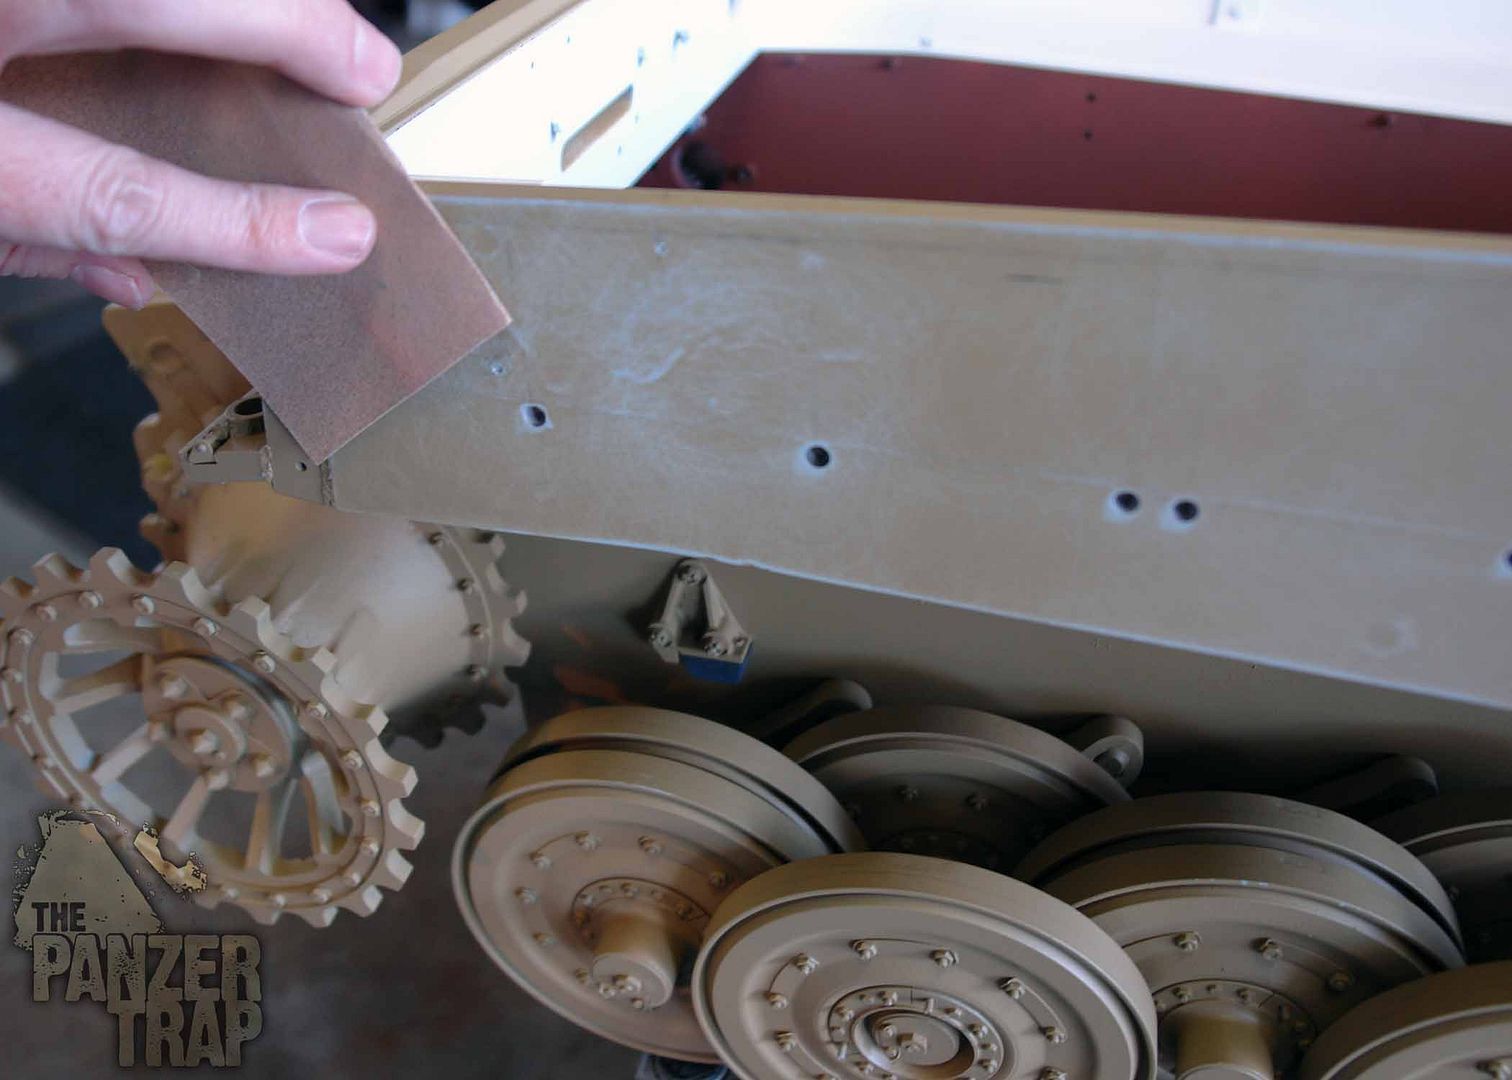
Lightly sand all areas that will be receiving a coat of zimmerit. I don't go crazy, just rough it up a bit. For this, I used 150 grit sand paper because it was the first thing I grabbed. Normally I would use a 240 or something. Not important. I also keep a small container of water near by and some paper towels to occasionally clean off the tools. For the most part, excess can simply be scraped off into the container as needed.

The tools can be used at various angles to achieve a deep or shallow pattern. I guess I hold it at a near 45degree as I use it.

Image

Image

Step Two

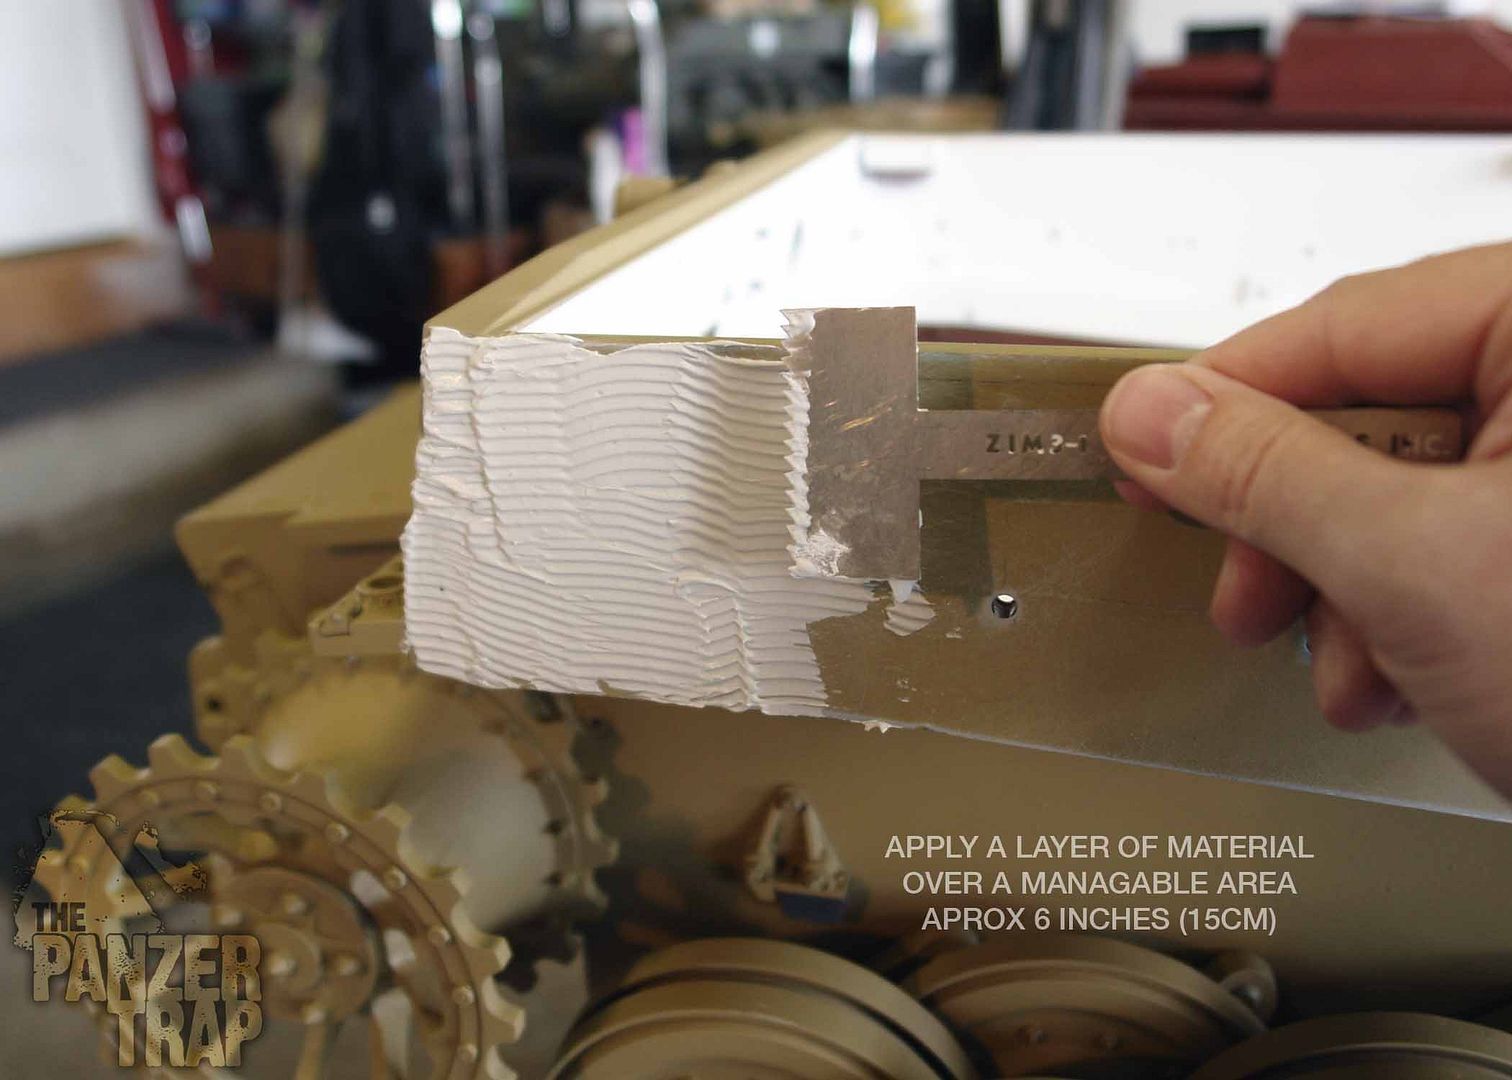
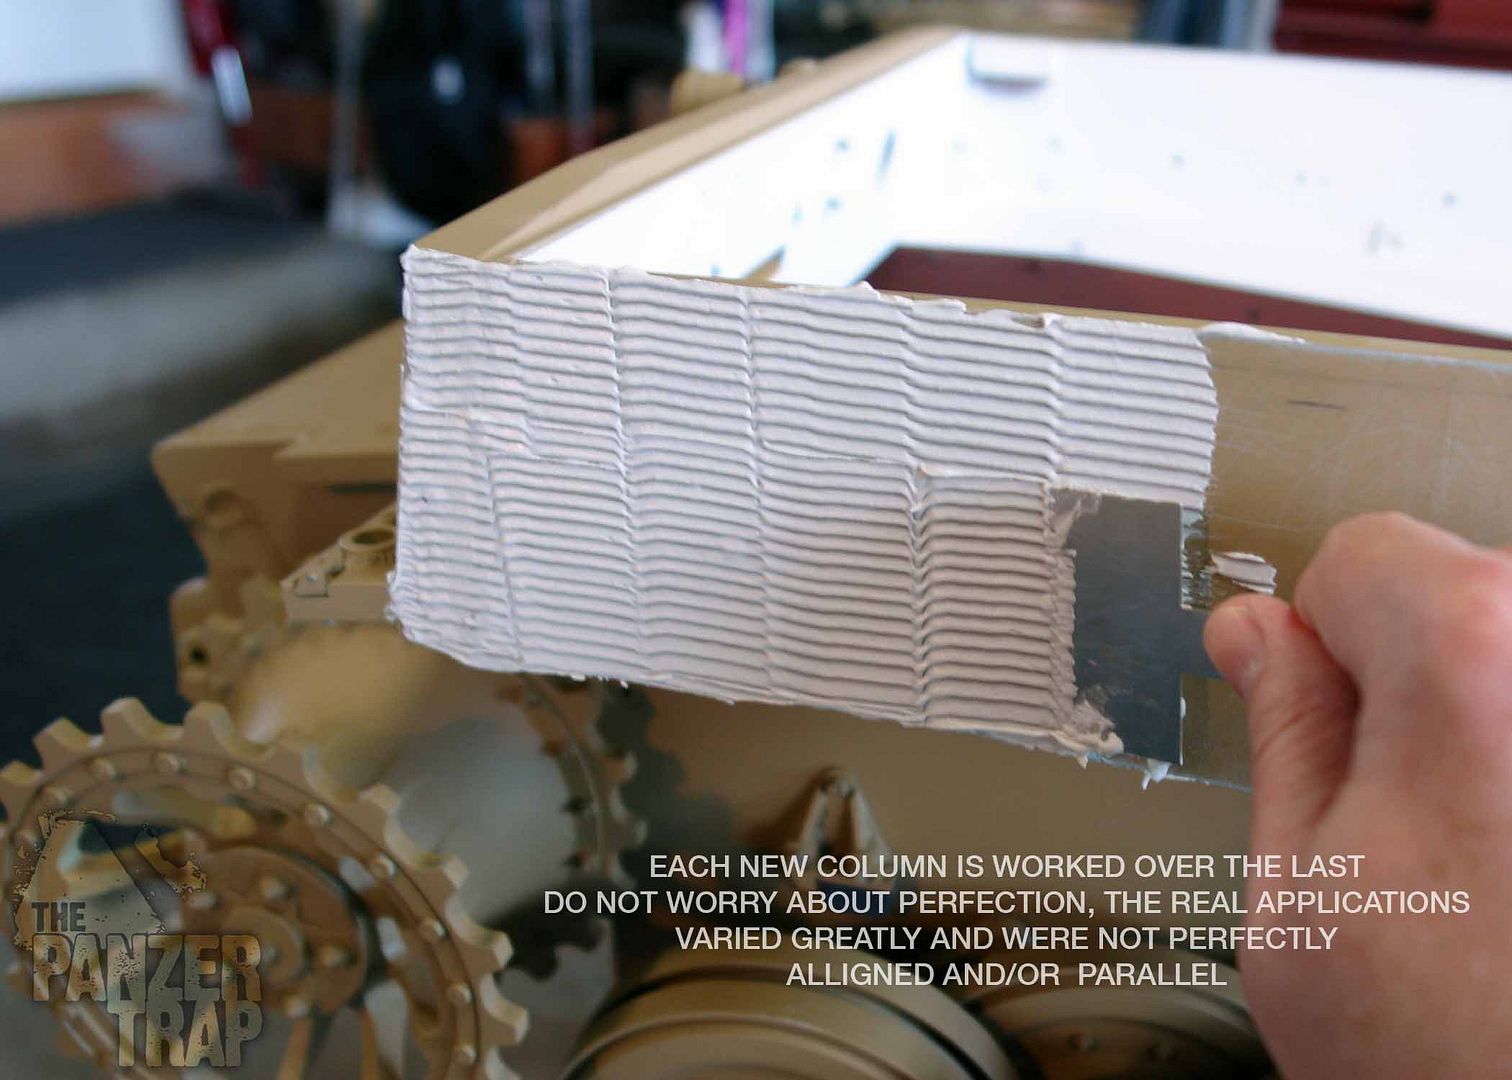
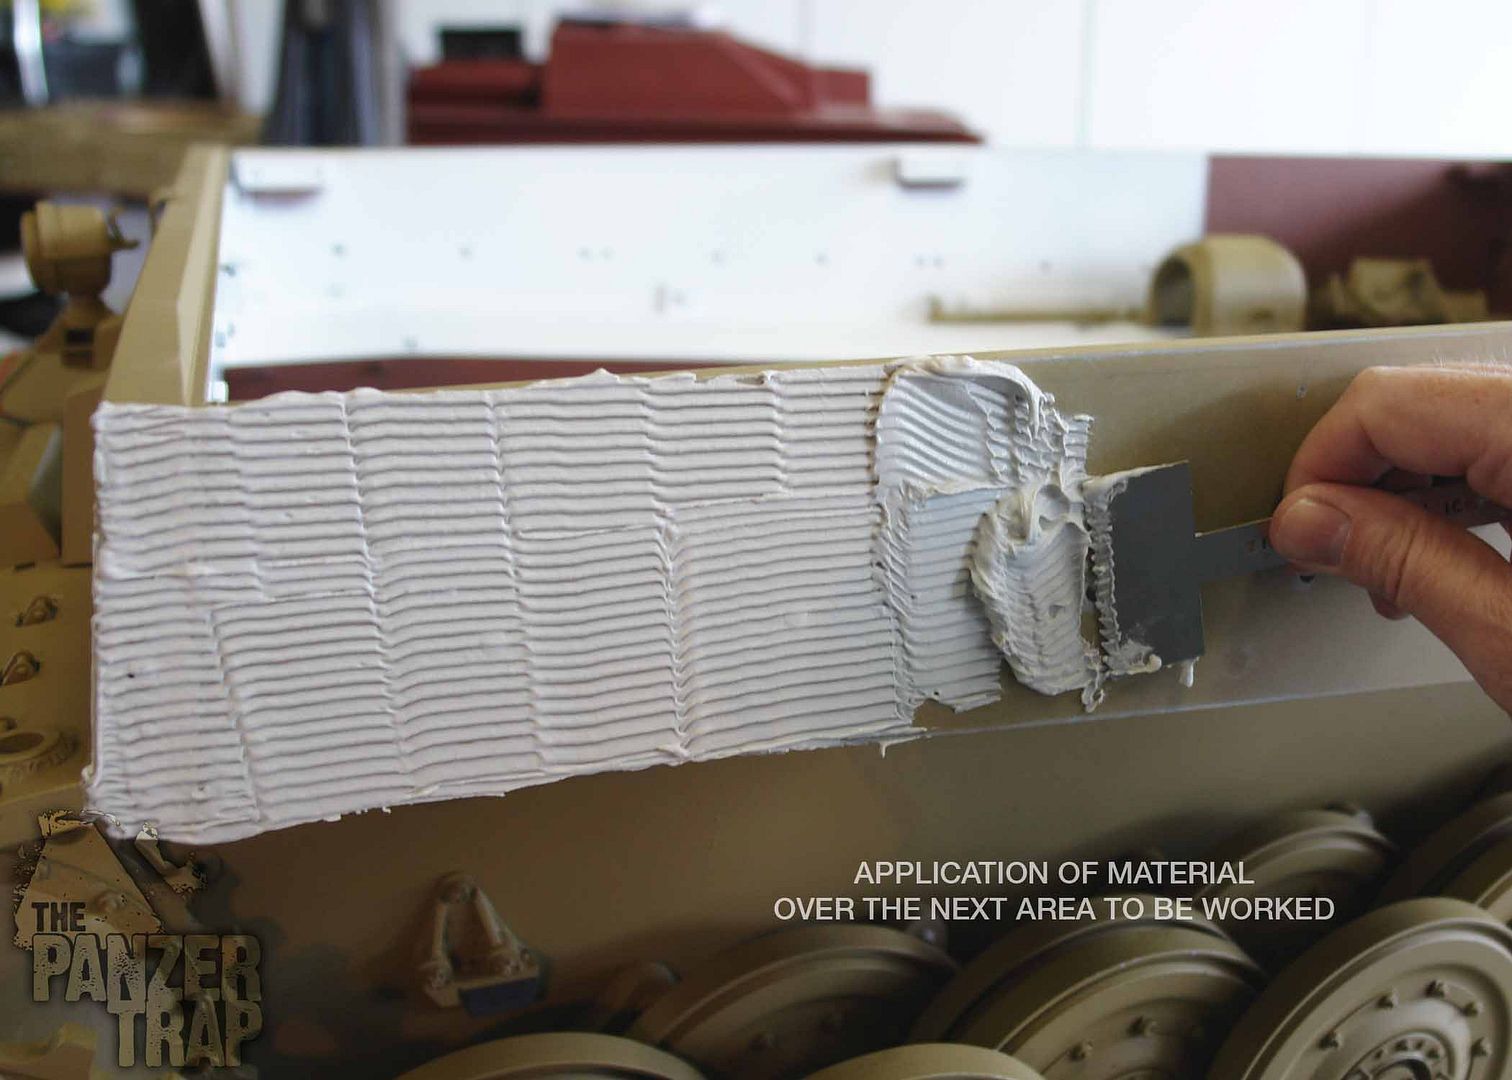
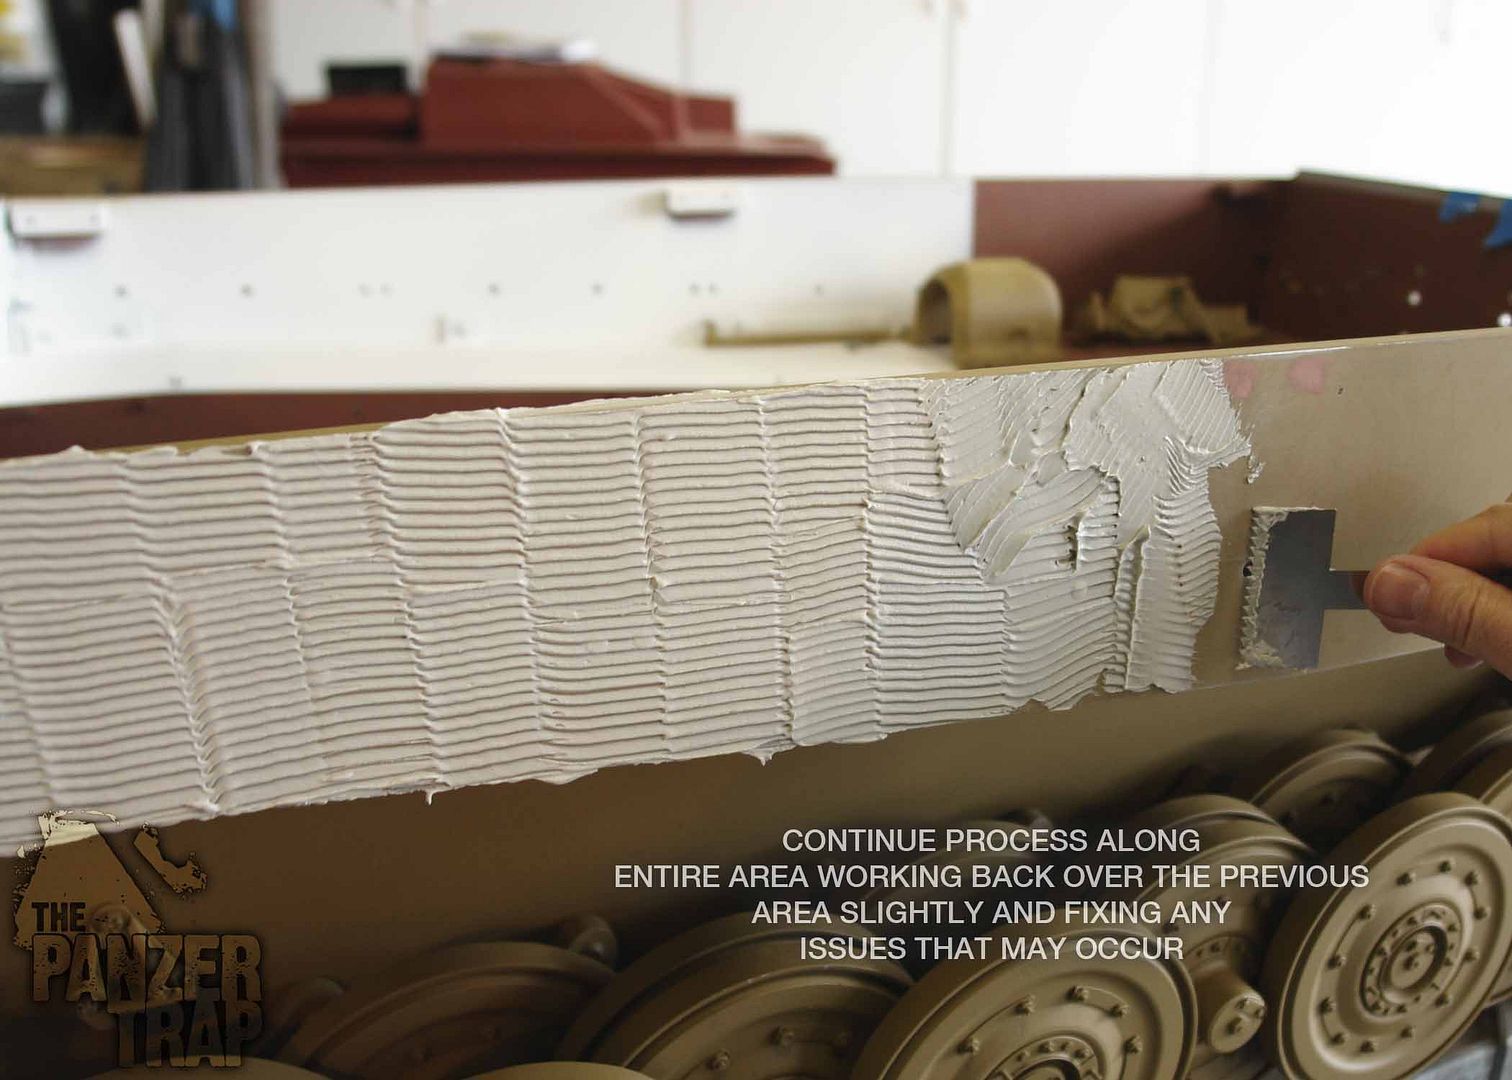
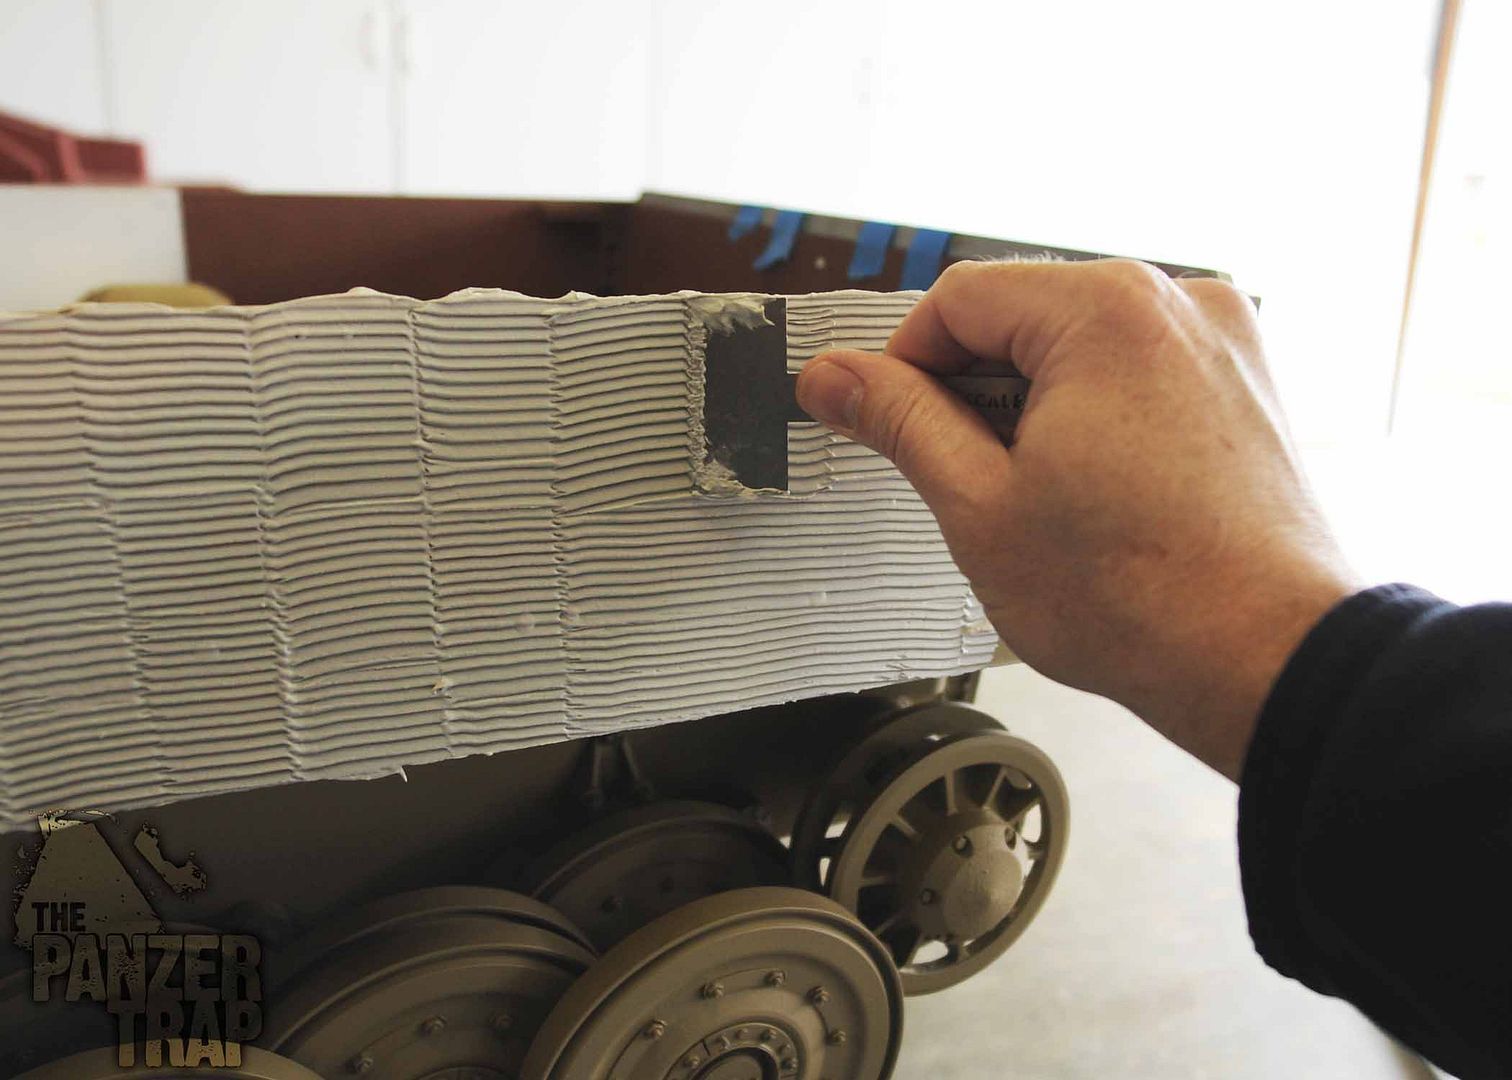
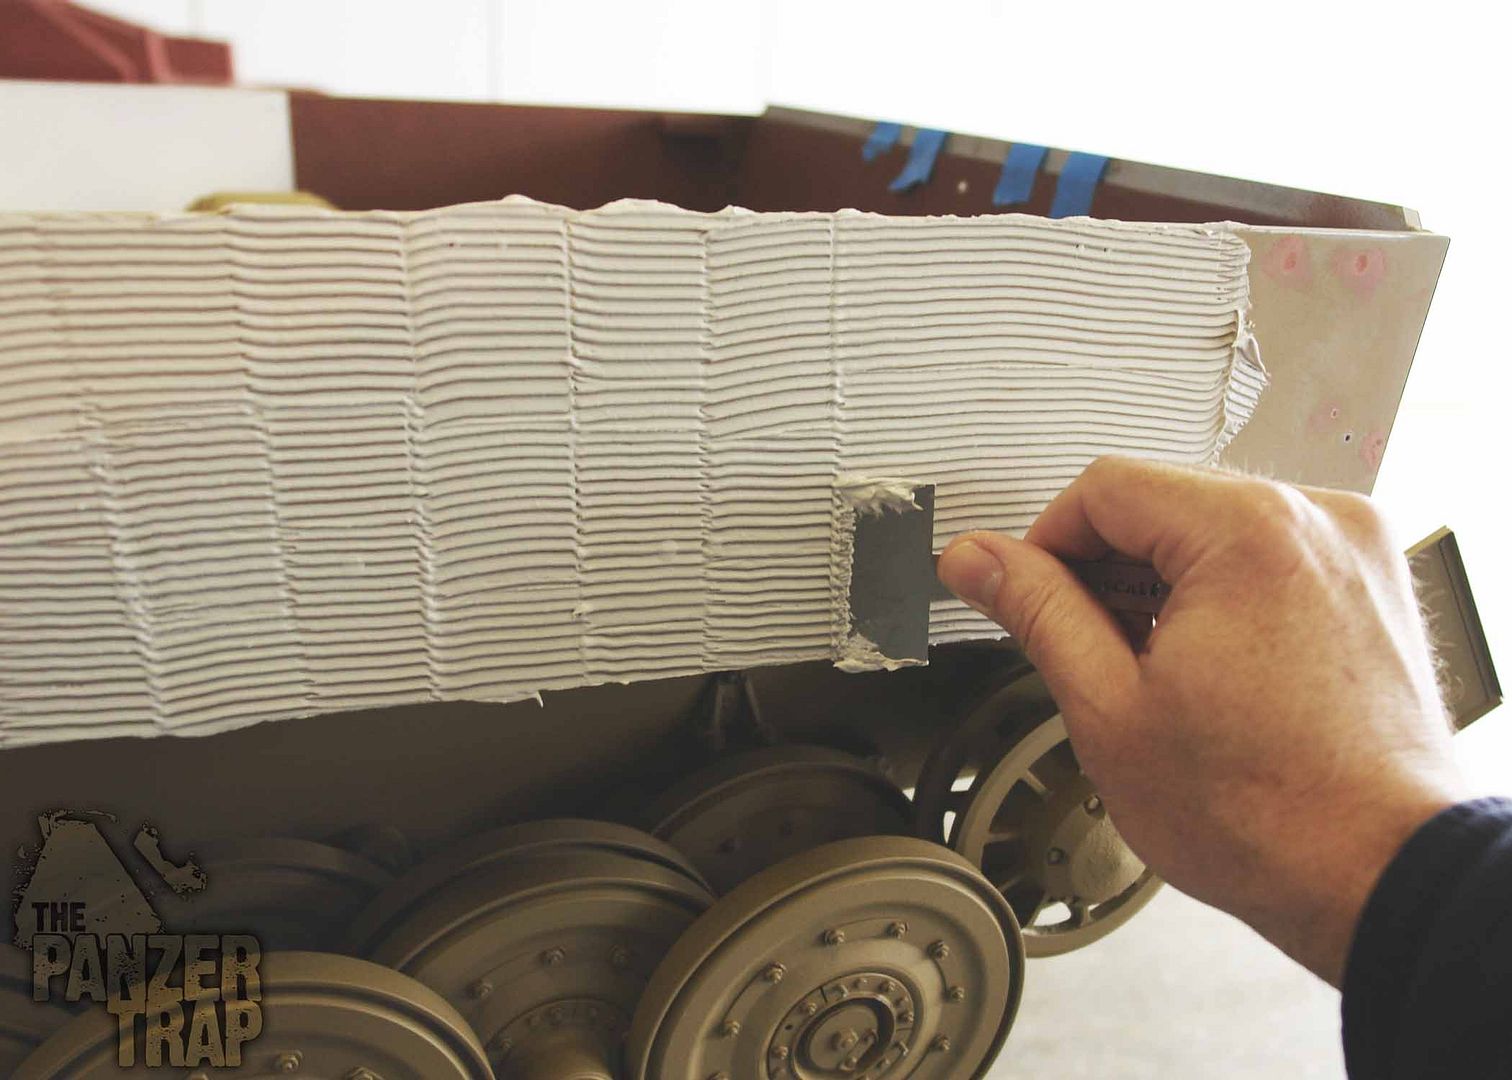
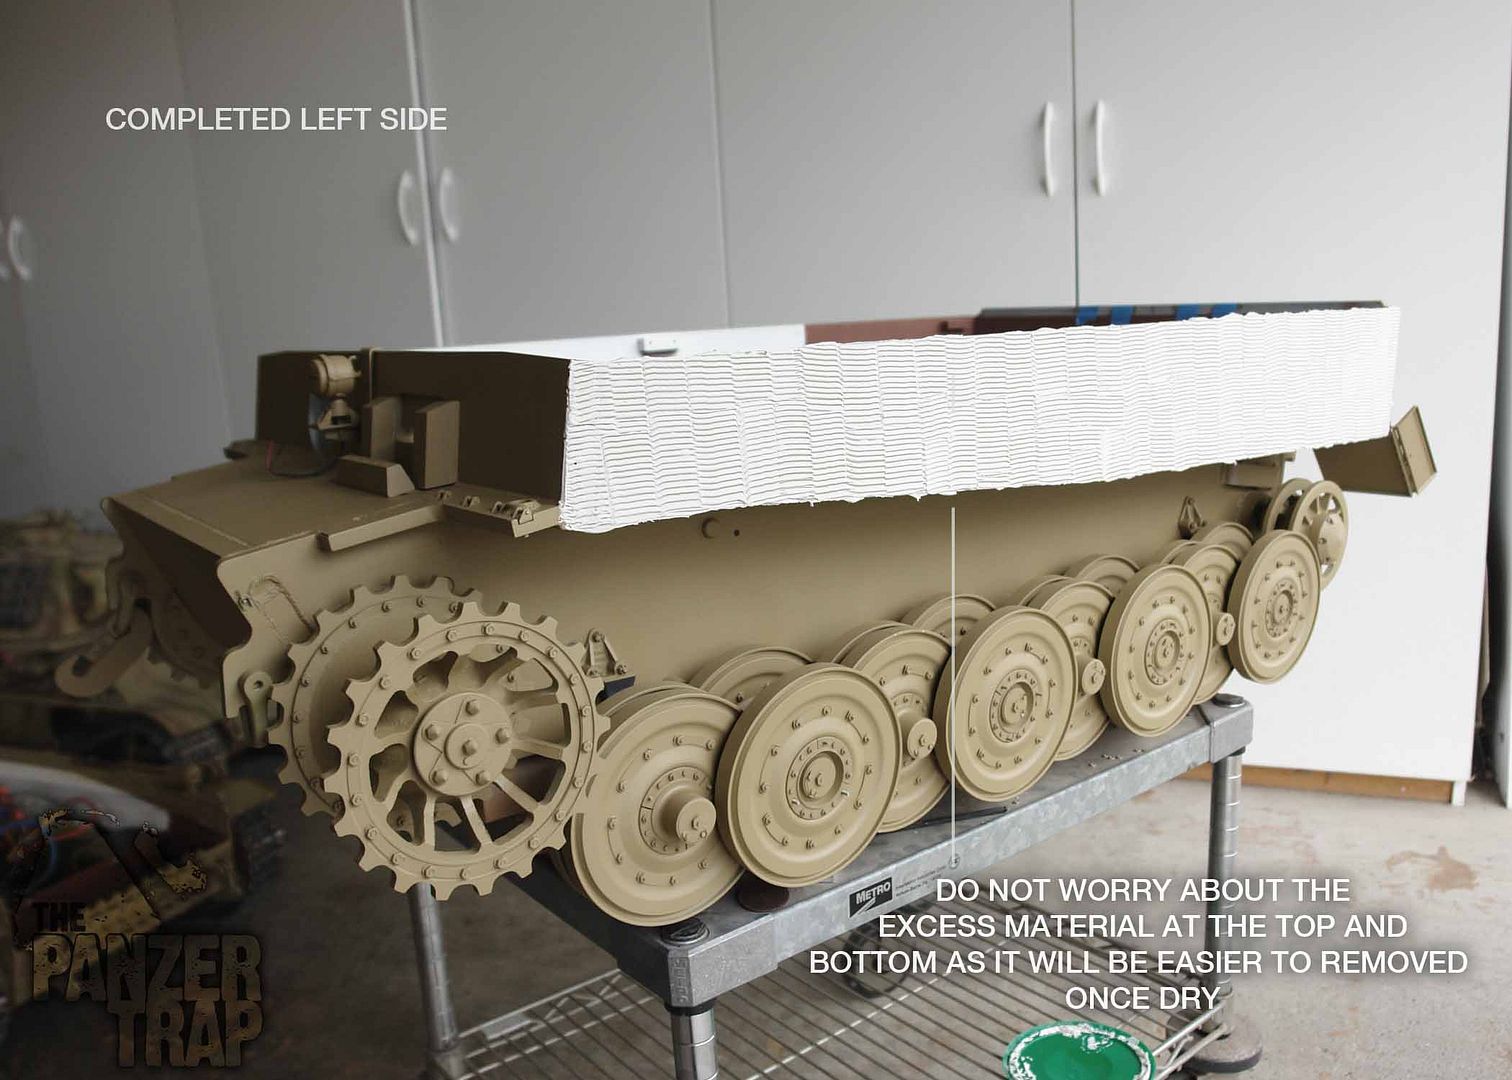
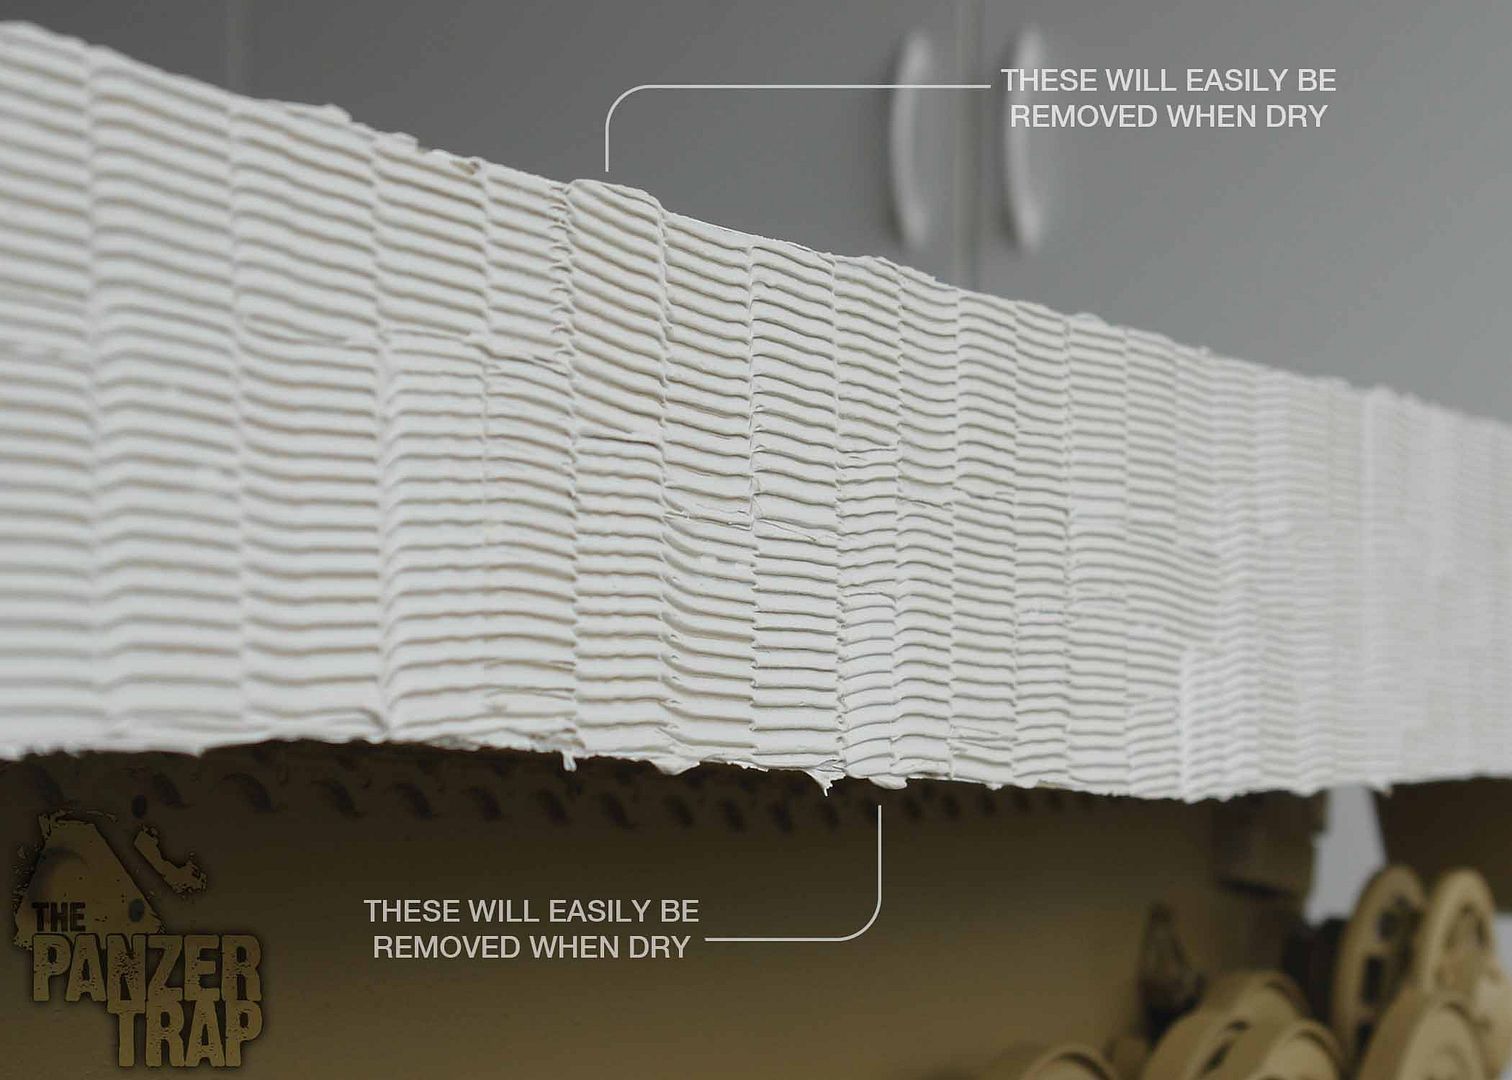
Applying the zimmerit is easily done using the tools and smearing over the area to be worked. I found working an area of around 6 inches (15cm) is easy to manage as you move along the length of the hull. This obviously varies when doing the front or rear plates.

Image

Image

Image

Image

Image

Image

Image

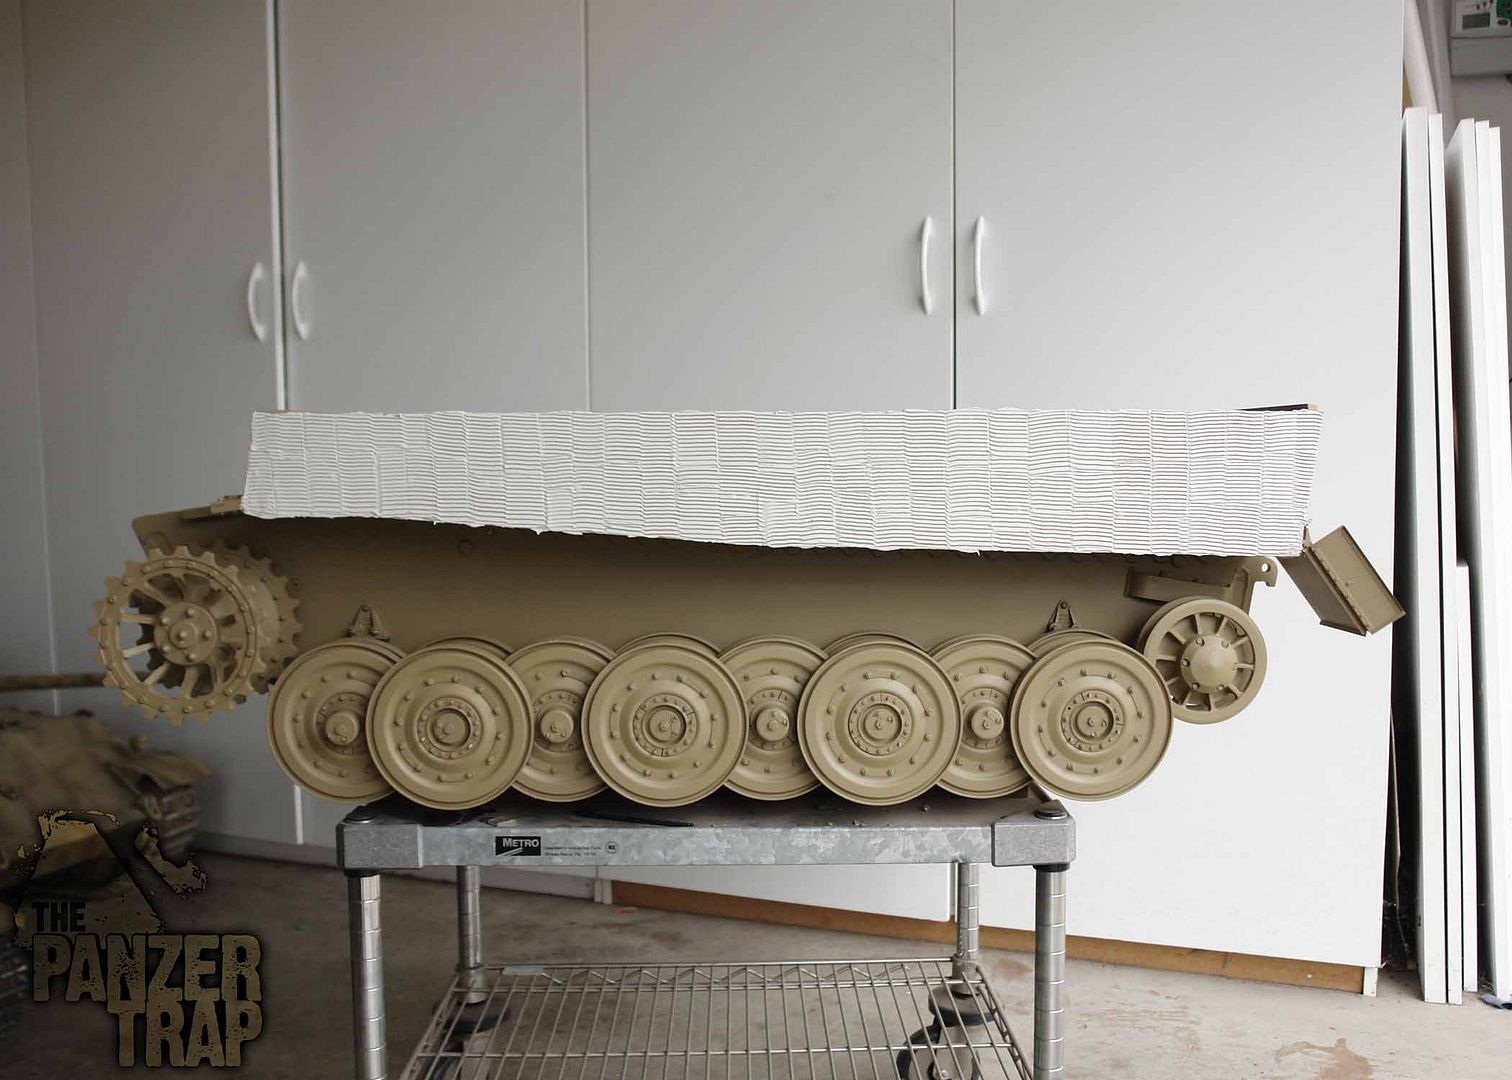
The completed side, still wet.

Image

Image

Image

Step Three

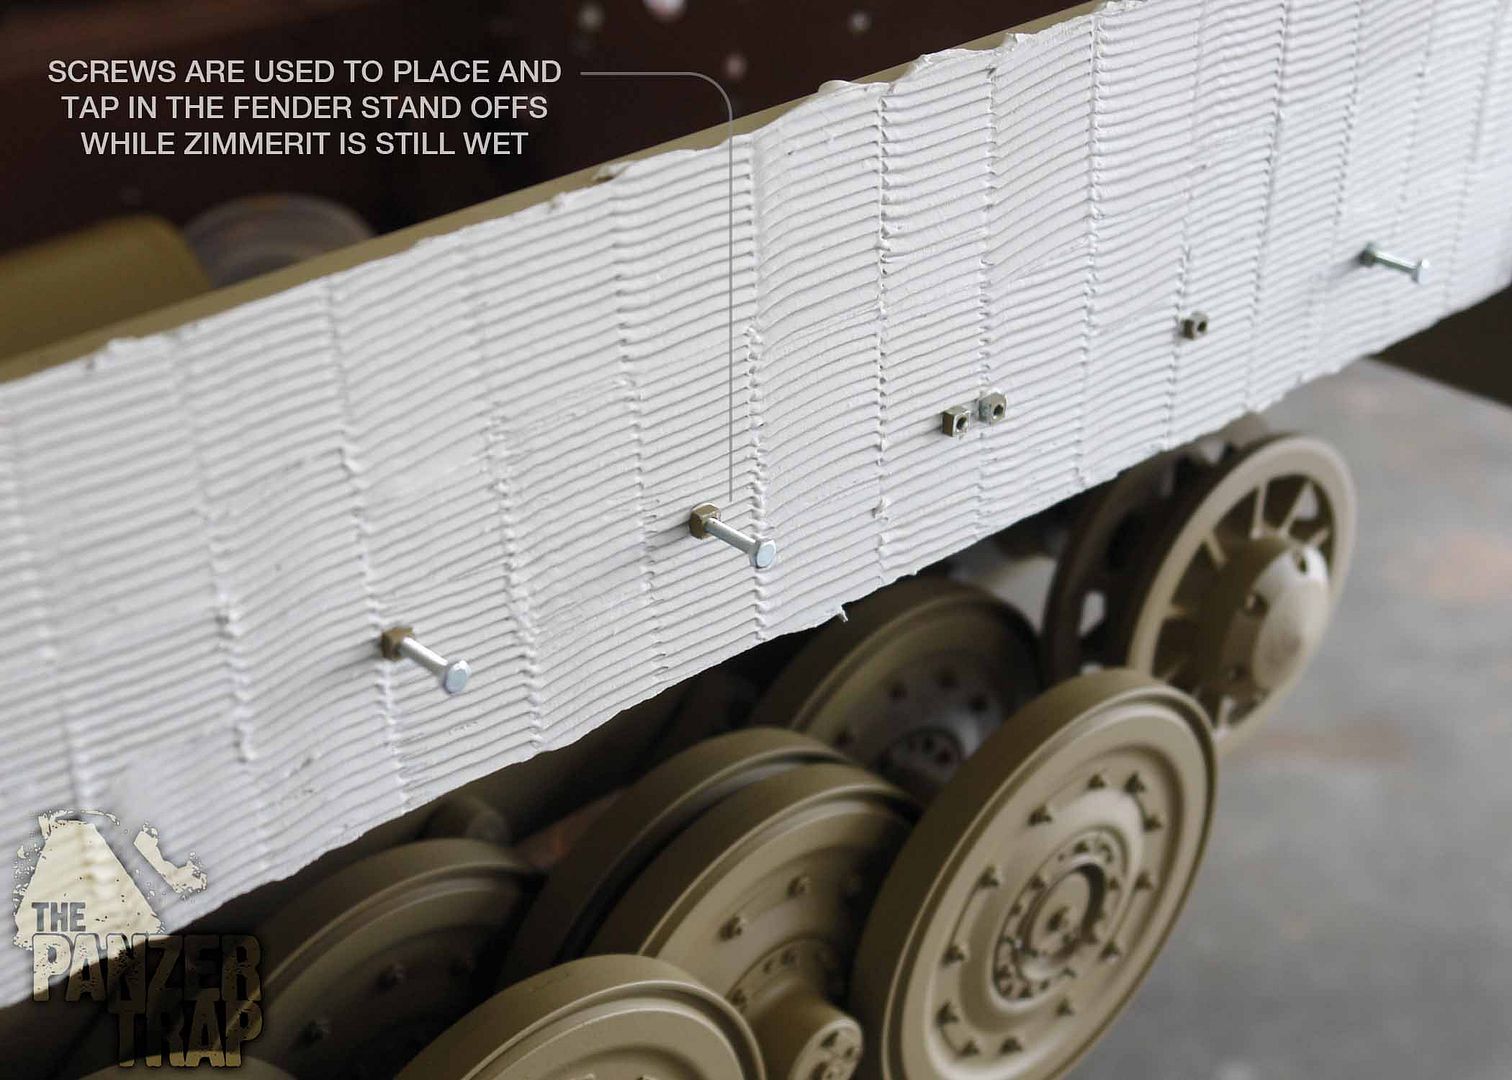
Placing the brackets and fender stand offs. Being careful not to mess up the still wet zimmerit.

Image

Image

Image

Image

Image


More coming this week on the Tiger's front and rear armor plates
best regards
Tim

TBowman
Medlem
Medlem
Posts: 186
Joined: November 23rd, 2010, 11:43 pm
Location: Northern California
Contact:

Post by TBowman »

Hi guys

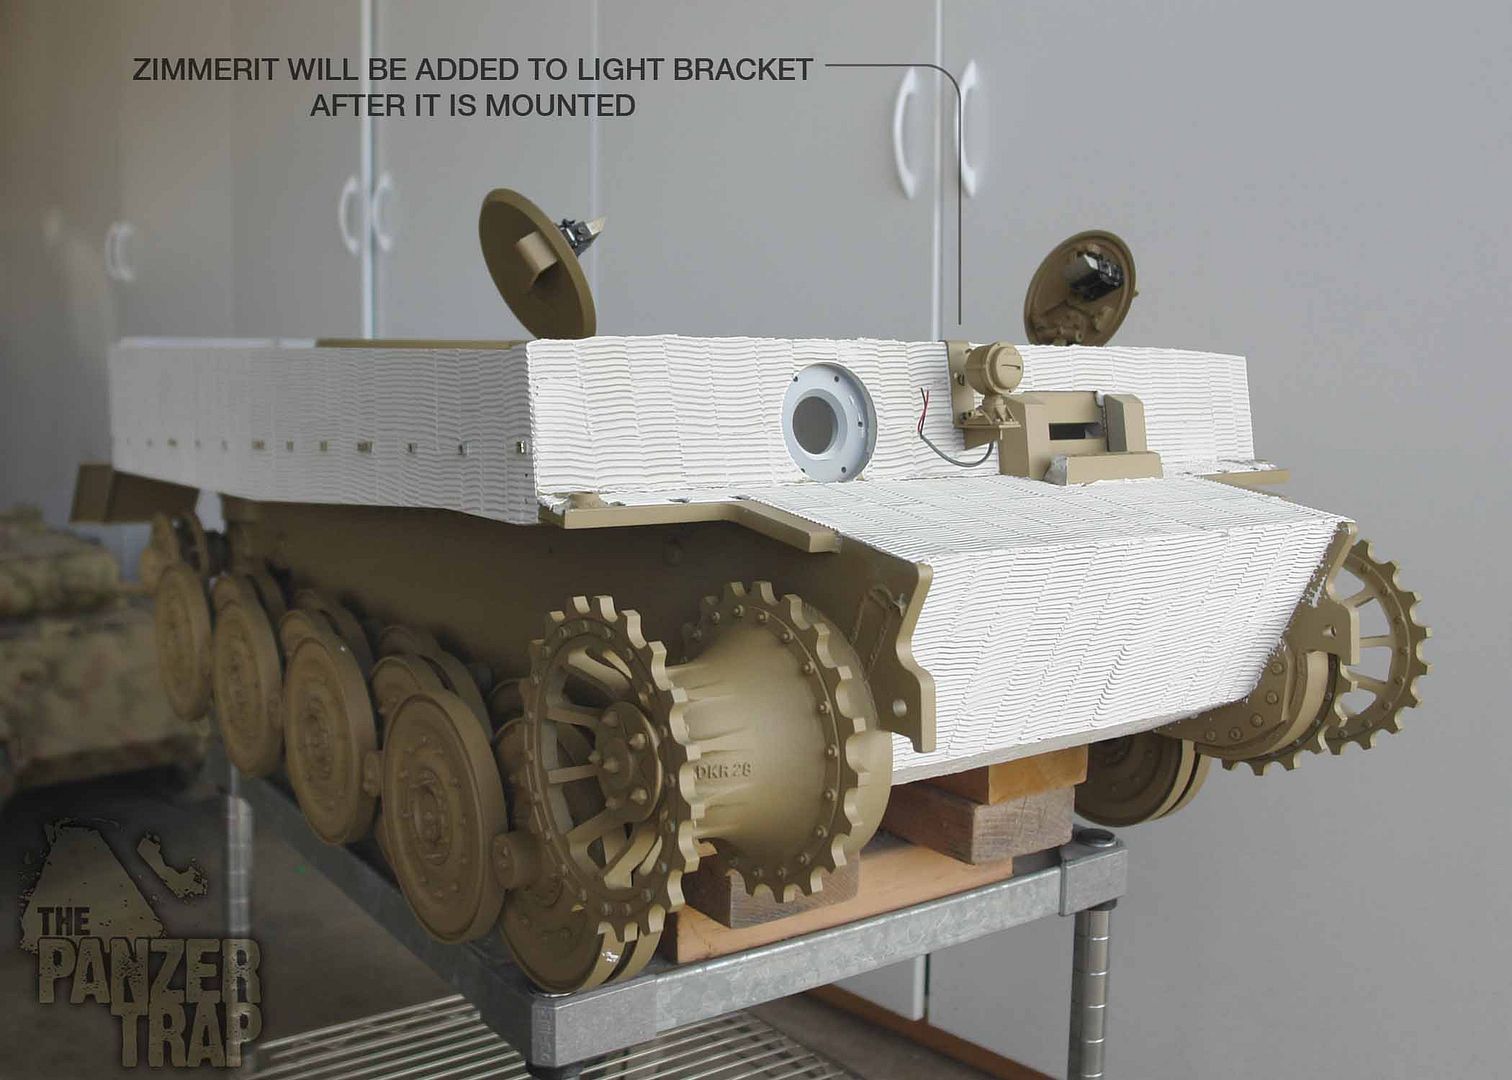
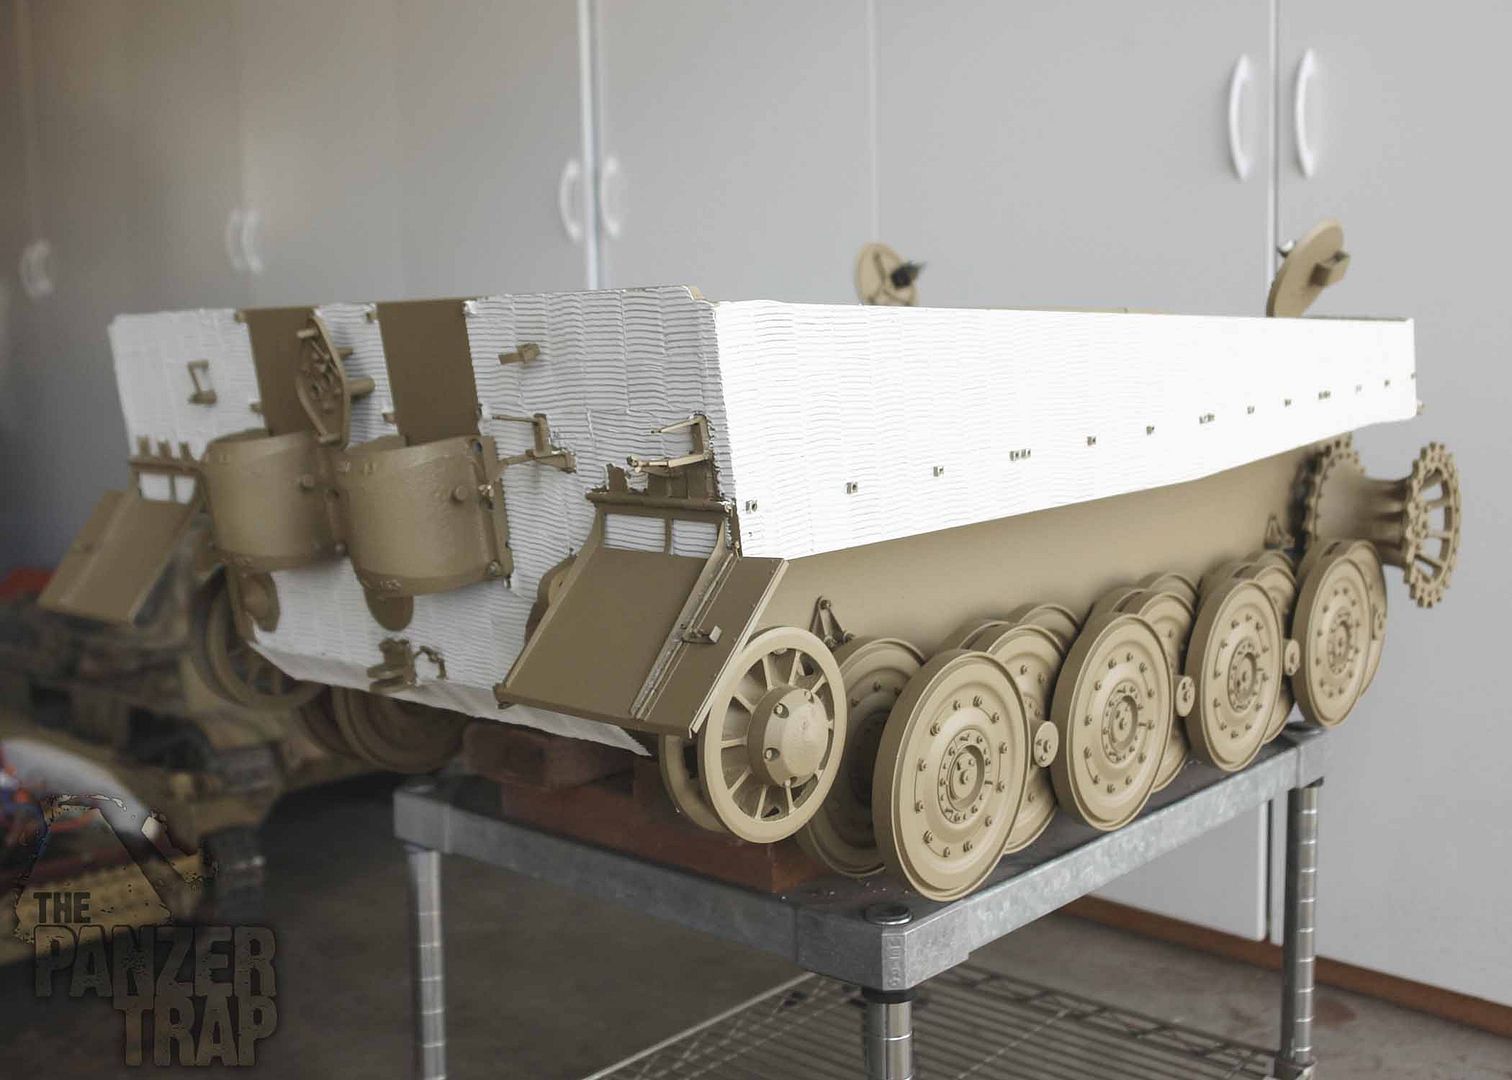
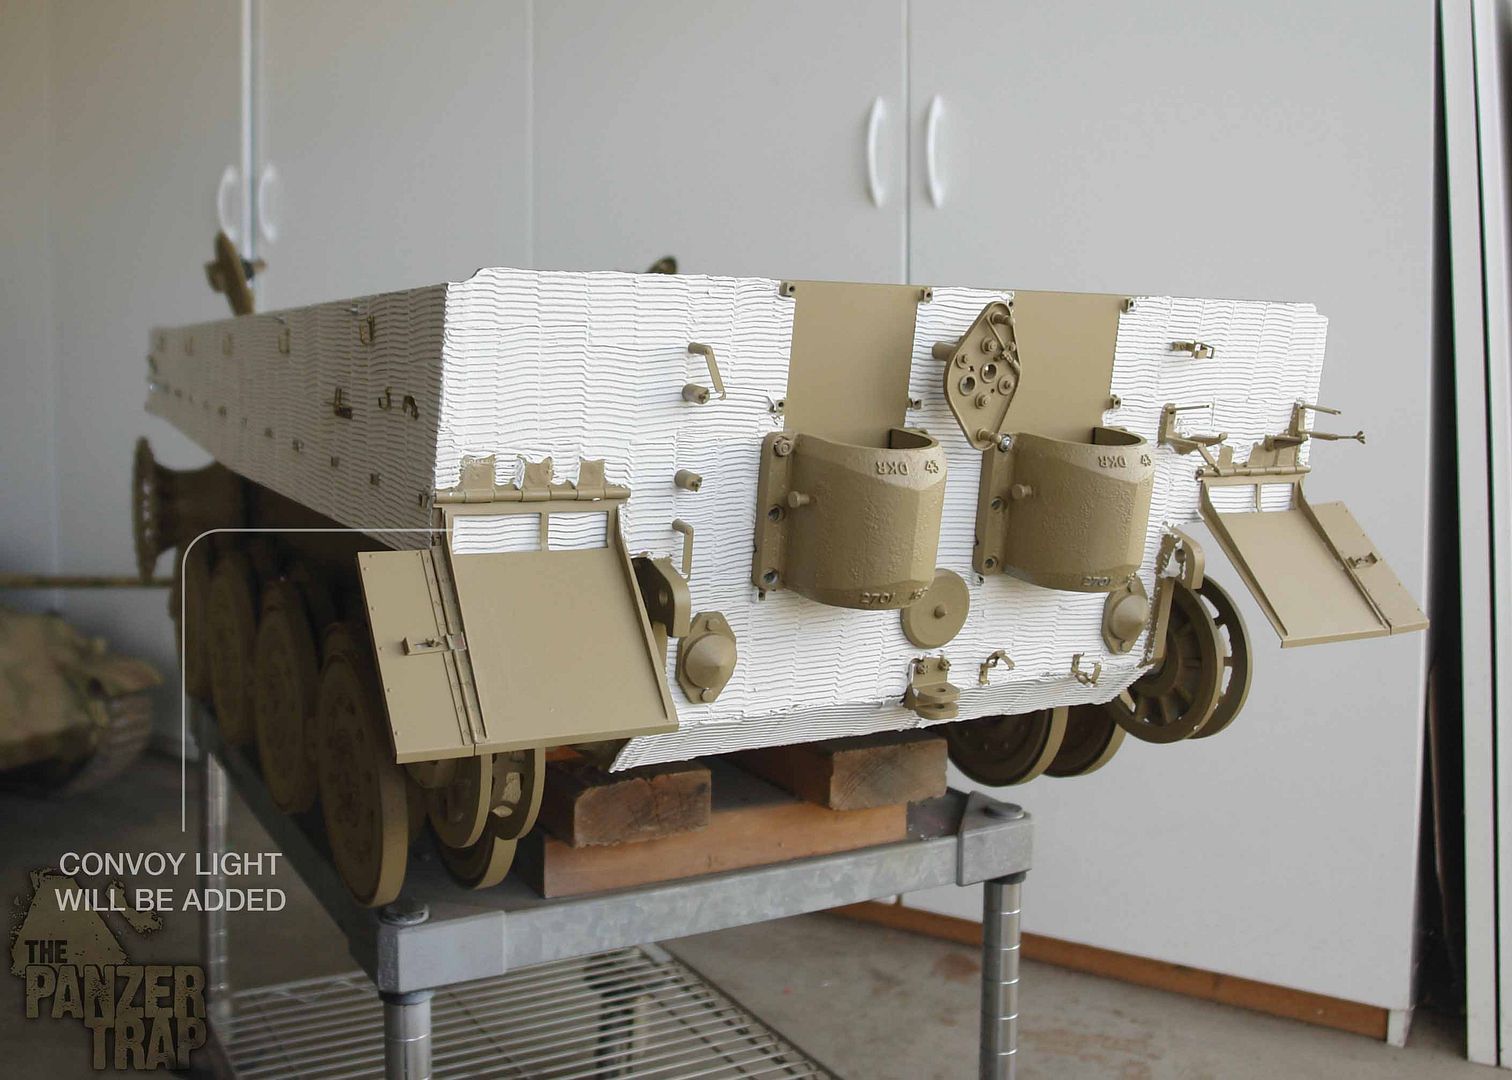
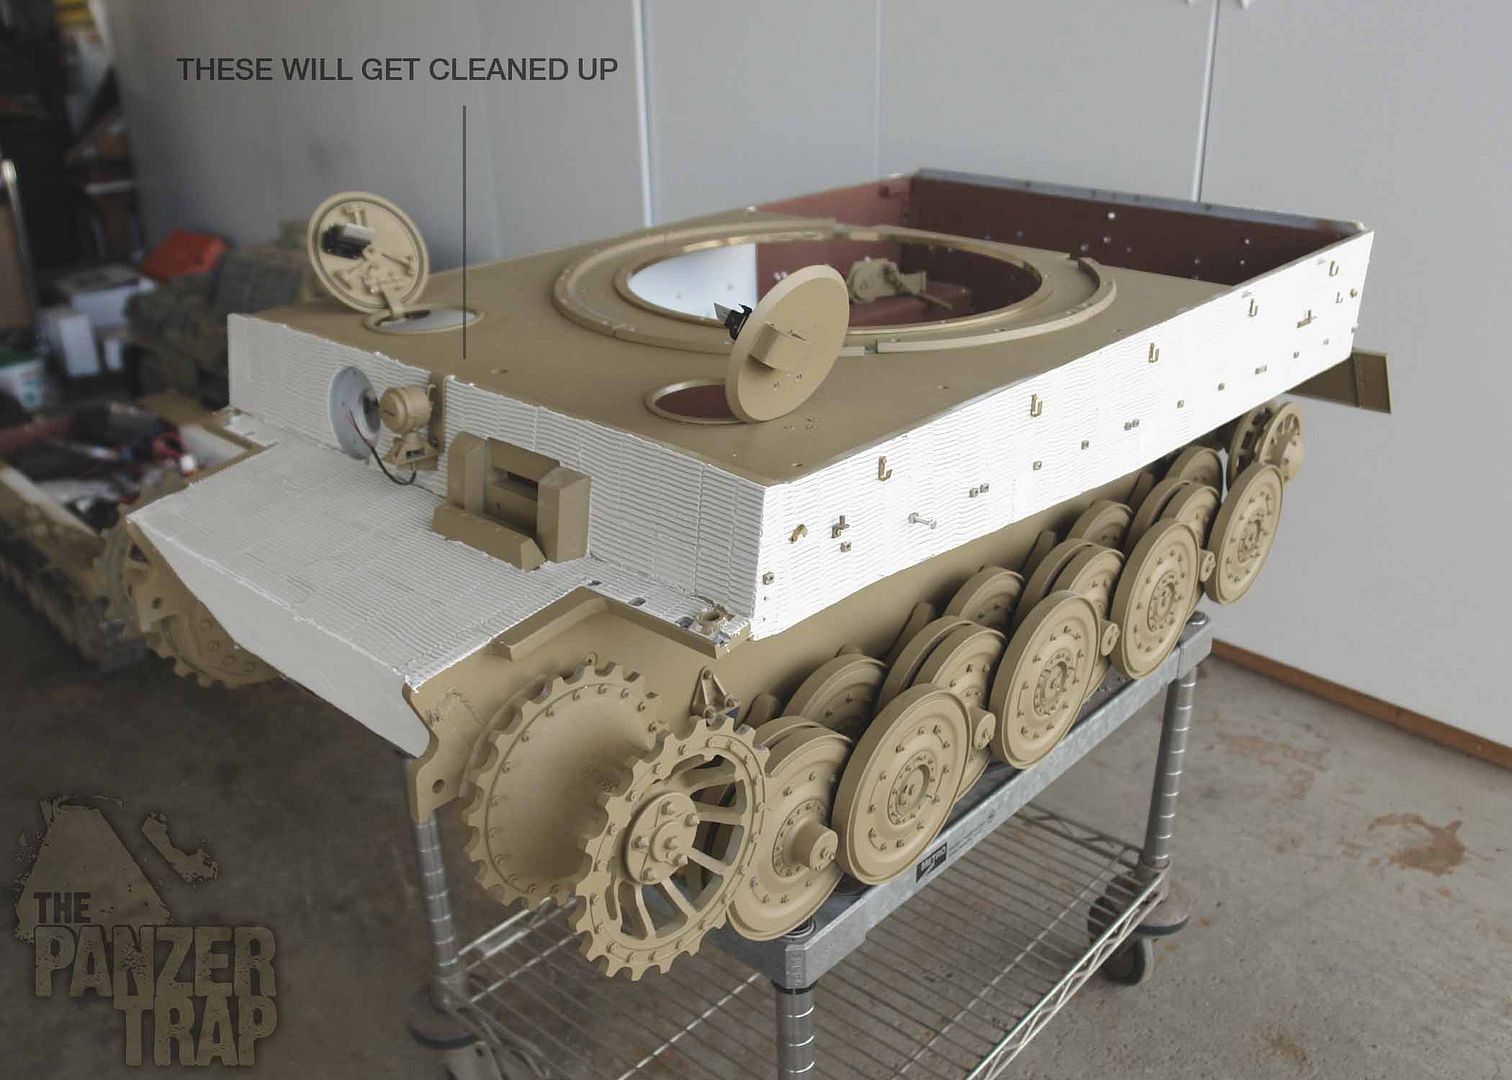
Completed the lower hull today. I may redo the front armor plate to add the radial pattern around the MG but I need to think about it some more.:roll: Now onto more detail parts. :)

Image

Image

Image

Image

Image

Image

Tim

Björn Johansson
Veteran
Veteran
Posts: 1290
Joined: September 19th, 2009, 5:50 pm
Location: Skanör
Contact:

Tiger I

Post by Björn Johansson »

Tim great tutorial!

Appreciate all you´r effort in
all those "How to do"

Thanks
Höres Mvh Björn

User avatar
pepppe75
Medlem
Medlem
Posts: 278
Joined: August 27th, 2008, 4:47 pm

Post by pepppe75 »

hi tim!!!

as falkner said,realy nice with your step by step toutorial,and realy awesome work as usual :D


kand regards peppe.

TBowman
Medlem
Medlem
Posts: 186
Joined: November 23rd, 2010, 11:43 pm
Location: Northern California
Contact:

Post by TBowman »

Thanks Bjorn and Peppe

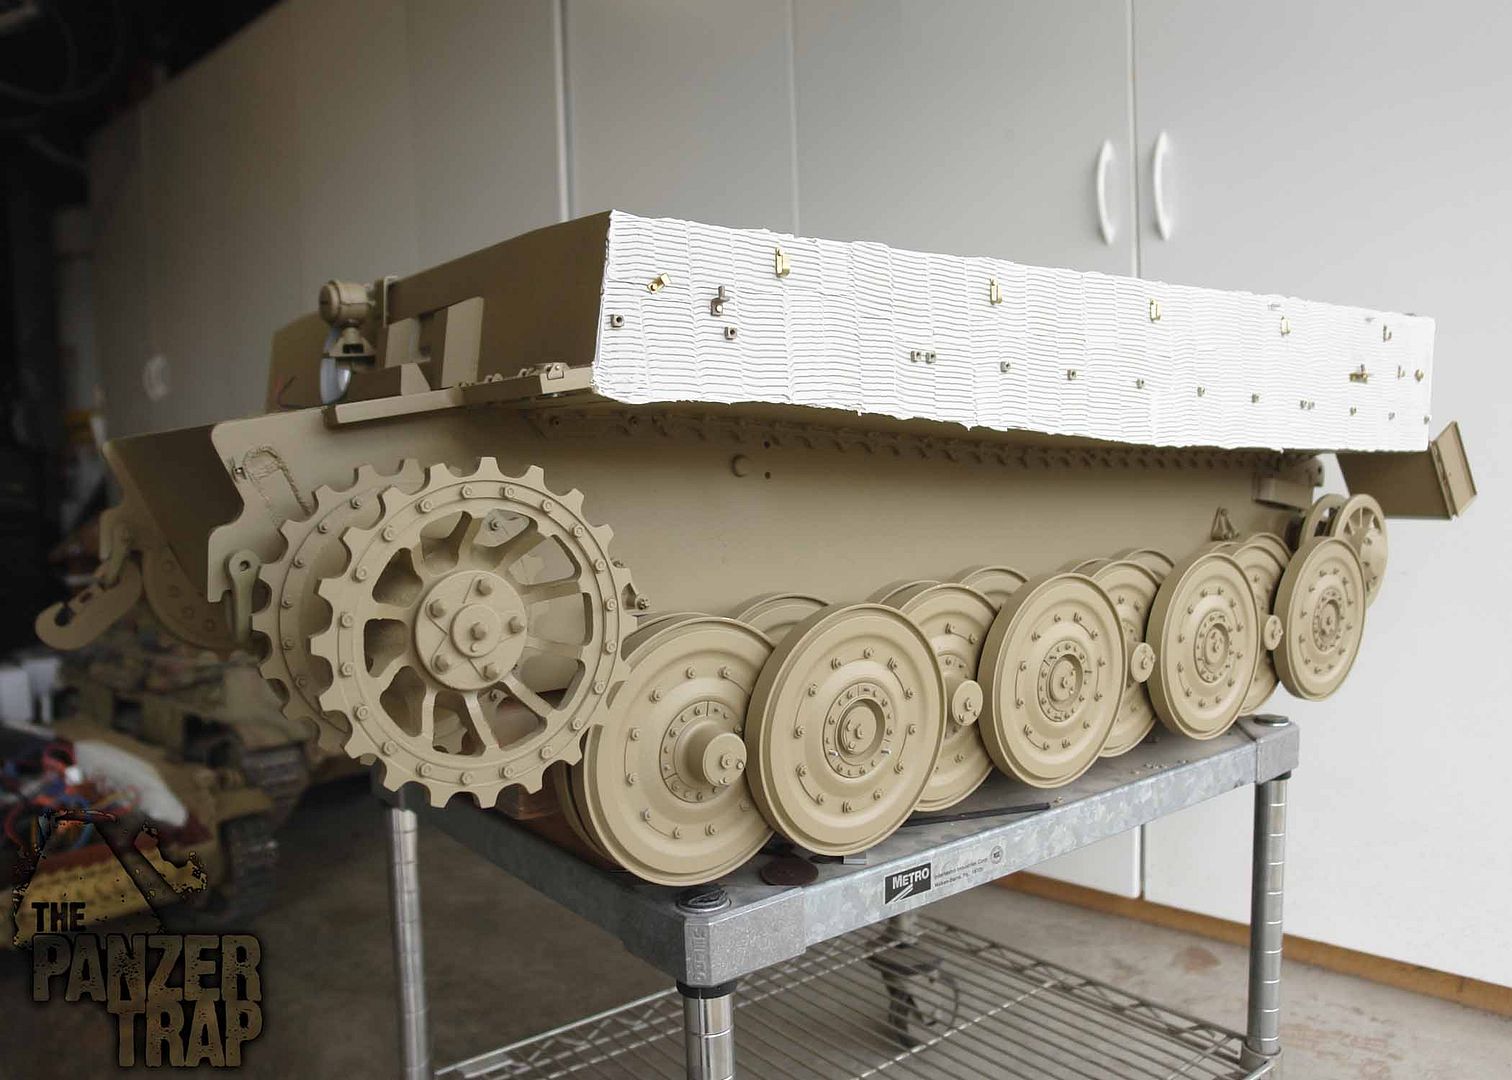
Glad the posts might be useful and hope its not too photo heavy. Here is the zimmerit with its base coat of yellow to show how t looks when toned down with paint. Lots of bolts are missing since I just place everything on temporarily.

Image

Image

Image

Image

Image

Image

Image

Image

Image

Image

regards
Tim

cahlfors
Veteran
Veteran
Posts: 1827
Joined: December 5th, 2008, 5:52 pm
Location: Stockholm/Vallentuna

Post by cahlfors »

Thanks for the beautiful photos. Very inspiring! :D

/Chris

cahlfors
Veteran
Veteran
Posts: 1827
Joined: December 5th, 2008, 5:52 pm
Location: Stockholm/Vallentuna

Post by cahlfors »

="TBowman"]I will check how many I have left and would be happy to send them to you.
Thanks for this very kind offer! I am a slow goer and need some time to think how I can do this best. The mere understanding that the square standoffs are all the same is a good start.

Thanks,
/Chris

TBowman
Medlem
Medlem
Posts: 186
Joined: November 23rd, 2010, 11:43 pm
Location: Northern California
Contact:

Post by TBowman »

Hi Chris

No problem at all. Let me know

Kind regards
Tim

TBowman
Medlem
Medlem
Posts: 186
Joined: November 23rd, 2010, 11:43 pm
Location: Northern California
Contact:

Post by TBowman »

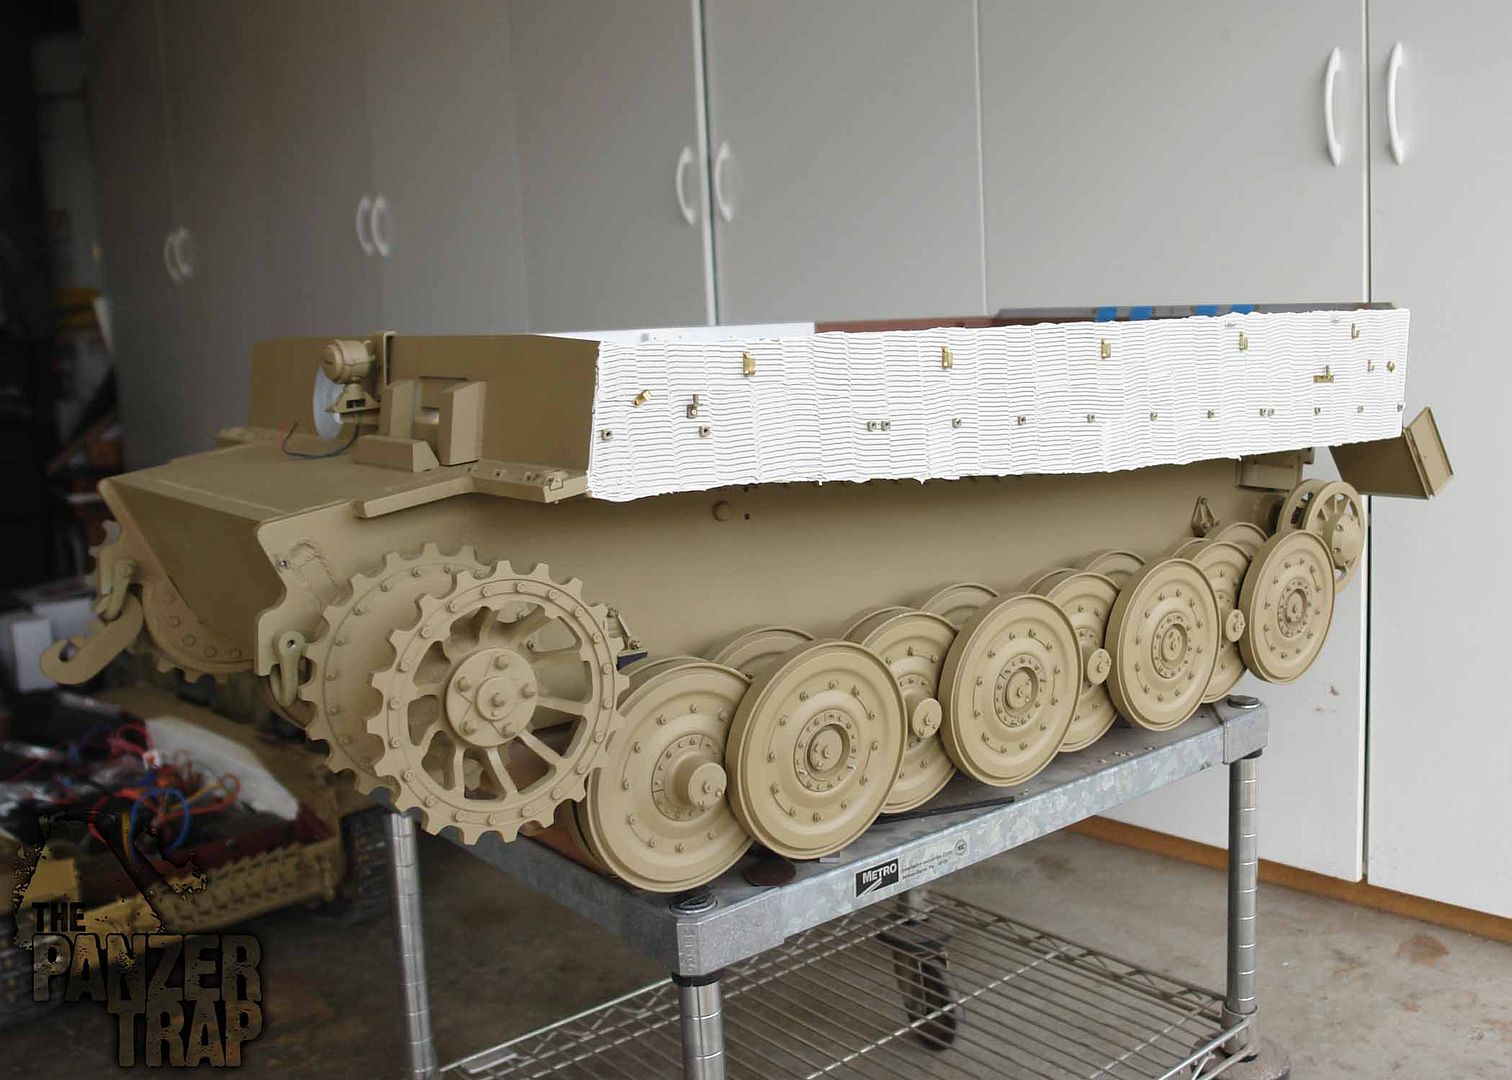
A quick coat of elfenbein interior color and fenders back on. The front areas of the interior will be detailed but not completely crazy because the motors and other stuff will be there to. Hope to add just enough detailing to have some interest when looking in the front hatches.

Image

Image

Image

Not at all complete but had to see what it looked like.
Image

happy building
Tim

User avatar
Kent W
Medlem
Medlem
Posts: 719
Joined: August 27th, 2008, 9:31 am
Location: Luleå

Post by Kent W »

Looking good!

I simply love the look of Elfenbein/Red oxide interior.
And the black/grey torsion bars are a nice addition to that.
Feels a bit sad to cover it with rc-stuff :roll:

What did you use as Elfenbein?
Sadly the mixture I used in my Hetzer and posted at the Blitzkrieg forum is now lost in cyberspace.

Kind regards
Kent
TBowman
Medlem
Medlem
Posts: 186
Joined: November 23rd, 2010, 11:43 pm
Location: Northern California
Contact:

Post by TBowman »

Hi my friend Kent

For the elfenbein color I found a few suitable colors in large aerosol cans at the local hardware store and sprayed each one onto a sample board. From there I picked the best match to the interior of Jacques Panther. I have this color in both gloss and matte finish and for me, matte is better.

I agree, there is something about the red oxide and interior elfenbein colors that works. Need to do the Panzer IV too.

More to come soon

Tim

TBowman
Medlem
Medlem
Posts: 186
Joined: November 23rd, 2010, 11:43 pm
Location: Northern California
Contact:

Post by TBowman »

The first in a series of parts for the interior detailing on the Tiger I.

Forward roof support.
Image

more to come soon.

Tim

TBowman
Medlem
Medlem
Posts: 186
Joined: November 23rd, 2010, 11:43 pm
Location: Northern California
Contact:

Post by TBowman »

Not much progress but hope to have these parts soon to mount inside and paint. Two forward hull braces. Kw.k. 36 ammo container next to the driver is next along with his vision port. Juggling Panzer IV and Tiger parts to have them made at the same time.

Image

Tim

Return to “English”