Late Production Tiger 1 Project

For you guys who don´t understand Swedish or just prefer English.
Post Reply
TBowman
Medlem
Medlem
Posts: 186
Joined: November 23rd, 2010, 11:43 pm
Location: Northern California
Contact:

Late Production Tiger 1 Project

Post by TBowman »

Hello all

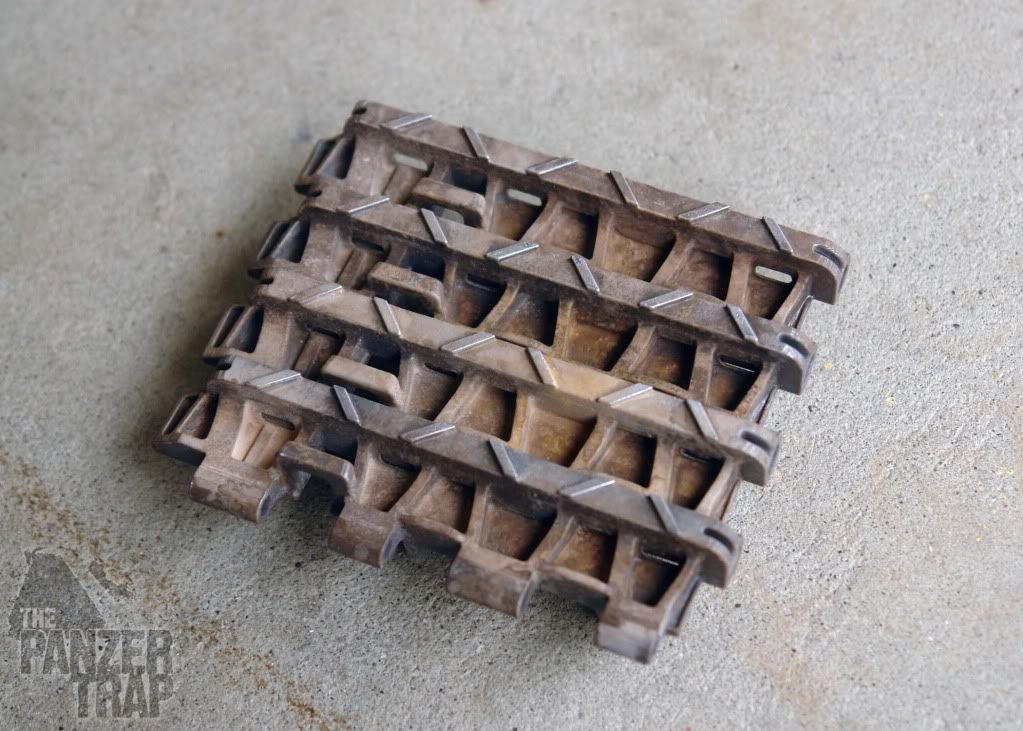
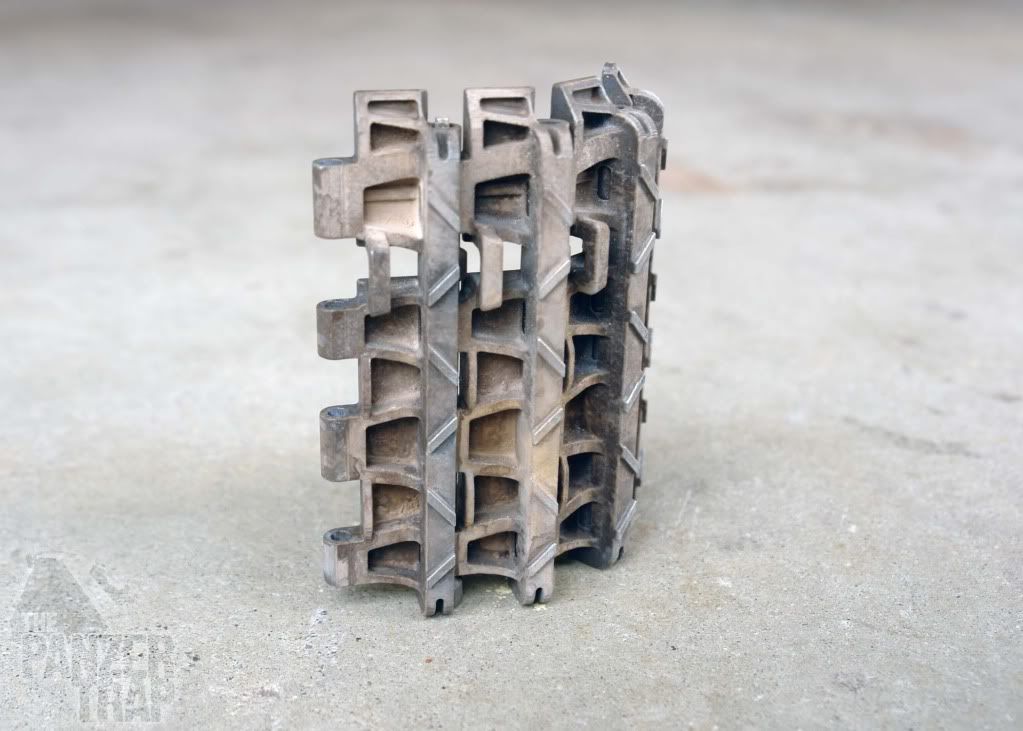
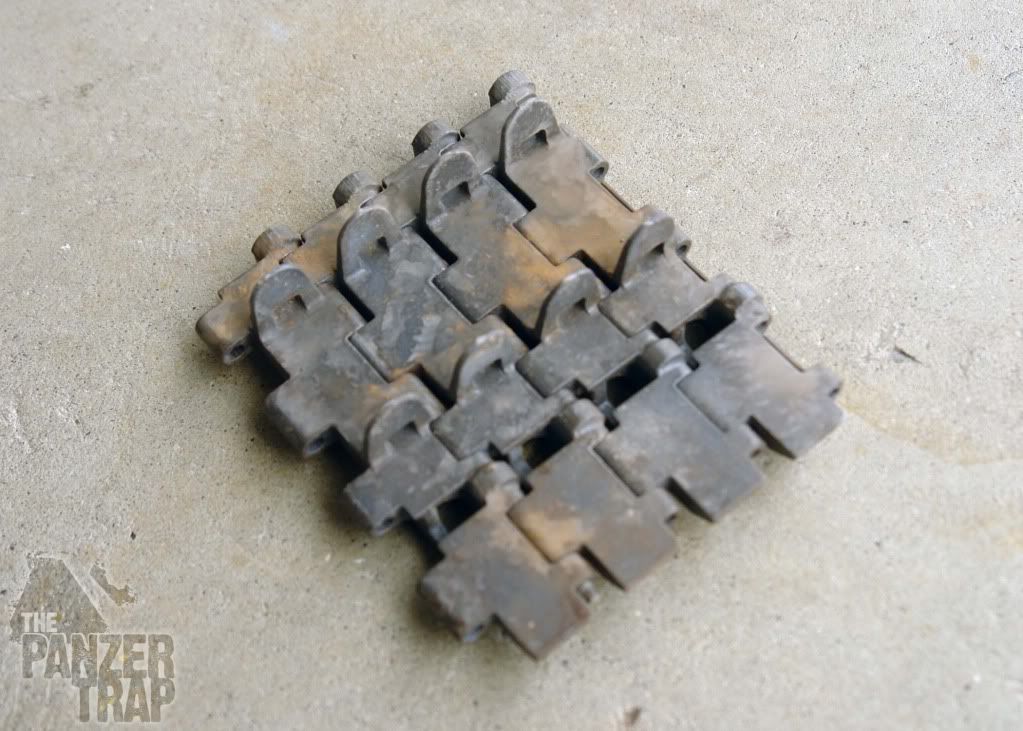
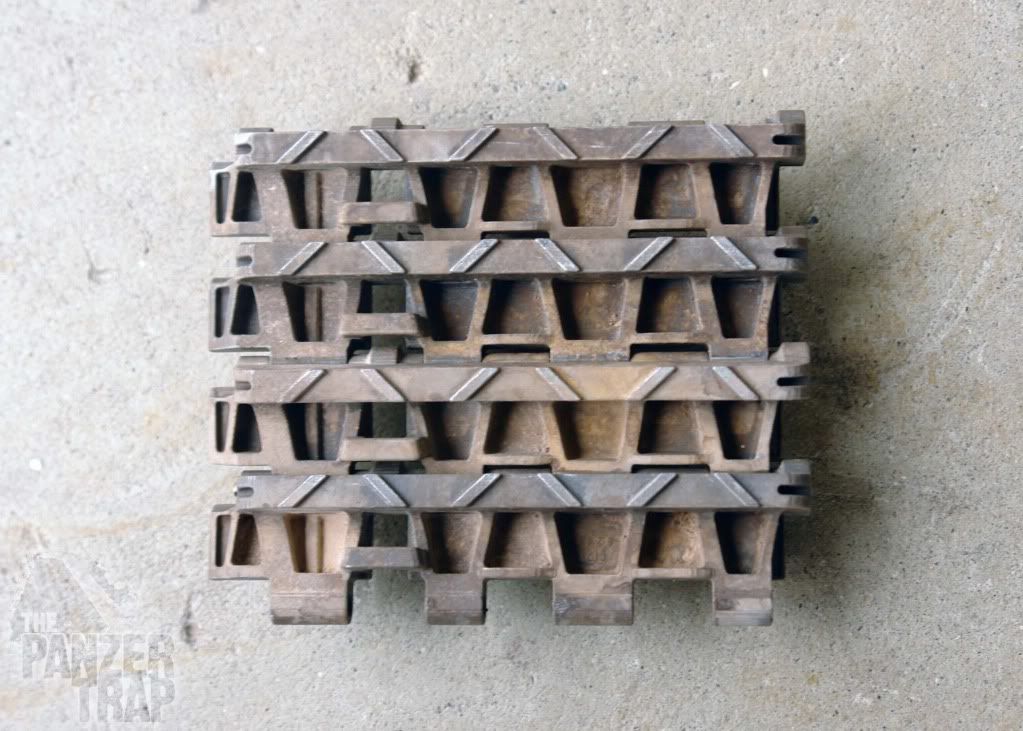
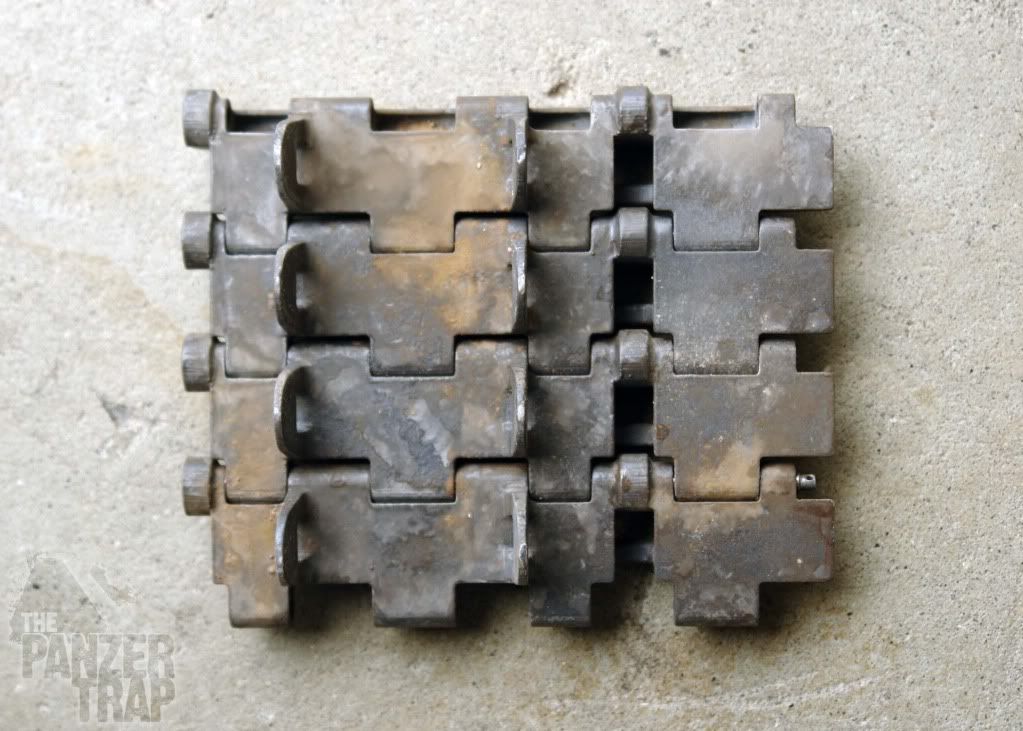
Over a year ago, I started my Tiger build but stopped to work on the Panzer IV. The other day I was cleaning up and came across my storage bin from Mike Stannard. An incredible piece of work from him. I know these are old news to most everyone but I have never seen detail photos of them before they were mounted, painted and banged up. So I thought these may be useful to anyone considering the purchase of one.

I can't wait to get it mounted on the Tiger!

Image

Image

Image

Image

Also decided to try some experimentation with the late style links I made, using the same technique as on my Panzer IV links. These have been sitting here for a long time and it was time to see what they could look like.
Image

Image

Image

Image

Image

Image

Tim

Here's a link to the rest of the build for anyone interested. I'll update the project here as well as it moves forward.

http://www.armortek.co.uk/forum/viewtopic.php?t=1247

cahlfors
Veteran
Veteran
Posts: 1827
Joined: December 5th, 2008, 5:52 pm
Location: Stockholm/Vallentuna

Post by cahlfors »

It's amazing that you managed to get a hold of four authentic track links!

But where are the models? :wink:

/Chris

User avatar
Kent W
Medlem
Medlem
Posts: 719
Joined: August 27th, 2008, 9:31 am
Location: Luleå

Post by Kent W »

Indeed that bin from Mike is a work of art.
And so are your track links, the paintwork is stunning and spot on.

Cheers
Kent

TBowman
Medlem
Medlem
Posts: 186
Joined: November 23rd, 2010, 11:43 pm
Location: Northern California
Contact:

Post by TBowman »

Thanks Chris and Kent

Taking a small break from the Panzer IV, I took some time to finally cut the steel deck to remove the 3mms from the rear section allowing the grills to sit flush with the deck as on the real ones. This step will finally allow me to permanently mount the deck support blocks and finish up the lower hull sides and rear. Then onto the deck detailing. :)

Image

Image

Tim

cahlfors
Veteran
Veteran
Posts: 1827
Joined: December 5th, 2008, 5:52 pm
Location: Stockholm/Vallentuna

Post by cahlfors »

You will make new grill castings? :shock:

I like the idea with threaded blocks for the deck. That will surely make life easier!

Cheers,
/Chris

TBowman
Medlem
Medlem
Posts: 186
Joined: November 23rd, 2010, 11:43 pm
Location: Northern California
Contact:

Post by TBowman »

Hi Chris

I had planned on making the corrected grills for the rear intakes and figured I'd make the others too while I'm at it.

More progress

Mounted the new deck-mounting blocks and filled all the holes on the hull sides and top deck. Also started painting parts in their base coat color of dark yellow and positioned and mounted the armor guard for the turret on the deck. Positioning of tool brackets and welds are next along with the rear plate details. Not sure yet whether to mont all the brackets on the rear plate and sides before zimmerit or not.

I'll be remaking the hooks for the front fenders.

Image

Image

Image

Image

Image

Happy New Year to all
Tim

TBowman
Medlem
Medlem
Posts: 186
Joined: November 23rd, 2010, 11:43 pm
Location: Northern California
Contact:

Post by TBowman »

Hi everyone

With the deck mounts behind me, I can get back to where I left off almost one year ago. Painted the lower hull dunkelgelb, the interior fighting compartment base coat of white (will be sprayed elfenbein later) and finally got to see how good Steve Winstone's castle nuts look on one of my panzers. WOW they look good. Thanks Steve.

A light coat of dunkelgelb before zimmerit and the interior is painted so I can install the motors and other motion pack parts.

Image

Image

Image

Here are some photos of my bump stops mounted and painted. The rubber bumpers are still the prototype ones I made and the final ones will be cast in black, flexible Urethane or Silicone.

Image

Image

Image

regards
Tim

User avatar
Kent W
Medlem
Medlem
Posts: 719
Joined: August 27th, 2008, 9:31 am
Location: Luleå

Post by Kent W »

Awesome!
You never stop amaze me with your skills my friend.

Kind regards
Kent

User avatar
pepppe75
Medlem
Medlem
Posts: 278
Joined: August 27th, 2008, 4:47 pm

Post by pepppe75 »

hi there tim!!

totaly outstanding :shock: :shock:


kind regards peppe :D

TBowman
Medlem
Medlem
Posts: 186
Joined: November 23rd, 2010, 11:43 pm
Location: Northern California
Contact:

Post by TBowman »

Thank you Kent and peppe

The Panzer IV project is on hold for a short time while I wait for a few electronic parts so I thought I would spend a few days with the Tiger to take care of some things that have been waiting to get done before zimmerit is applied to the lower hull.

The first thing was to add some more armor to the drive gear housing's armor guards to give it more of the look of the real one.

Image

Image

Next, was to take care of most of the detail part additions to the rear plate as well as the welds. The Jack and the positioning of the blocks is not 100% accurate and I spent a whole day trying to decide what to do here. Almost used the Jack off my Panzer IV but in the end, decided to go with plan 'A' and use Steve's beautiful jack and mounting hardware. Due to the layout of the jack. the positioning of the brackets and supports had to be sort of a blend between mid production Tigers and late Tigers. I think I spent too much time worrying about this and am happy with the results.

Image

Image

Image

Image

Image

Exhaust mufflers were given a quick, first layer of weathering. They will receive some more attention later on when the rest of the tank is weathered.

Image

Image


Also, I have been asked by a lot of friends about the zimmerit on my Panther. What did I use? how did I do it? so The next few posts on the Tiger's build will be a sort of step by step I'll try and put together as I add zimmerit to the lower hull. I don't claim to be an expert and there are so many builds that have what I would consider 'perfect zimmerit' , so this is meant as simply a step by step of what has worked for me.

More on this very soon.
Best regards
Tim

User avatar
falcon
Medlem
Medlem
Posts: 669
Joined: August 24th, 2008, 9:41 am
Location: Nol

Post by falcon »

Are you sure you don't have a real Tiger 1 that you take pictures of, and photoshops it onto your model... :wink:
Great weathering of the exhaust system....
// Falcon

Björn Johansson
Veteran
Veteran
Posts: 1290
Joined: September 19th, 2009, 5:50 pm
Location: Skanör
Contact:

Tiger I

Post by Björn Johansson »

:salut:
Top notch Tim :thumright:
Höres Mvh Björn

cahlfors
Veteran
Veteran
Posts: 1827
Joined: December 5th, 2008, 5:52 pm
Location: Stockholm/Vallentuna

Post by cahlfors »

Yea, some of the closeups could be Bovy... :shock:

This is very impressive already.

There are a couple of things that I wonder about: It looks like you are using square standoffs for the exhaust shields. Did you make them yourself? How? The hoist support collars on the front deck - did you make them truly vertical? How did you do that?

Thanks.

Your deeply impressed fan,
/Chris

User avatar
Peter
Medlem
Medlem
Posts: 336
Joined: August 28th, 2008, 5:16 am
Location: Boden

Post by Peter »

simply superb! great job
“The bitterness of poor quality lingers long after the sweetness of the lowest price has faded“

"I have a fever ( and some severe back pains )now... and the only prescription is more tank building!" :twisted: :twisted: :twisted:

User avatar
pepppe75
Medlem
Medlem
Posts: 278
Joined: August 27th, 2008, 4:47 pm

Post by pepppe75 »

hi tim!!

looks real to me man!!!!awesome :D


best regards peppe :D

Return to “English”