Thank you friends for the nice comments.
Not to bore you with videos but with the weather like summer here finally, one more video of the Panther and Panzer IV rolling by. Until I can get them both to a proper setting, my sidewalk will have to do.:(
http://www.youtube.com/watch?v=2HddC9O-rFo
Now back to finishing the turret details.
Tim
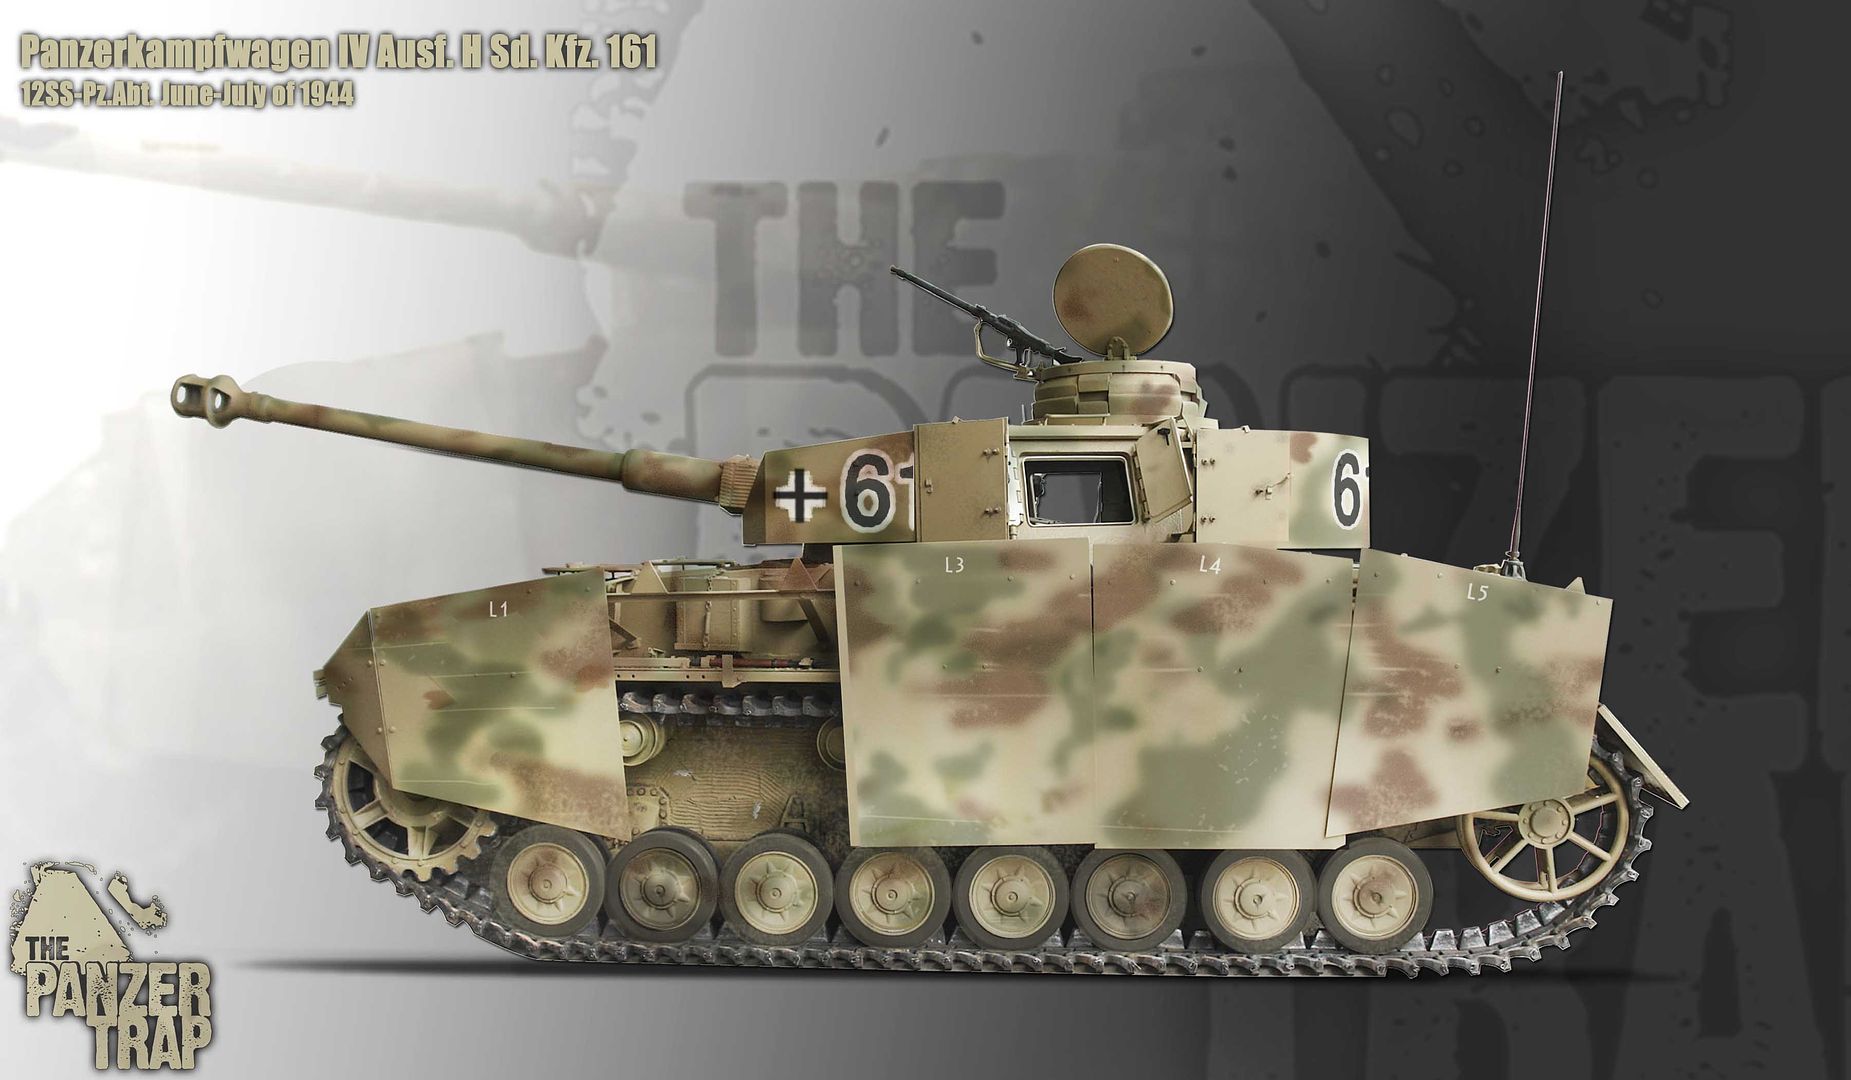
Panzerkampfwagen IV Ausf H Project

-
Björn Johansson
- Veteran

- Posts: 1208
- Joined: September 19th, 2009, 5:50 pm
- Location: Skanör
- Contact:
-
TBowman
- Medlem

- Posts: 186
- Joined: November 23rd, 2010, 11:43 pm
- Location: Northern California
- Contact:
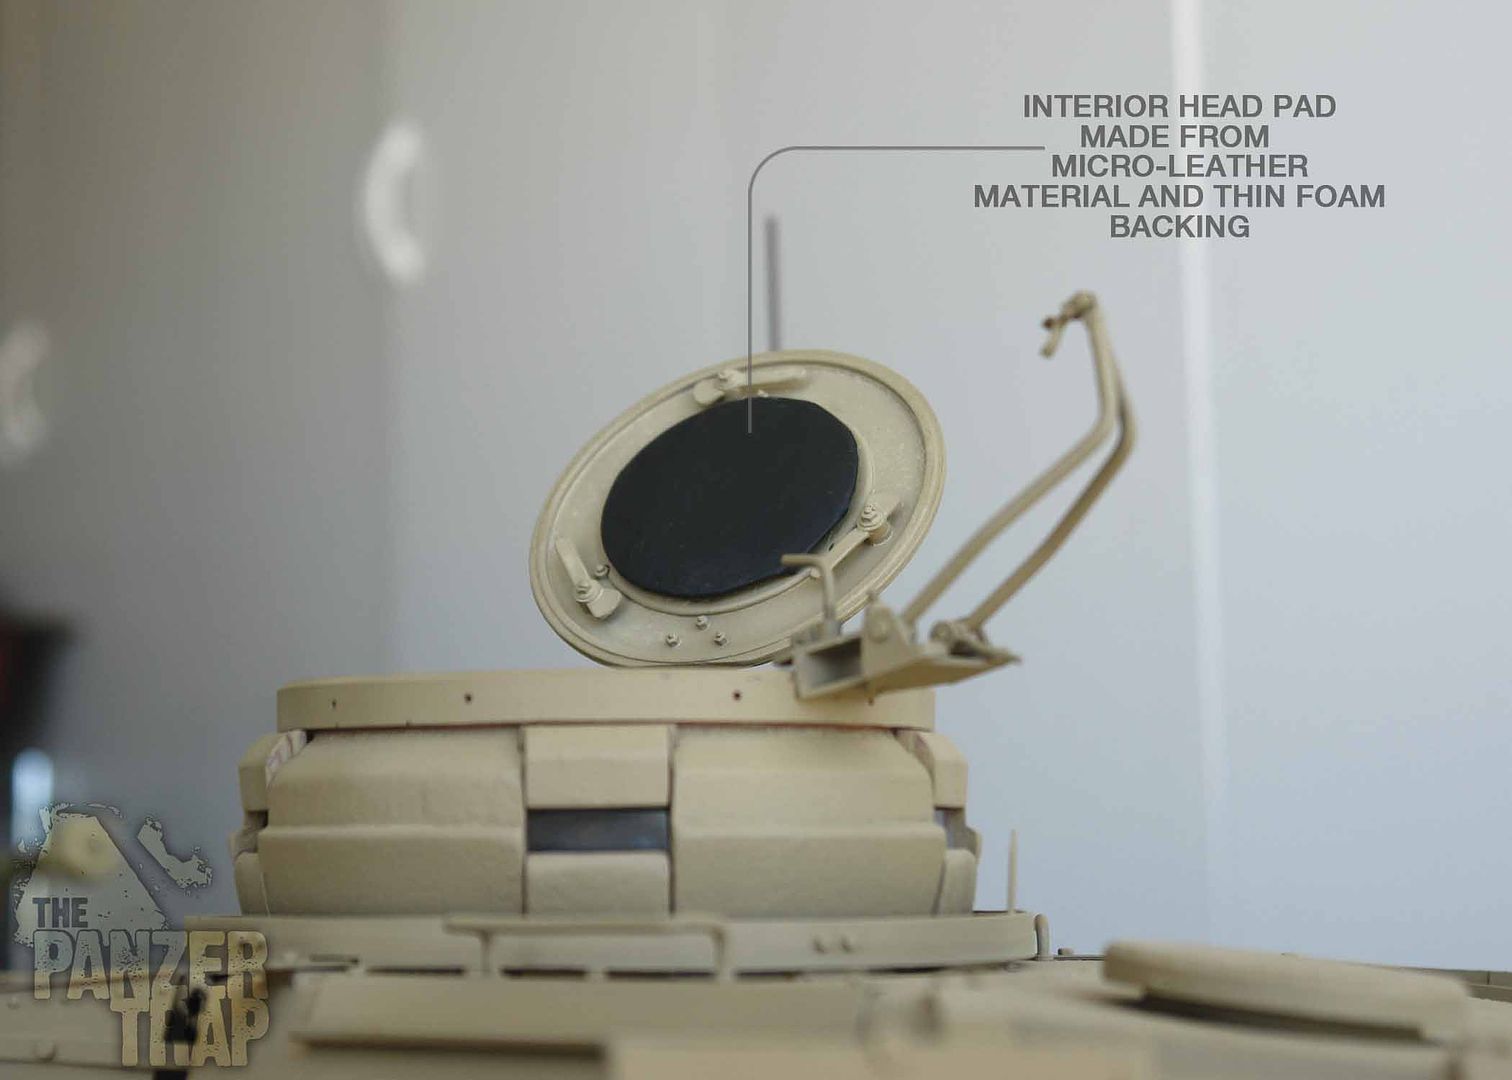
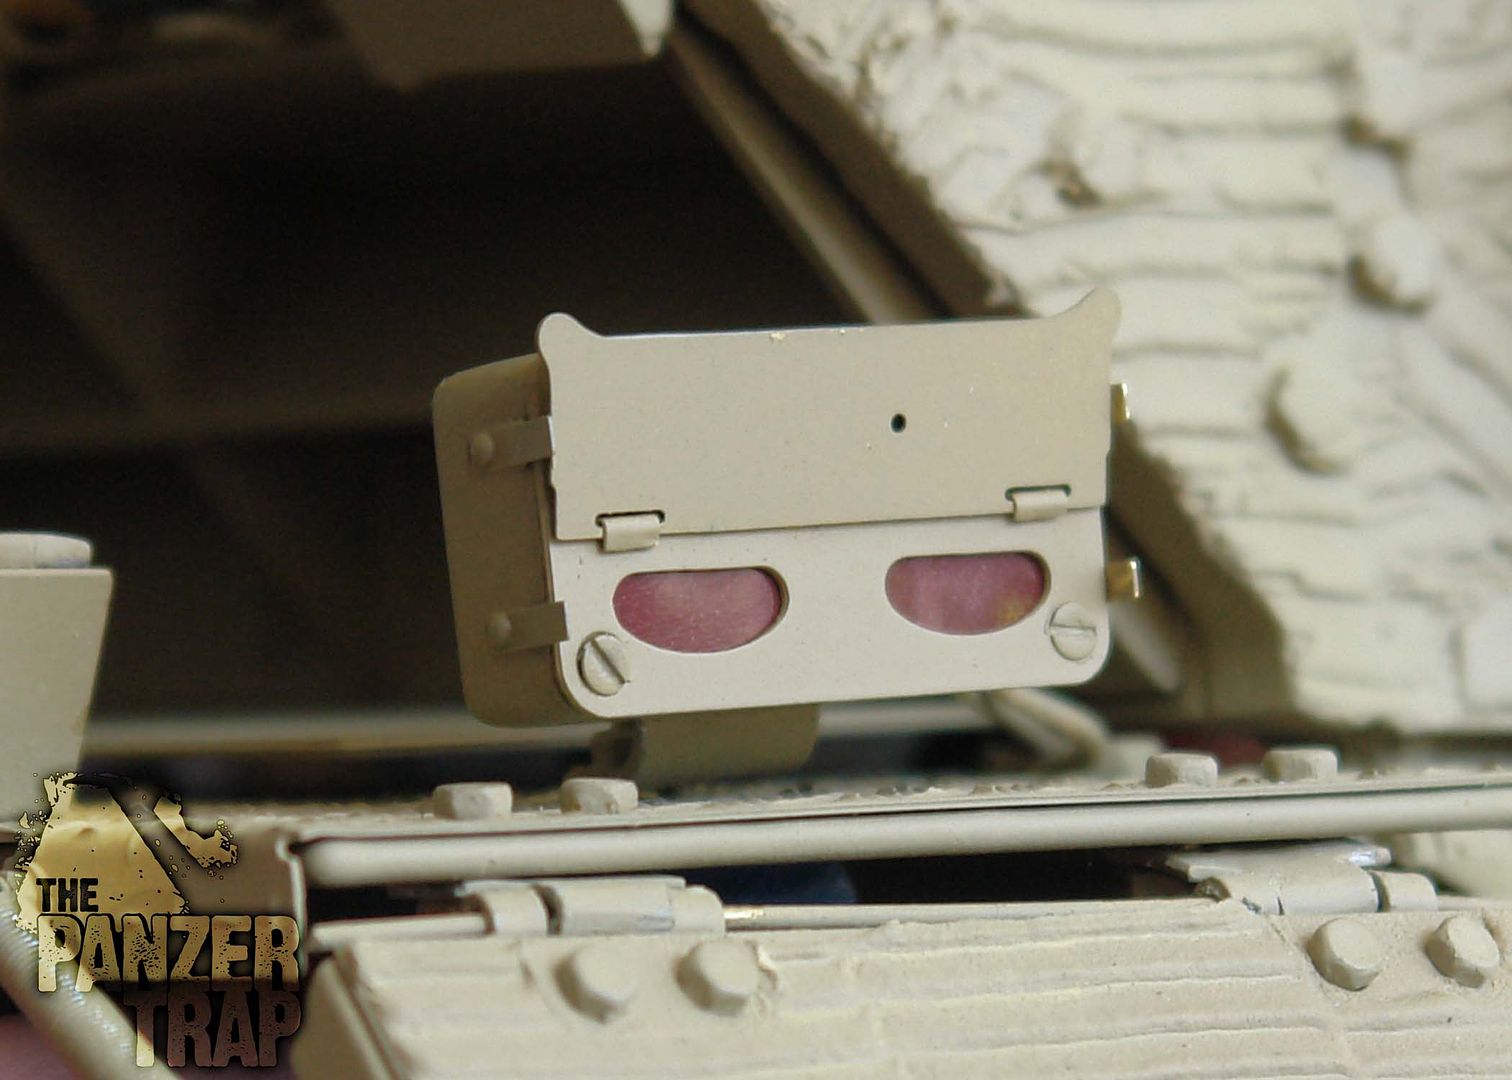
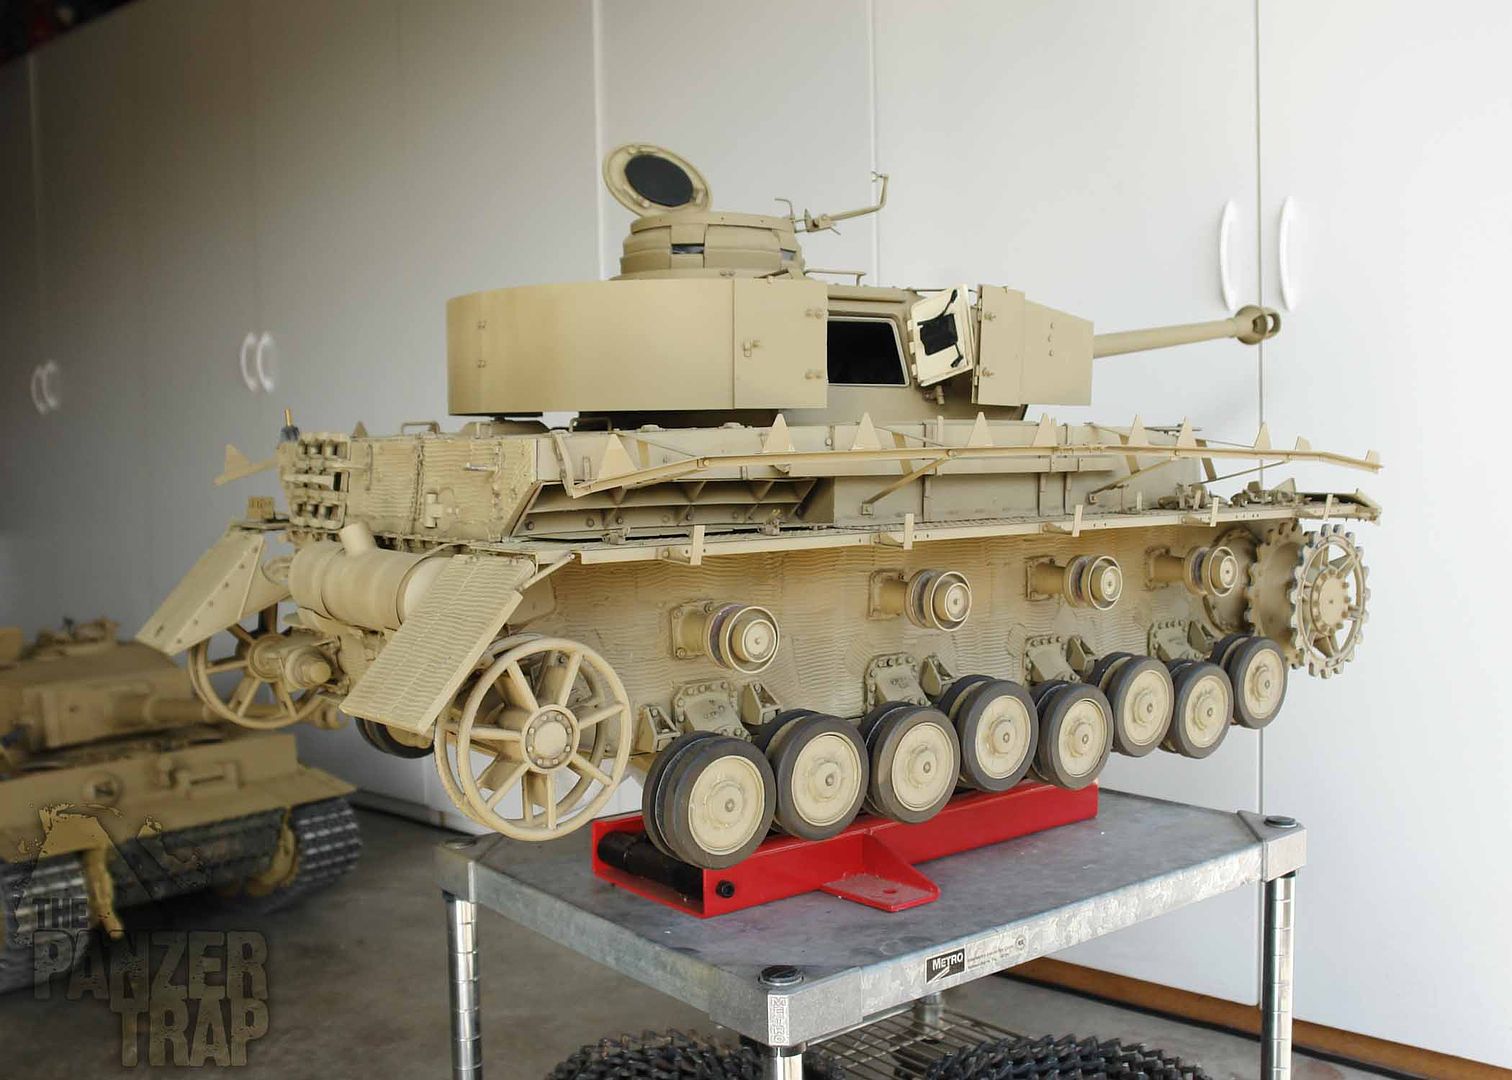
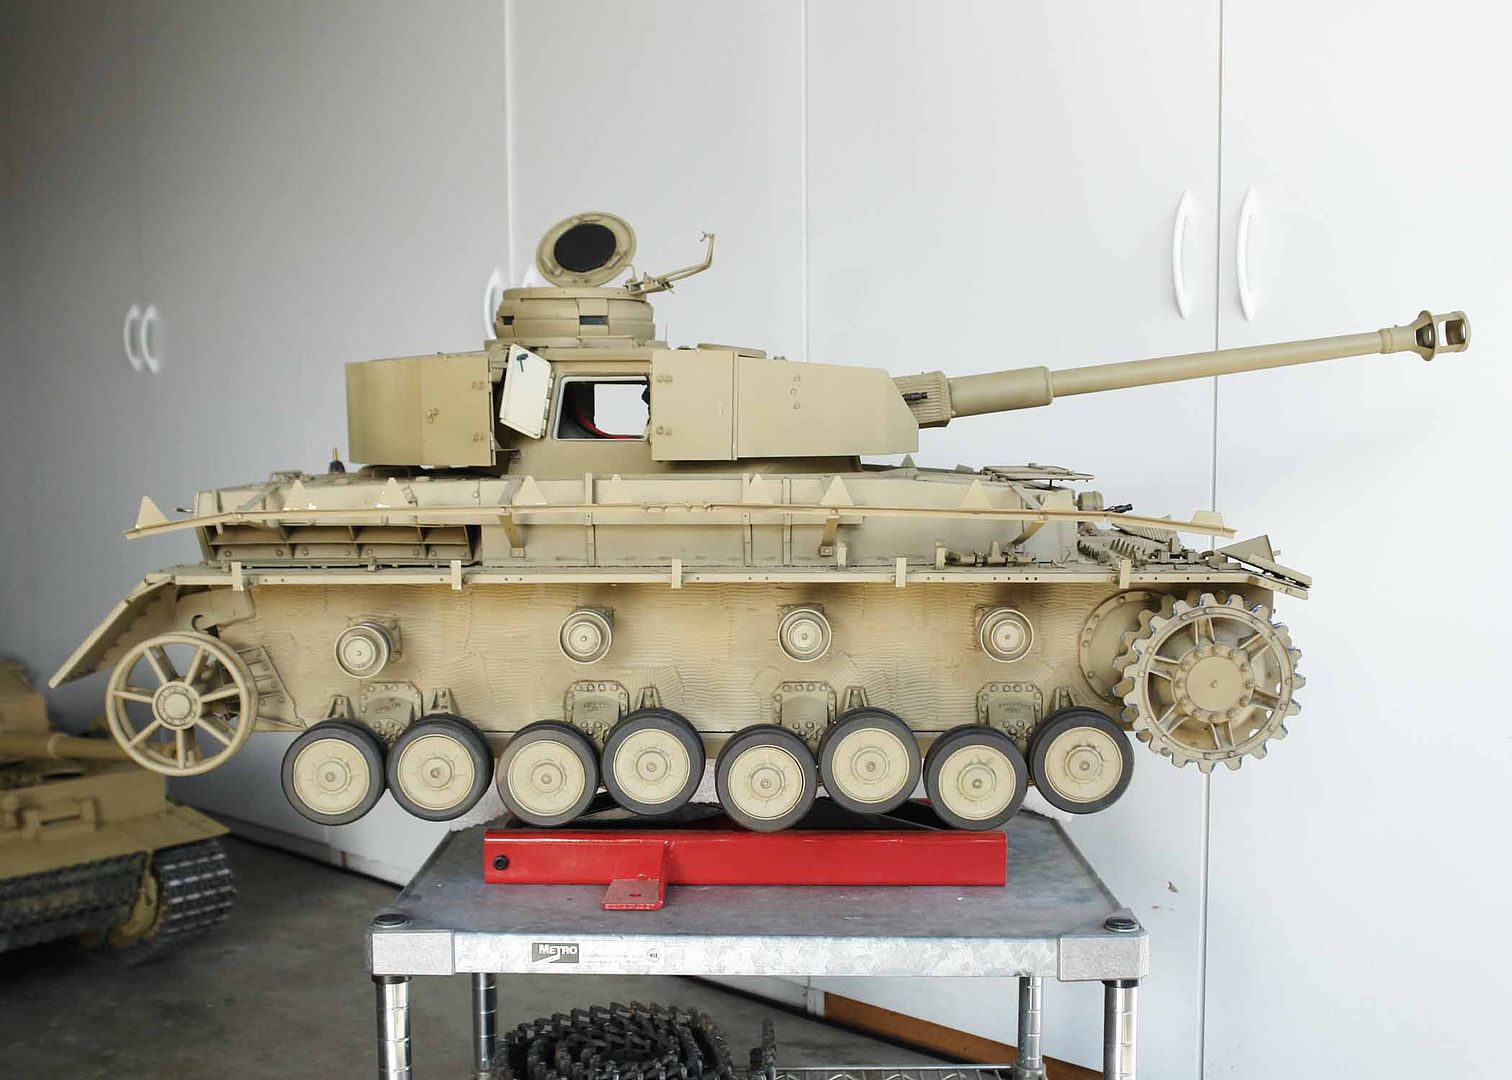
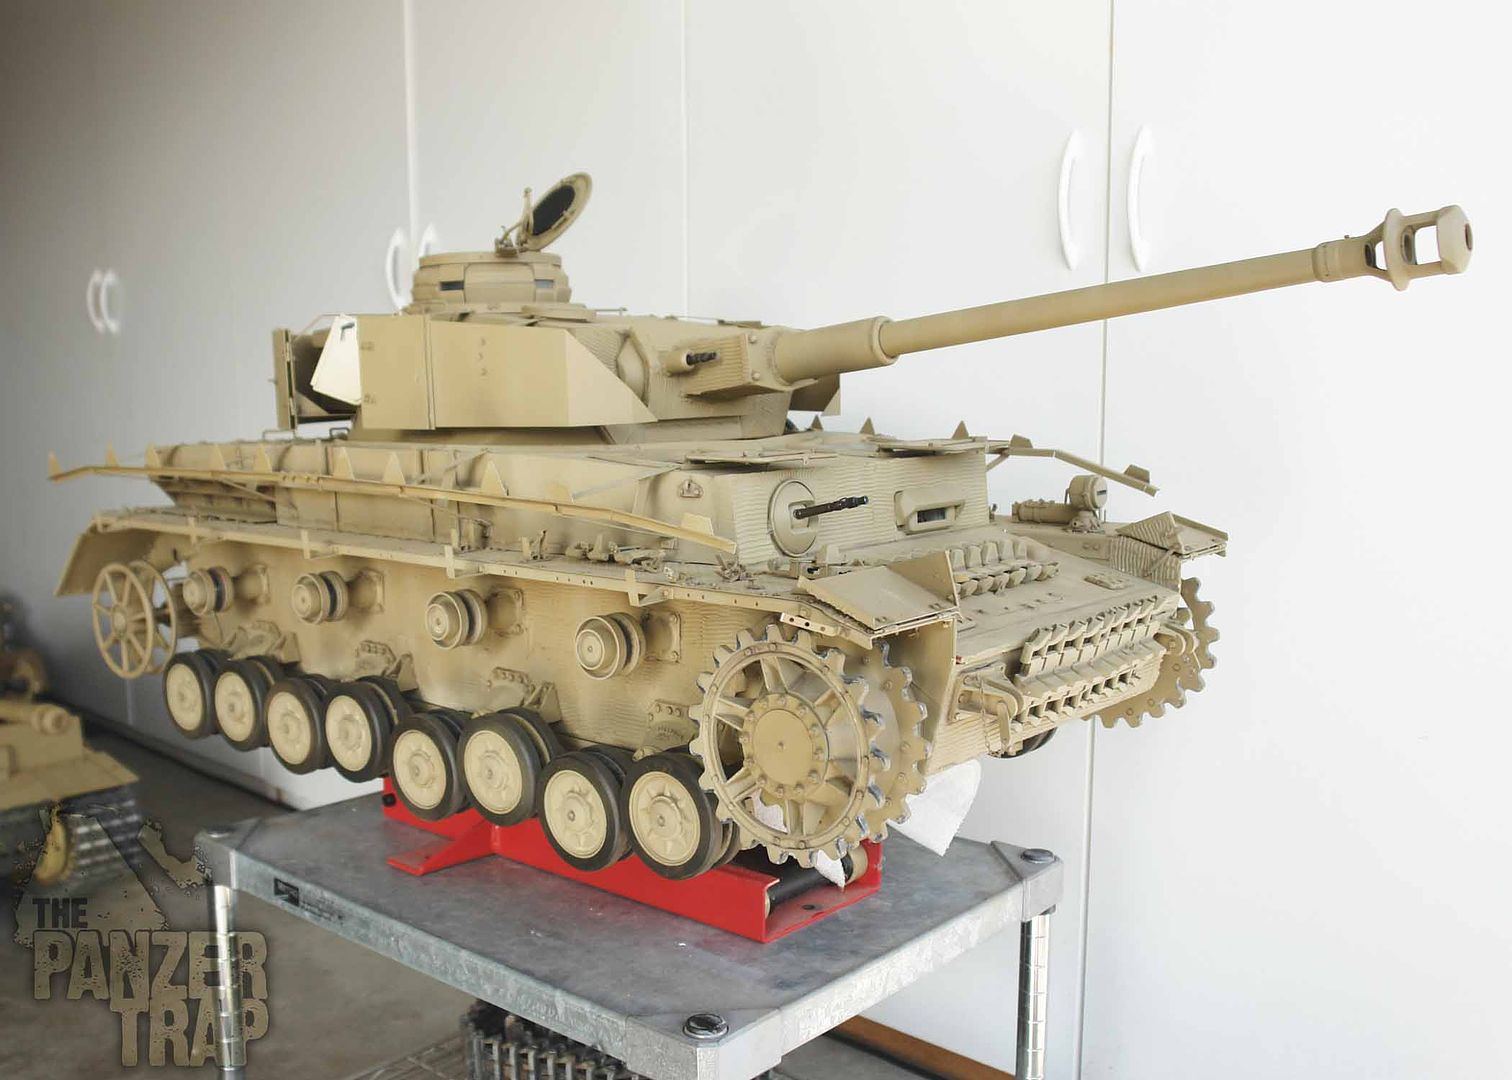
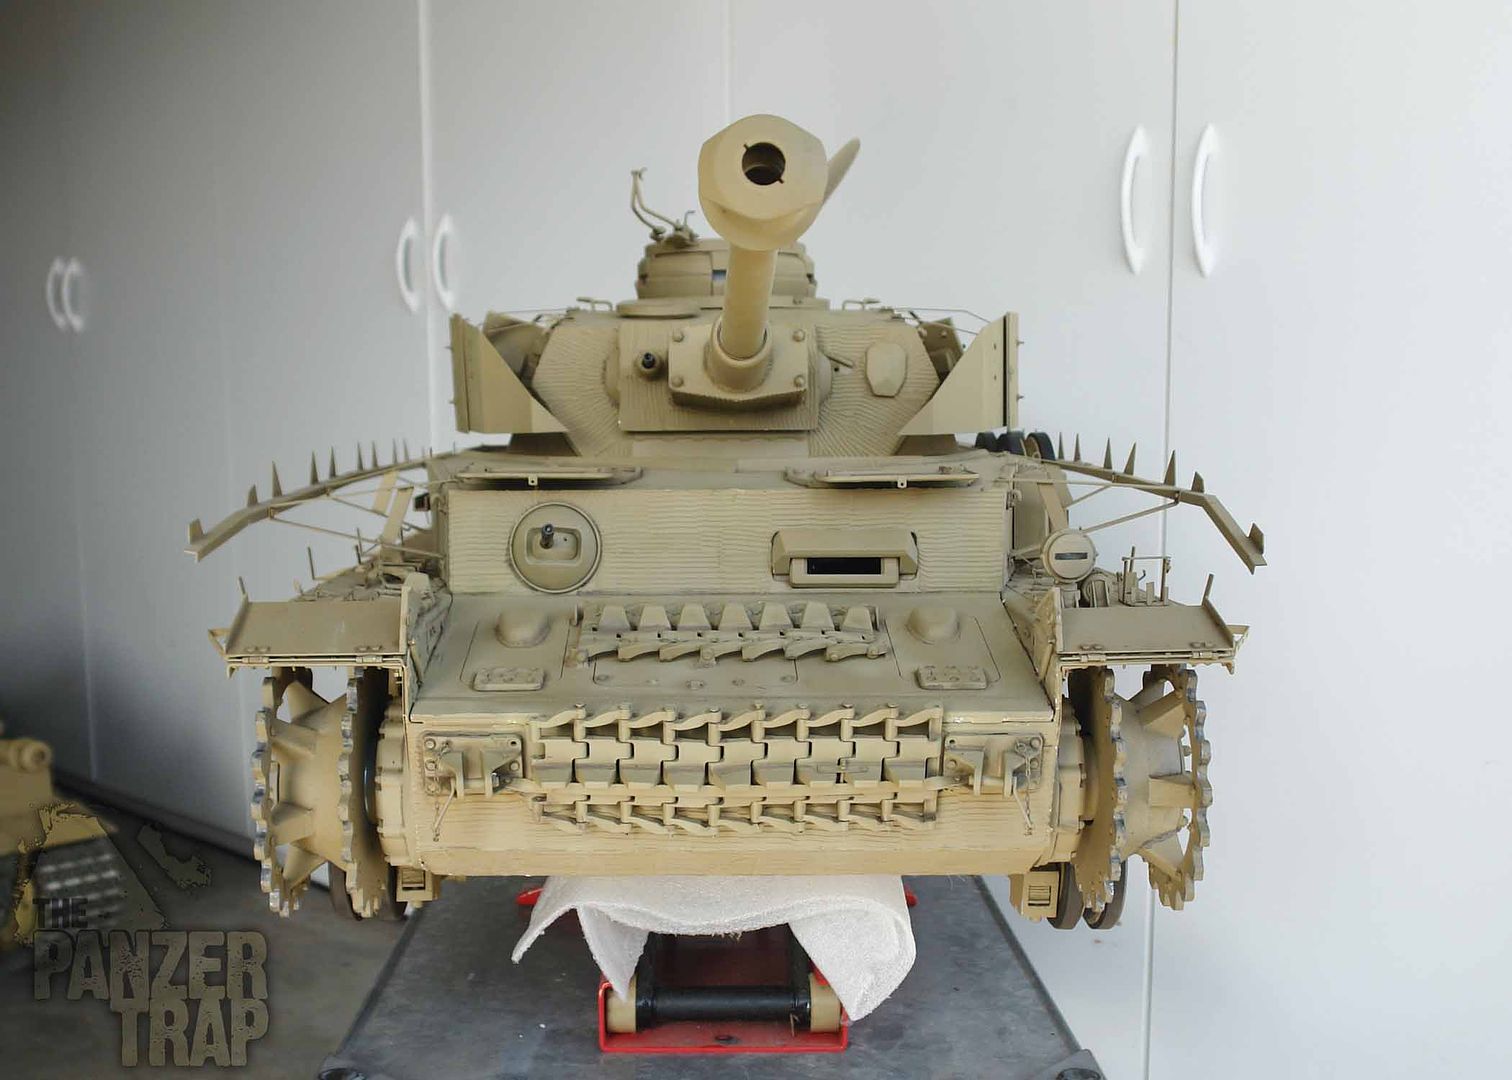
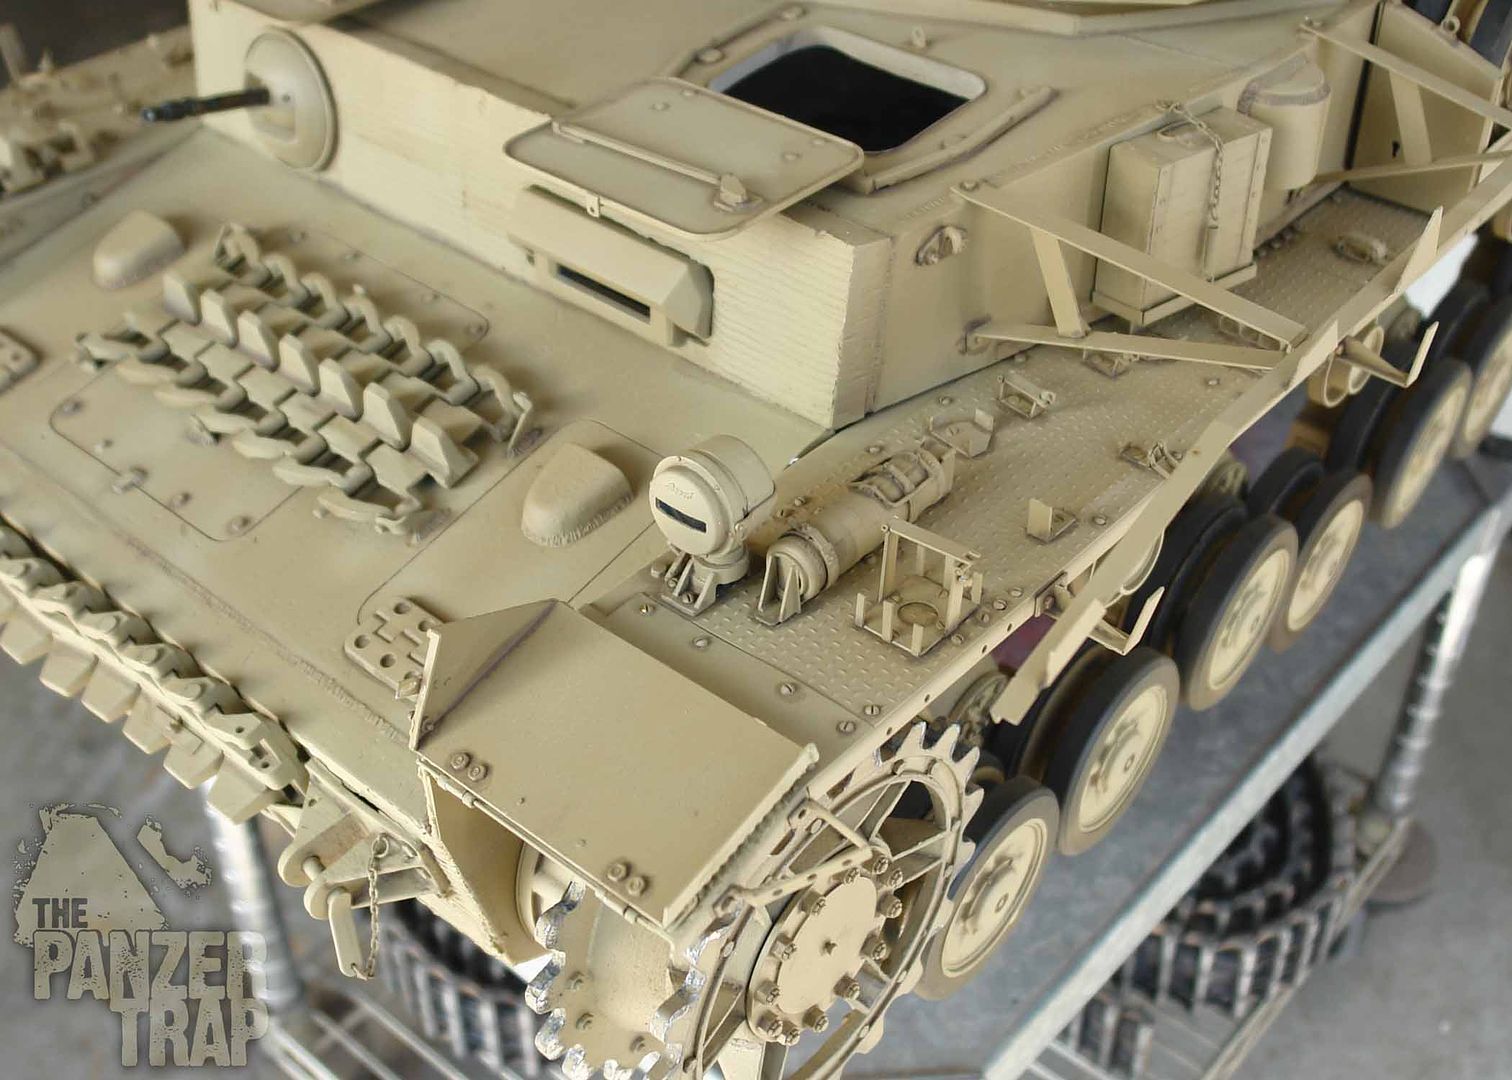
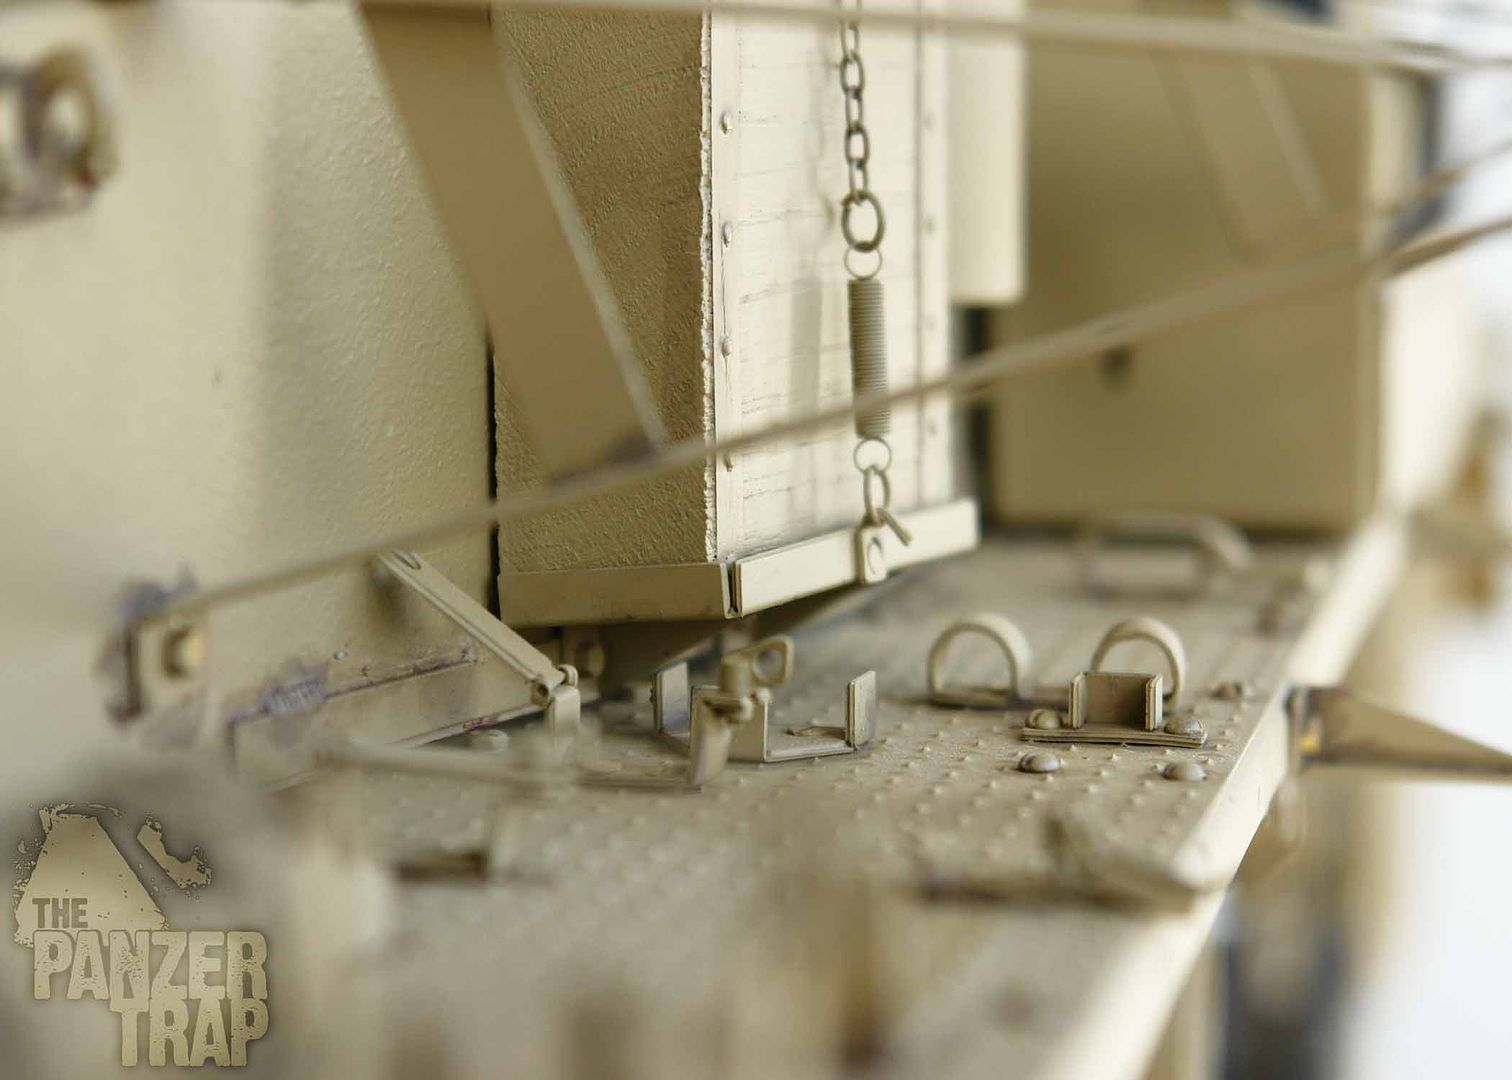
Spent a little time to try an experiment for the commander's hatch interior. Stretched some leather-like material over a thin pad I cut out with a metal disc backing. This will be left until I redo my own cupola and hatch at a later date. From all photos I have seen, it appears that the kits locking levers are incorrect and in the photo below are actually in the locked position. However you can see the tabs on these handles are in the 'unlocked' position. Makes sense, when locked, you wouldn't have the handles in front of the head pad. This will be fixed when I do my own cupola.
a bunch more new walk around photos can be seen here with full schurzen(for a change). Also painted some spare links on the front deck to try the 'factory fresh' look.
http://s203.photobucket.com/albums/aa18 ... =slideshow
Tim
a bunch more new walk around photos can be seen here with full schurzen(for a change). Also painted some spare links on the front deck to try the 'factory fresh' look.
http://s203.photobucket.com/albums/aa18 ... =slideshow
Tim
-
Björn Johansson
- Veteran
- Posts: 1208
- Joined: September 19th, 2009, 5:50 pm
- Location: Skanör
- Contact:


-
Björn Johansson
- Veteran
- Posts: 1208
- Joined: September 19th, 2009, 5:50 pm
- Location: Skanör
- Contact:
PANZER IV
Nice Tim.
Looking good.
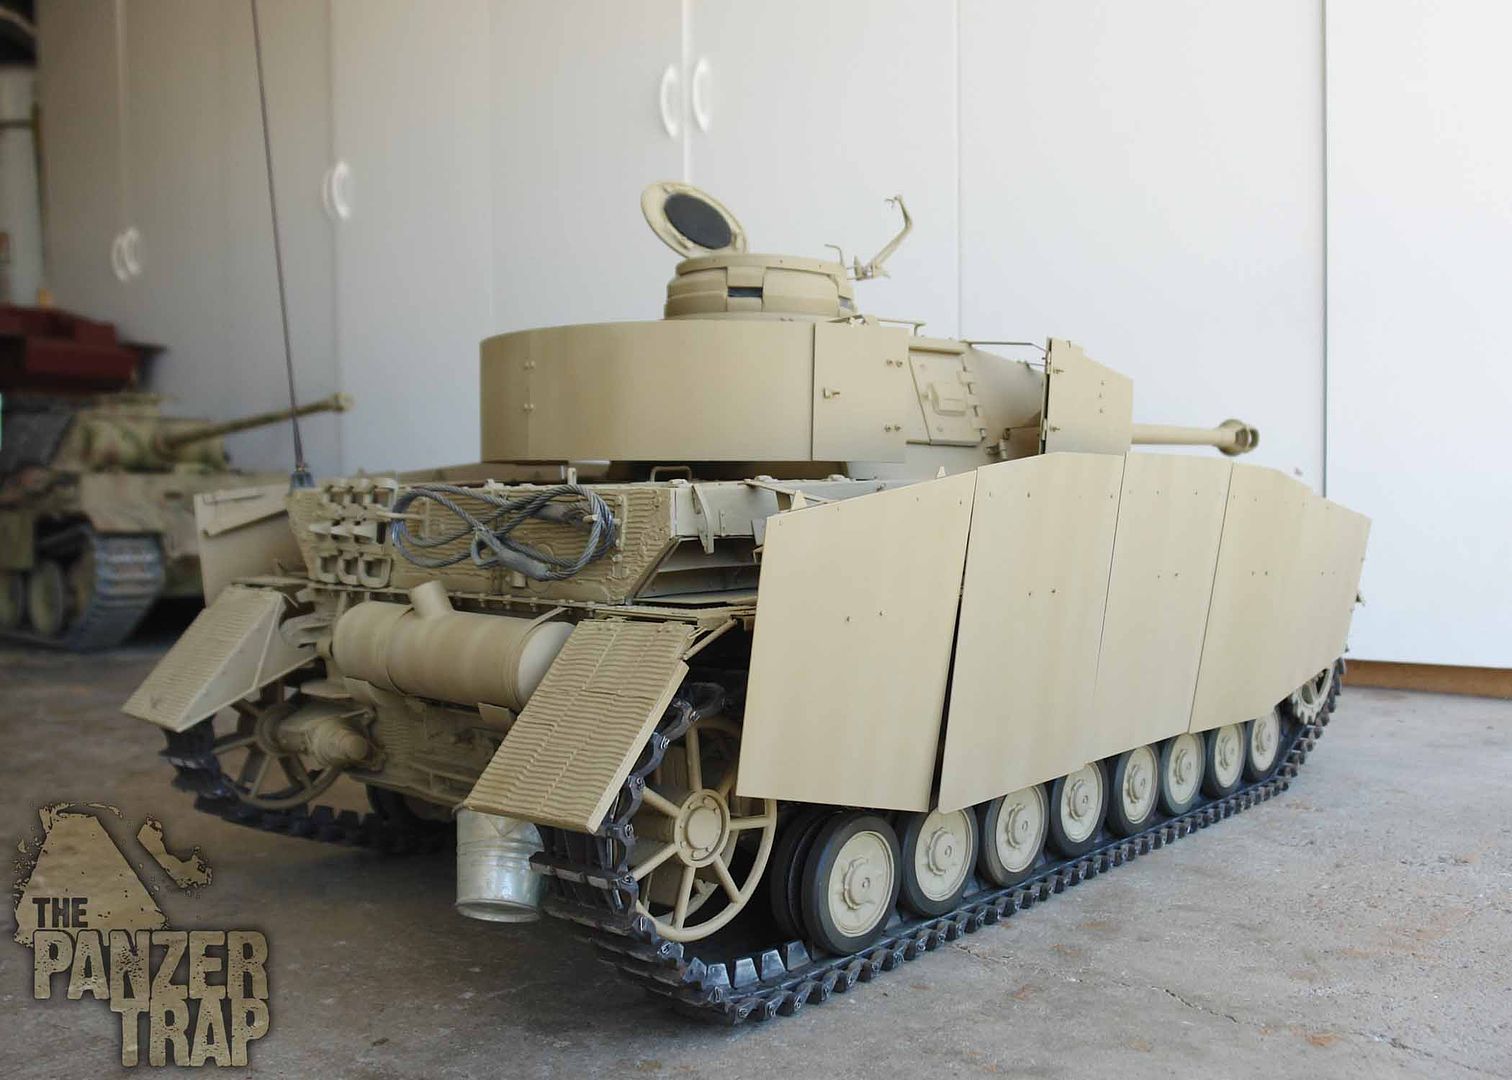
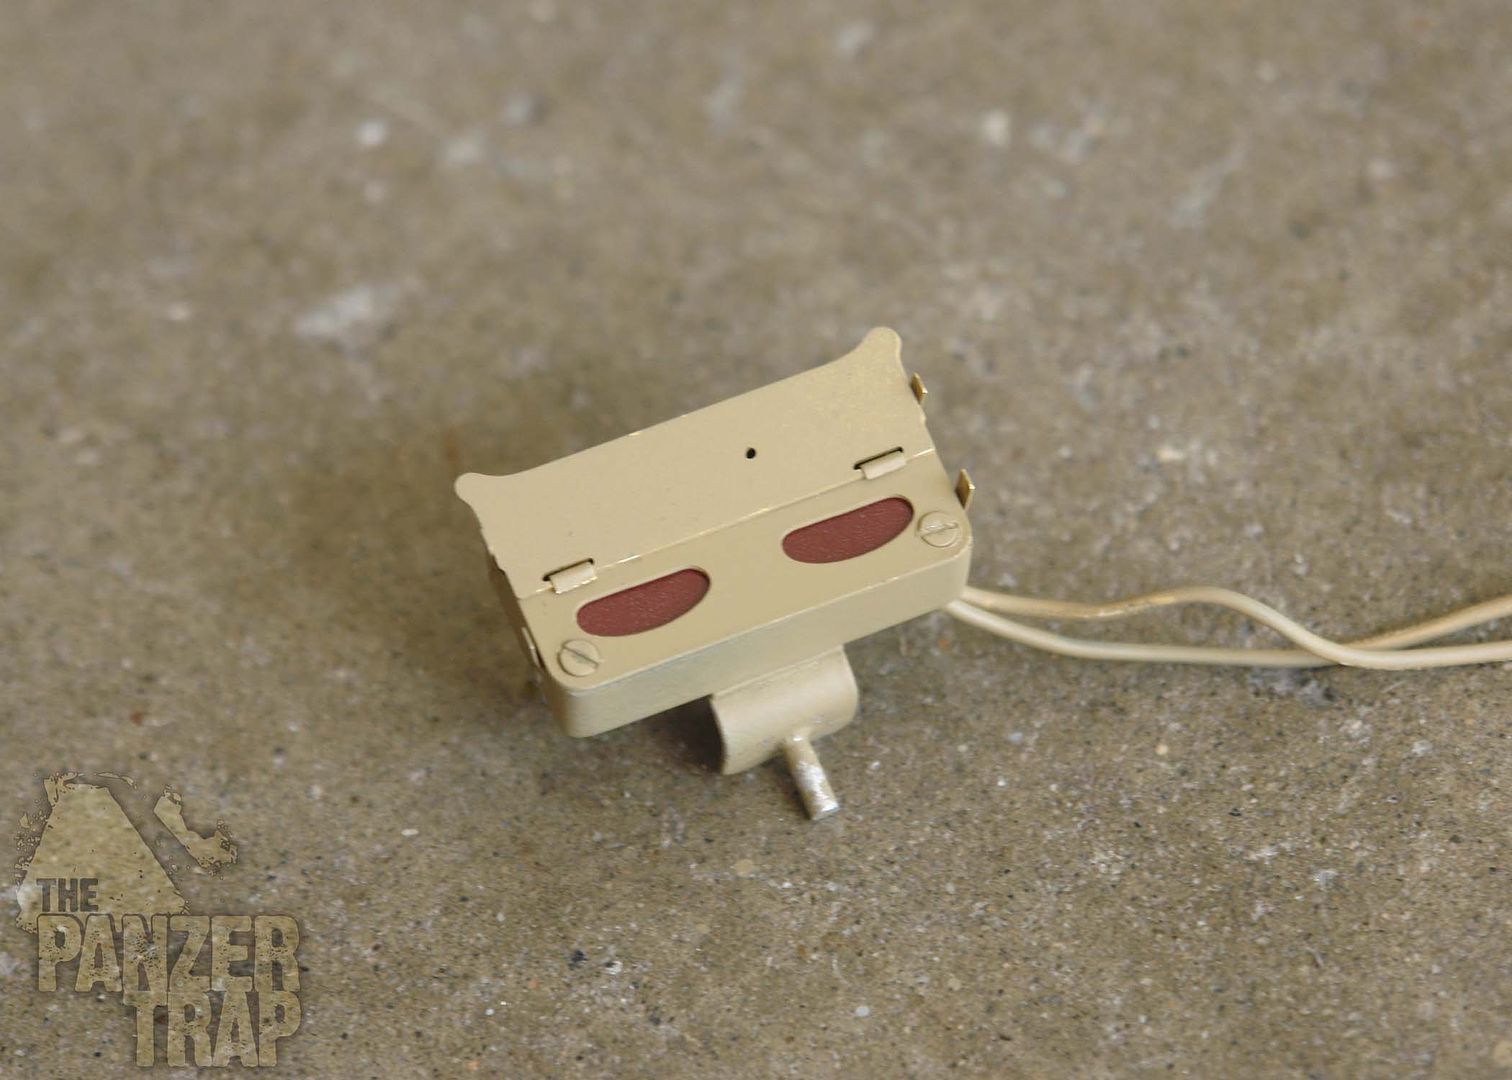
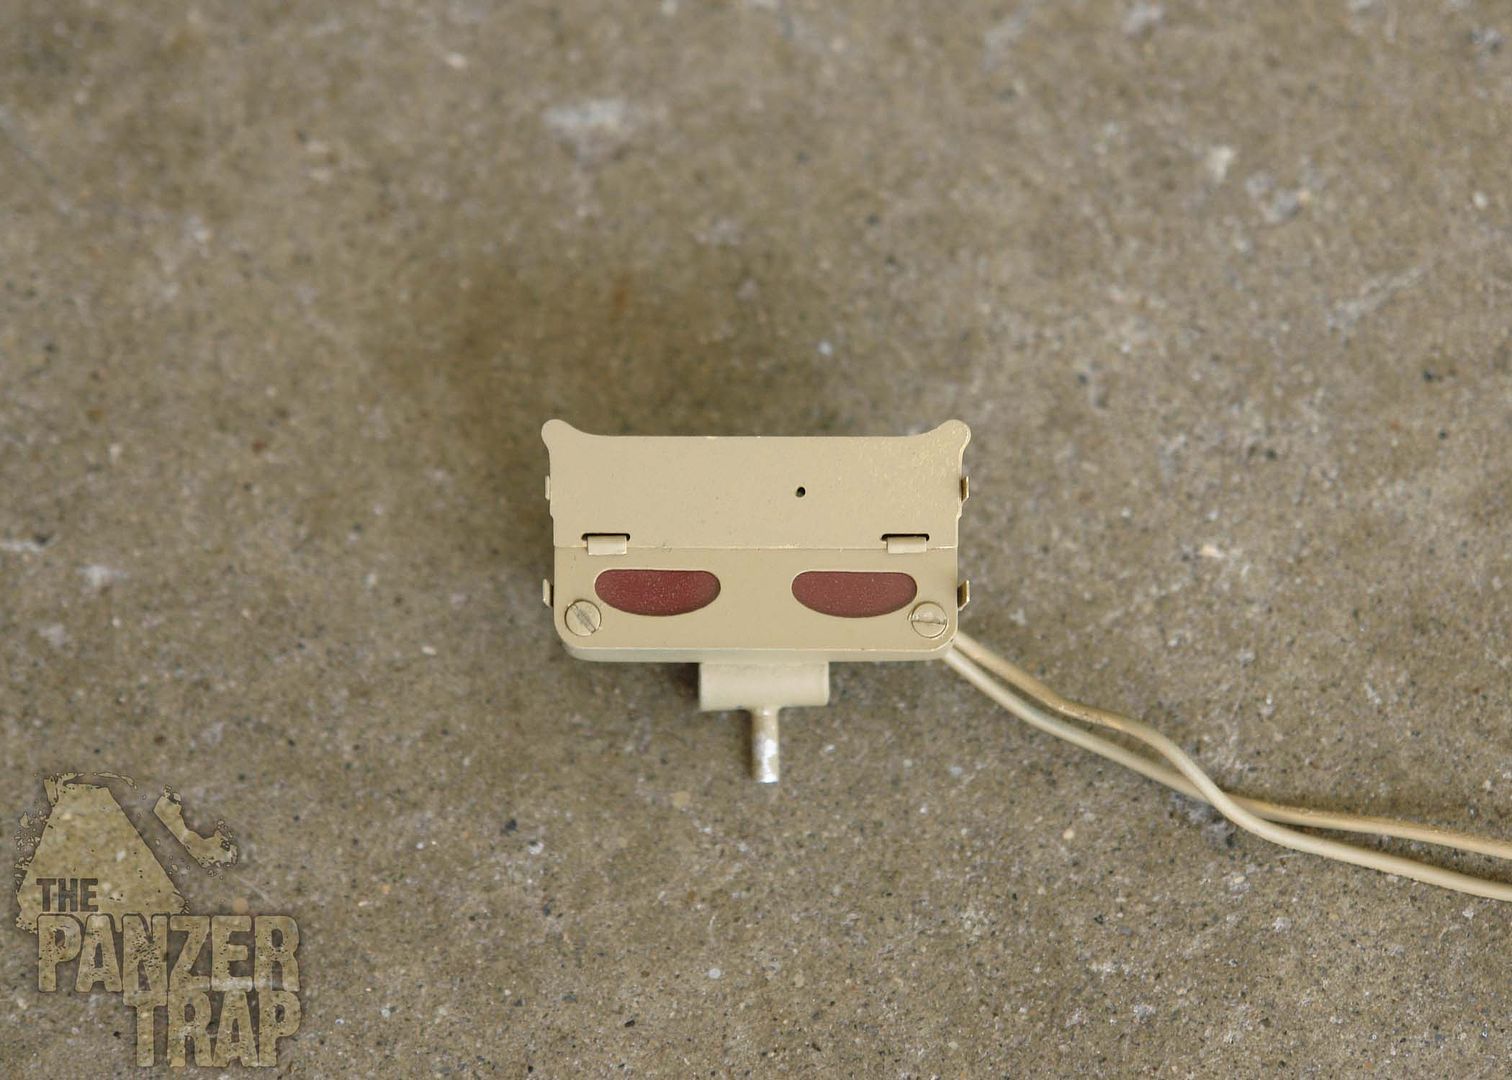
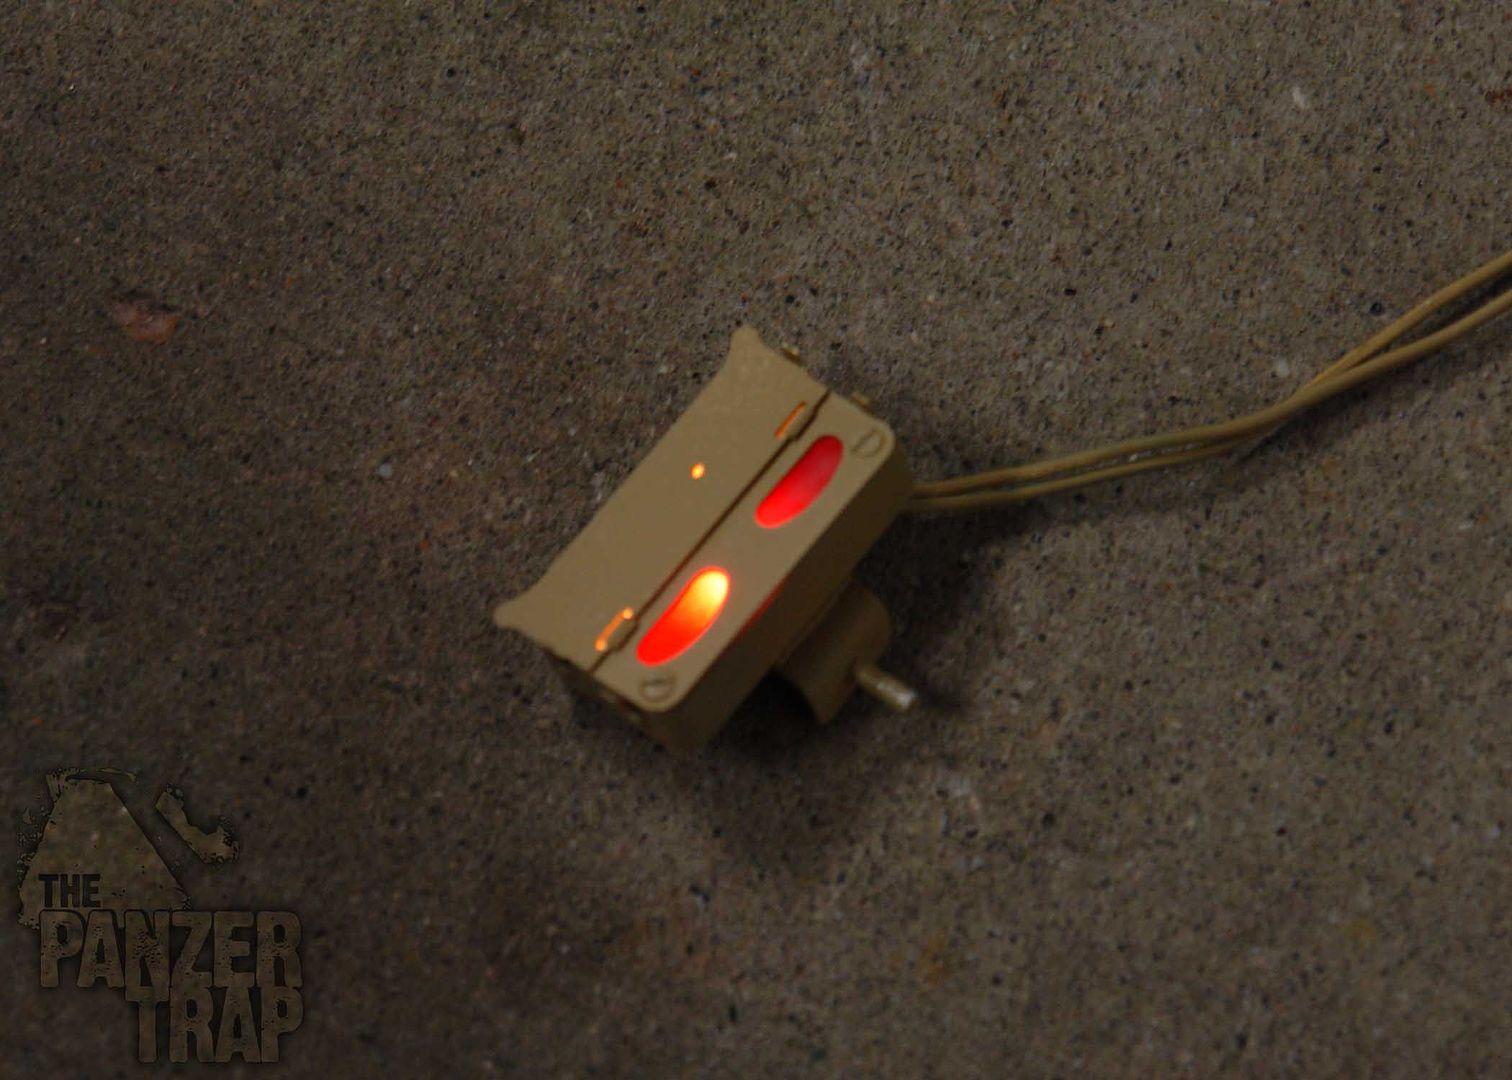
I also bought one off Stannards rear light
planning on doing the same mods as you do.
Looking good.
I also bought one off Stannards rear light
planning on doing the same mods as you do.
Höres Mvh Björn
-
TBowman
- Medlem
- Posts: 186
- Joined: November 23rd, 2010, 11:43 pm
- Location: Northern California
- Contact:
Hi everyone
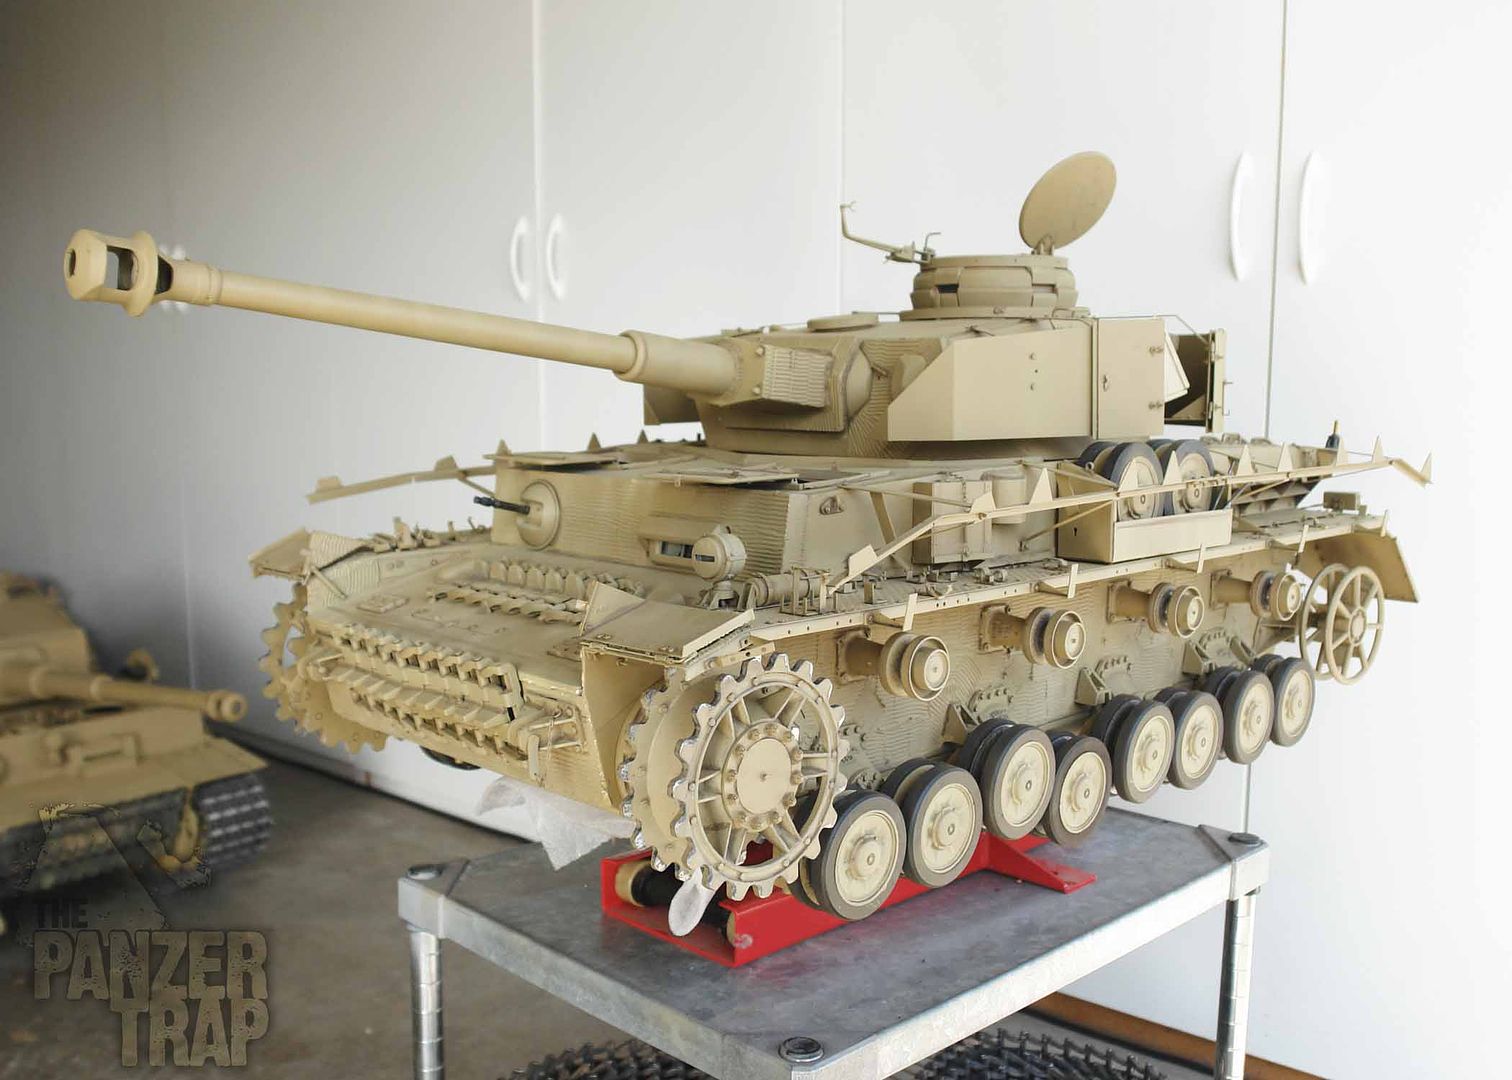
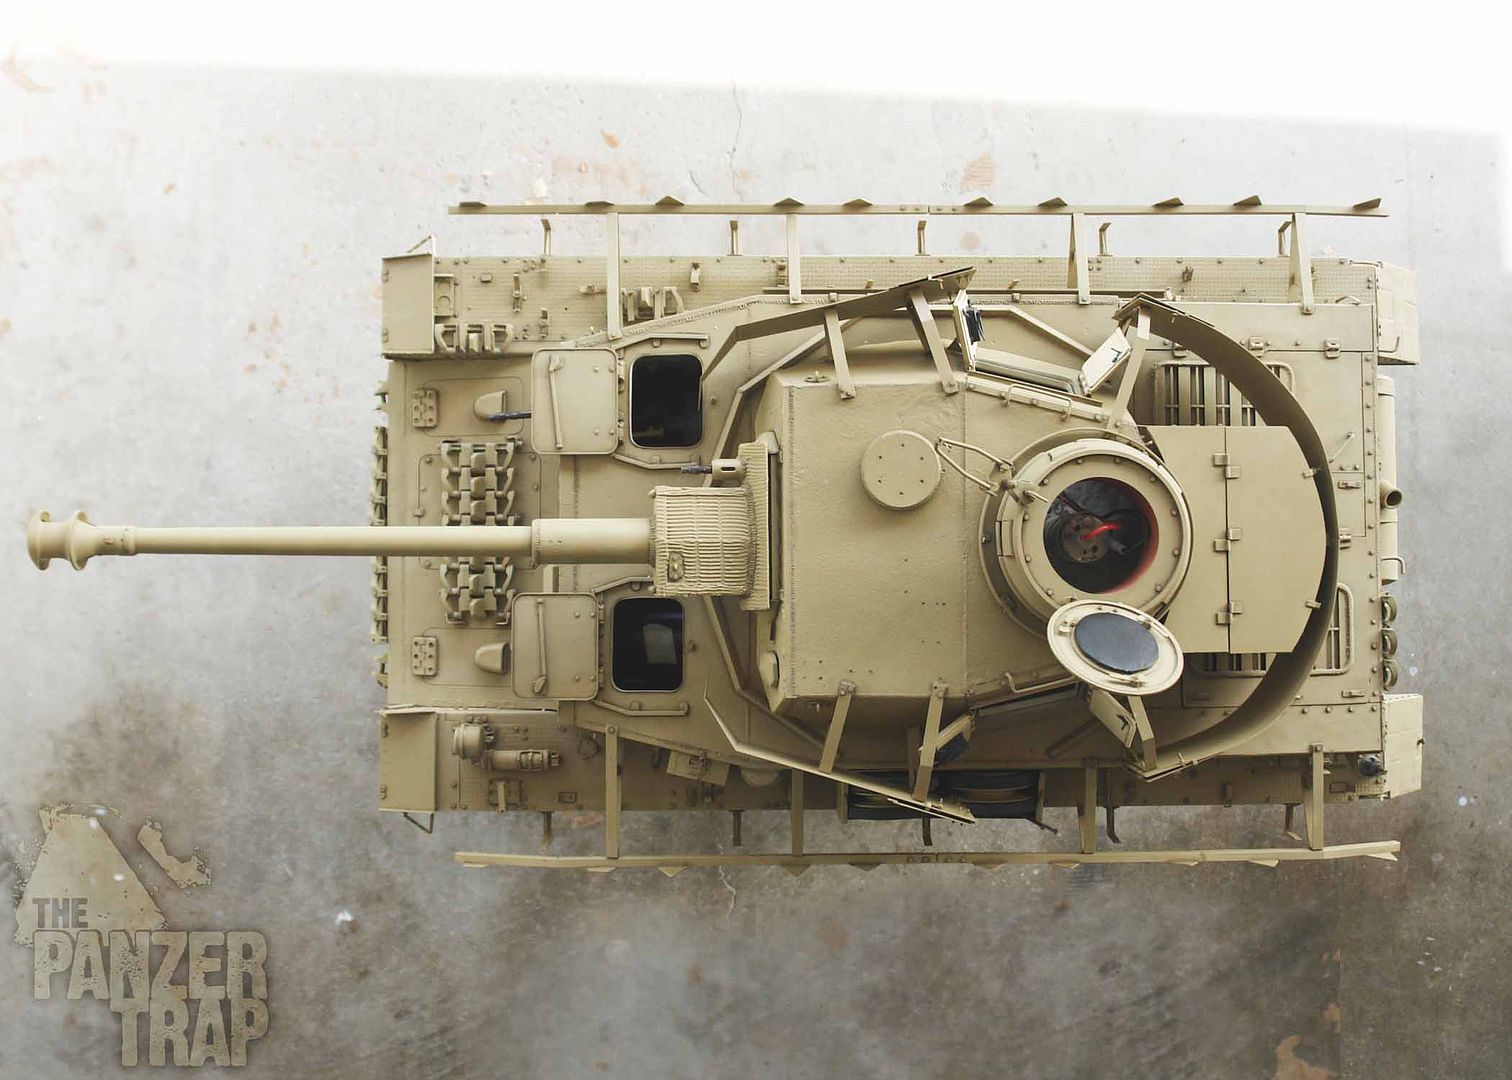
Have decided to finally circle back to the Panzer IV and complete it in the next month or so. It will be good to finish one and check it off the list so I can focus only on the next project(or two) I will begin adding the first level of weathering and also correct the angle on the front mud flaps.
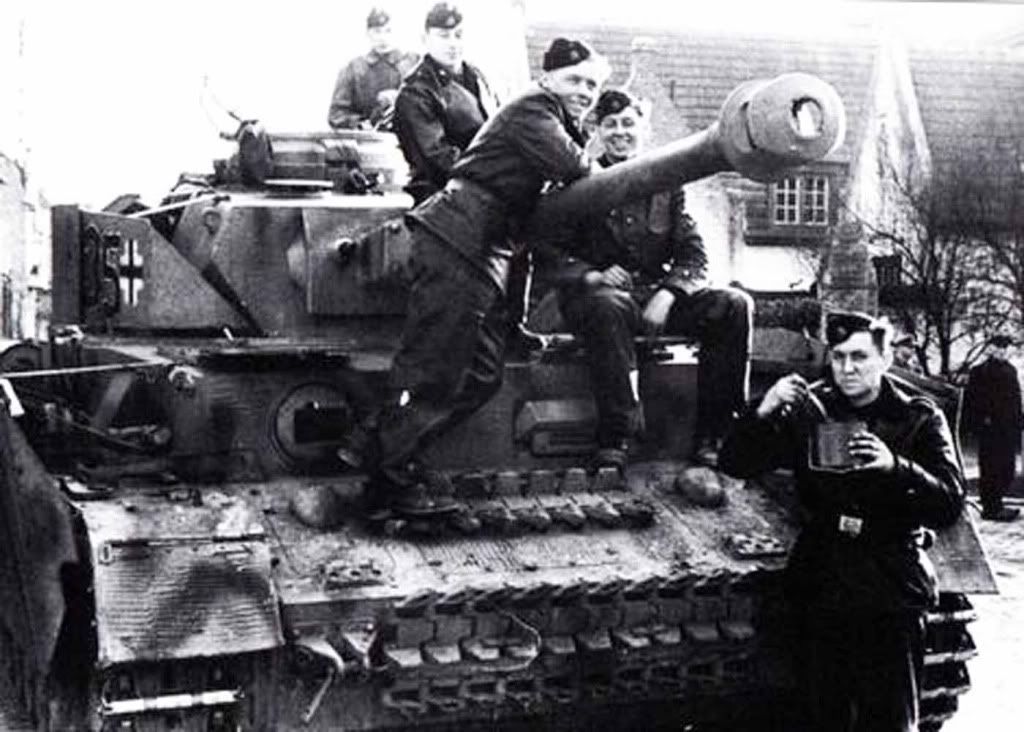
Some images of the unit my Panzer IV will represent. Have not yet decided on company. Either 5th or 5th. I won't be painting girlfriend names on it. It will have the crosses in front of the tactical number though.
12SS vehicles
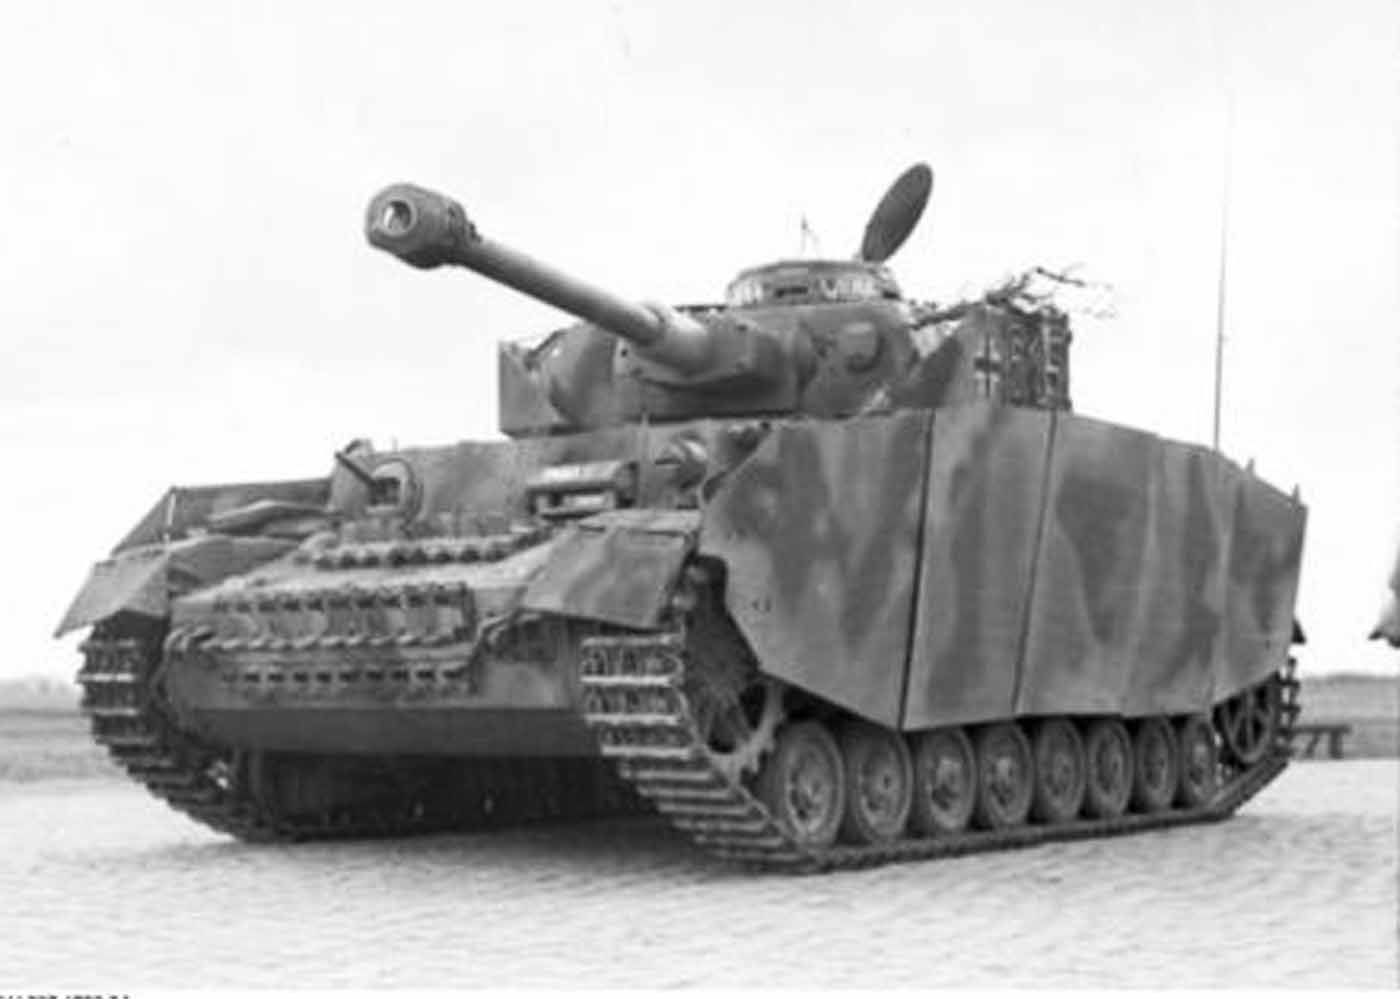
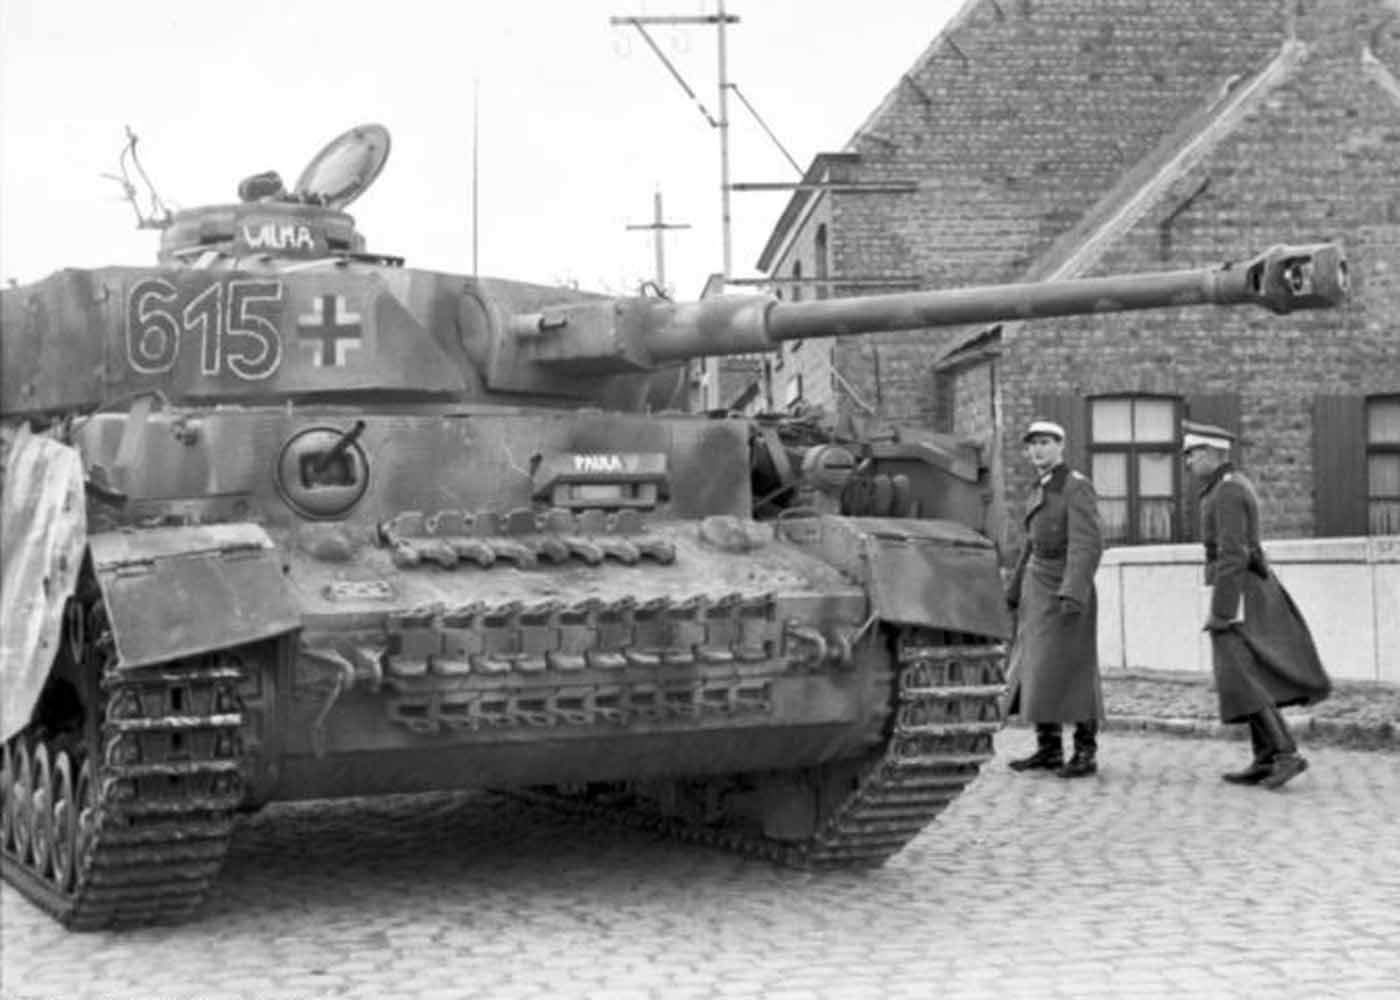
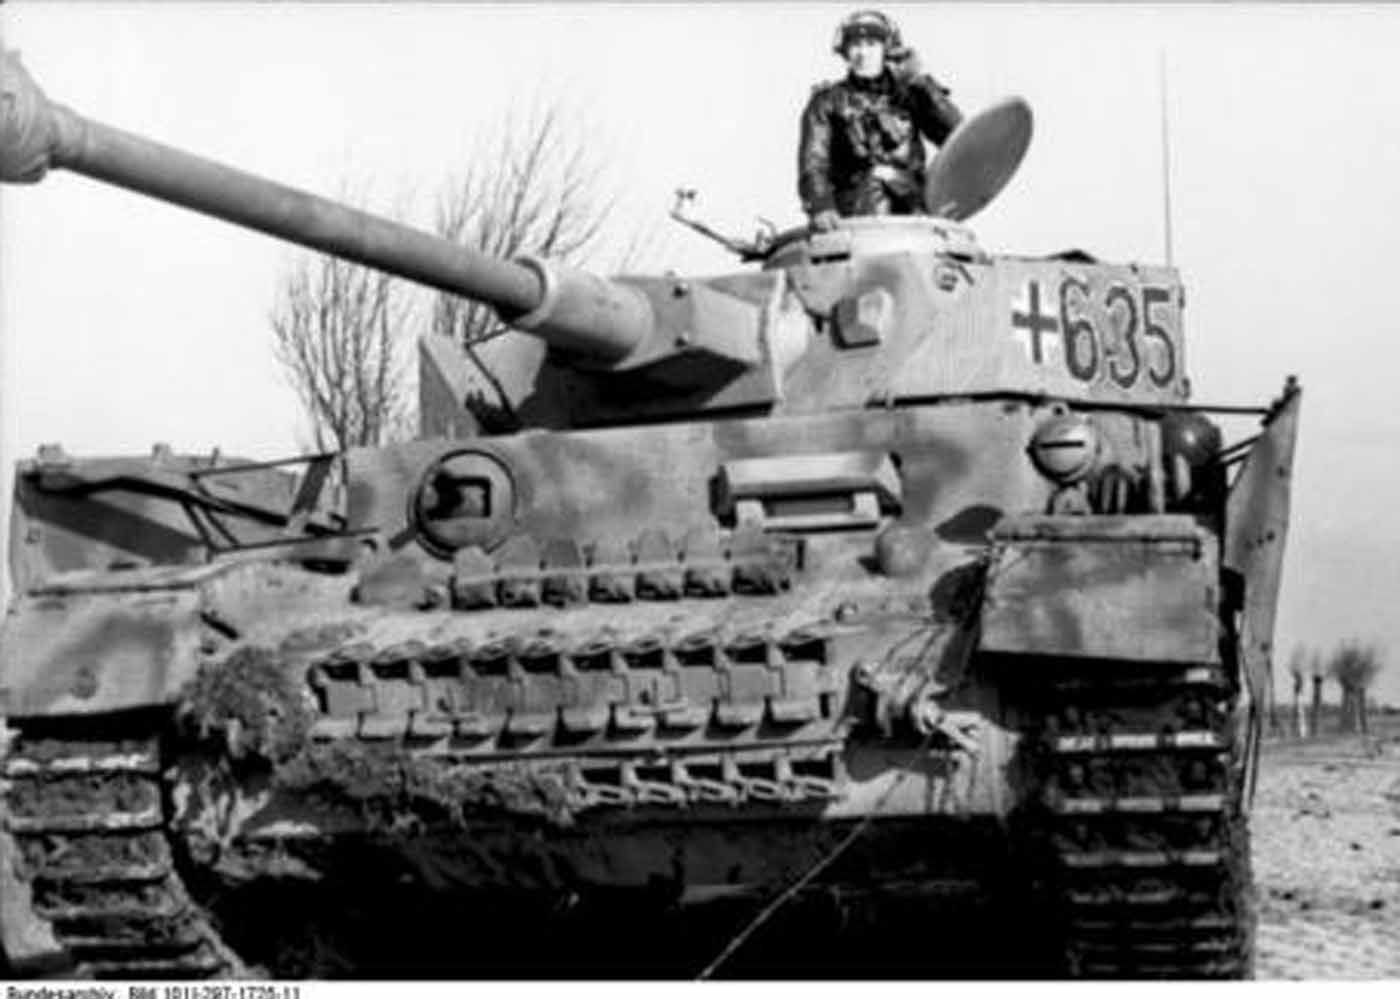
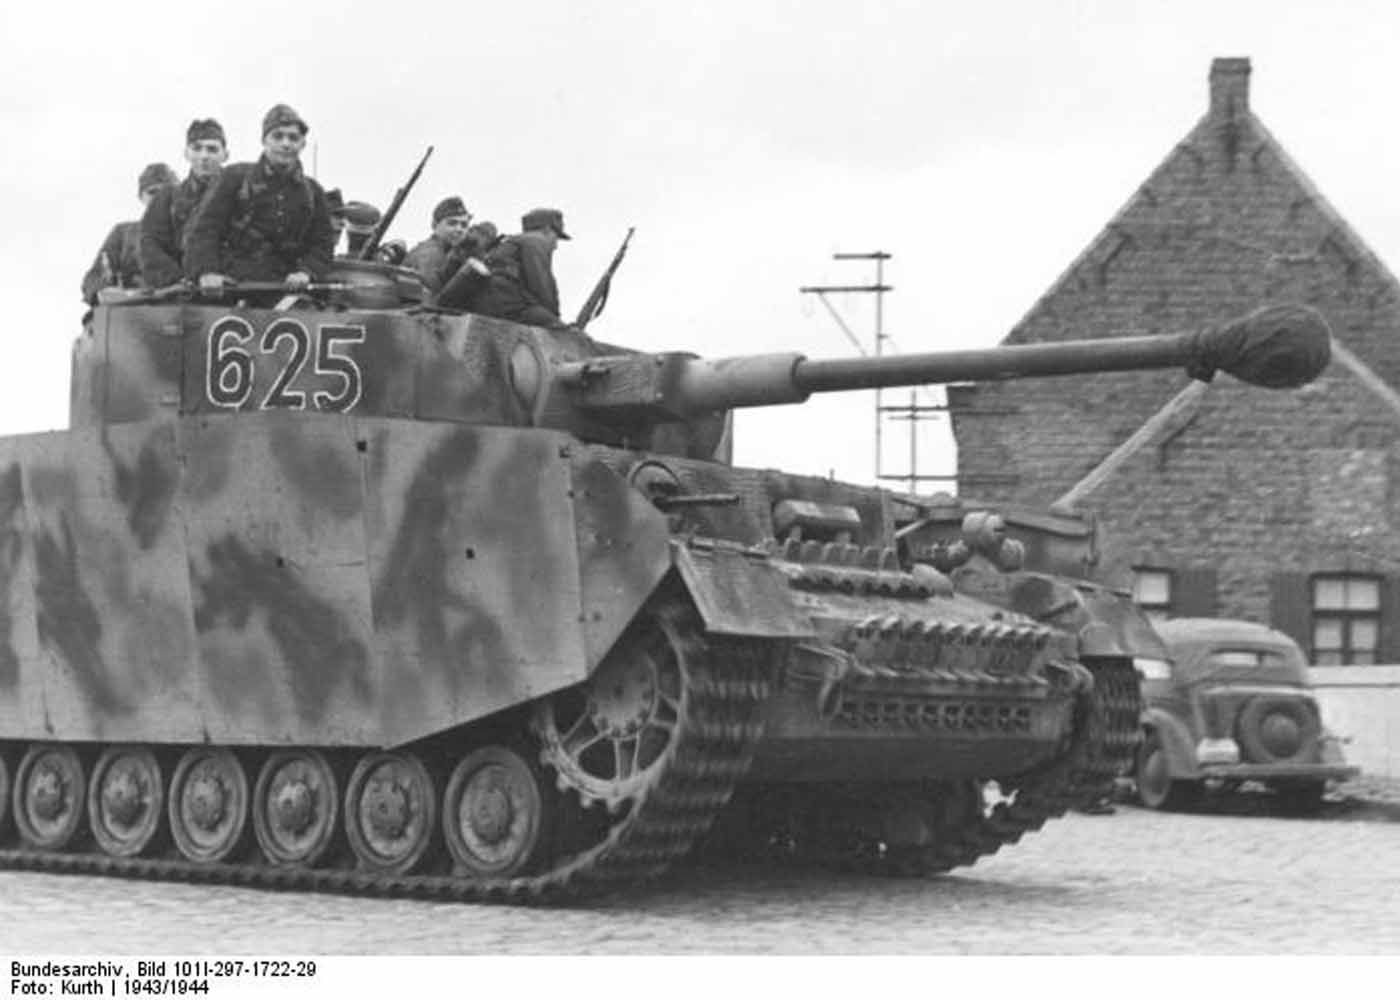
9th SS
More soon
Tim
Have decided to finally circle back to the Panzer IV and complete it in the next month or so. It will be good to finish one and check it off the list so I can focus only on the next project(or two) I will begin adding the first level of weathering and also correct the angle on the front mud flaps.
Some images of the unit my Panzer IV will represent. Have not yet decided on company. Either 5th or 5th. I won't be painting girlfriend names on it. It will have the crosses in front of the tactical number though.
12SS vehicles
9th SS
More soon
Tim
-
TBowman
- Medlem
- Posts: 186
- Joined: November 23rd, 2010, 11:43 pm
- Location: Northern California
- Contact:
Fun with Photoshop
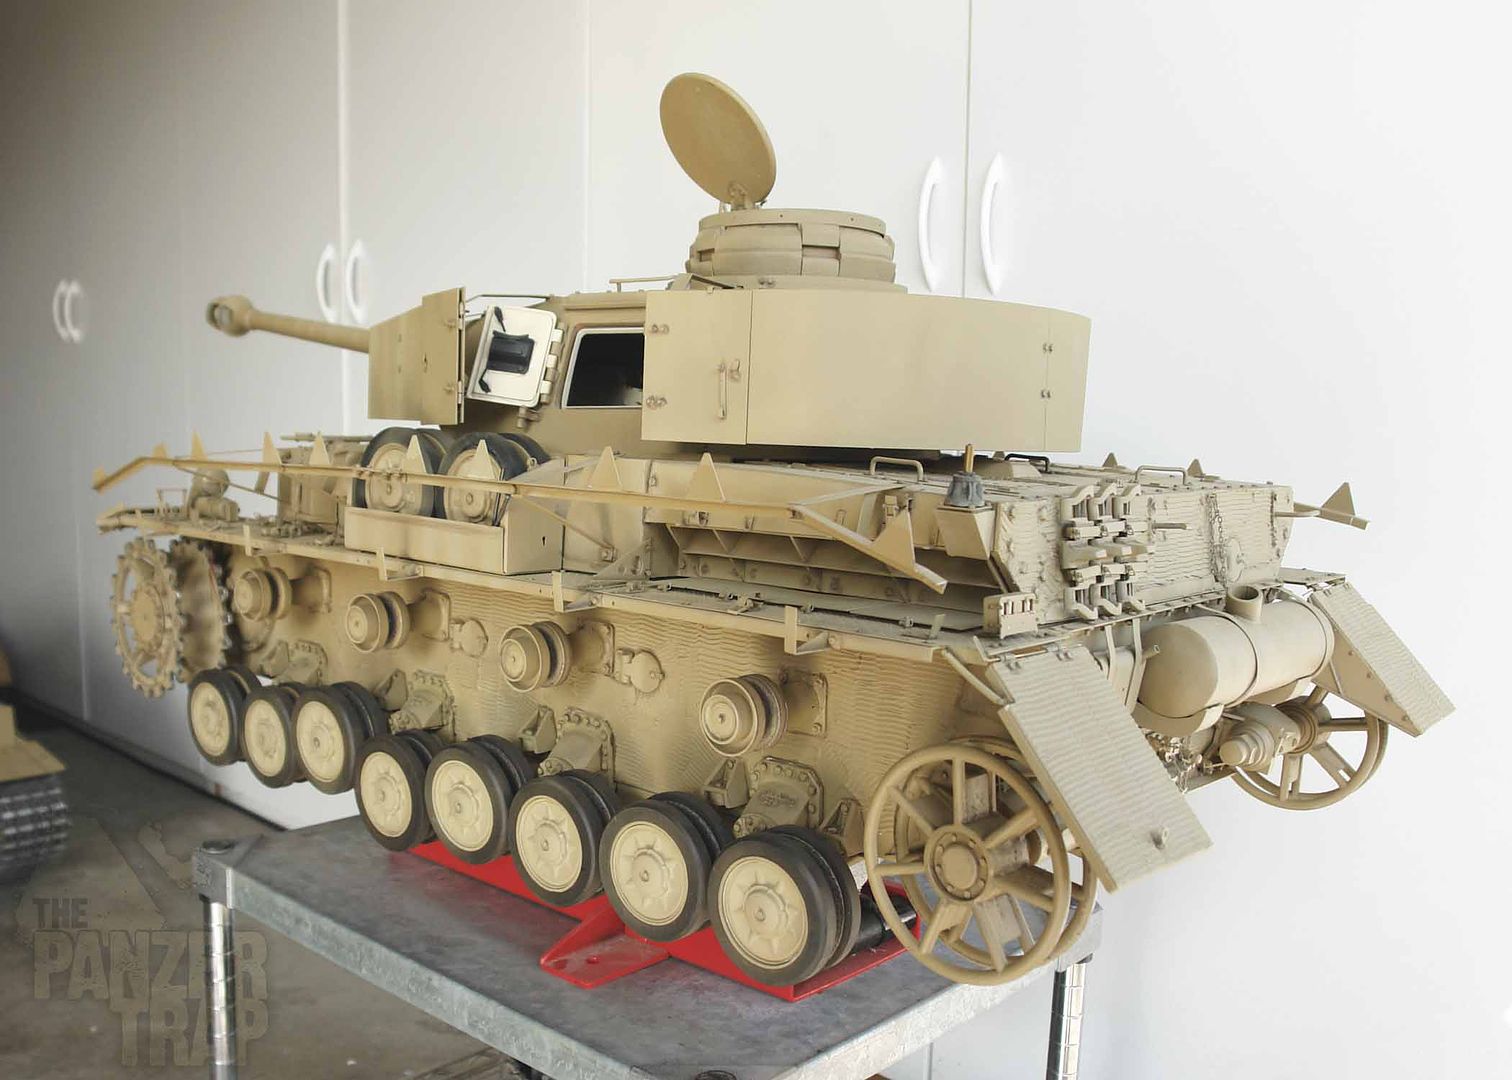
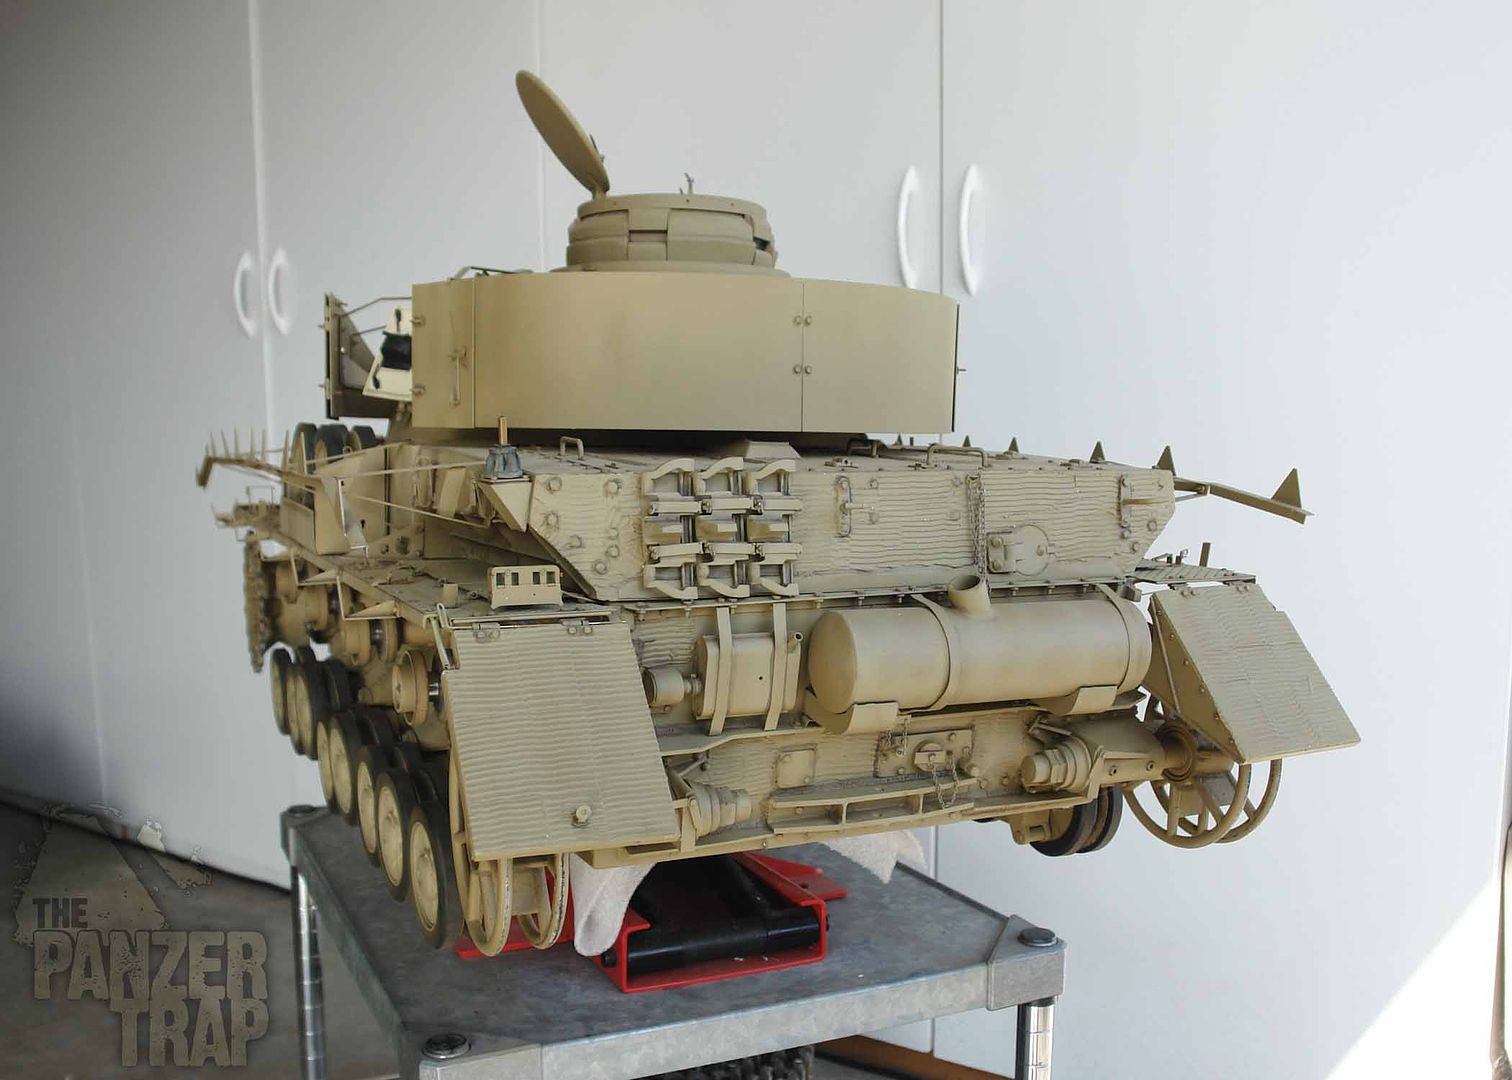
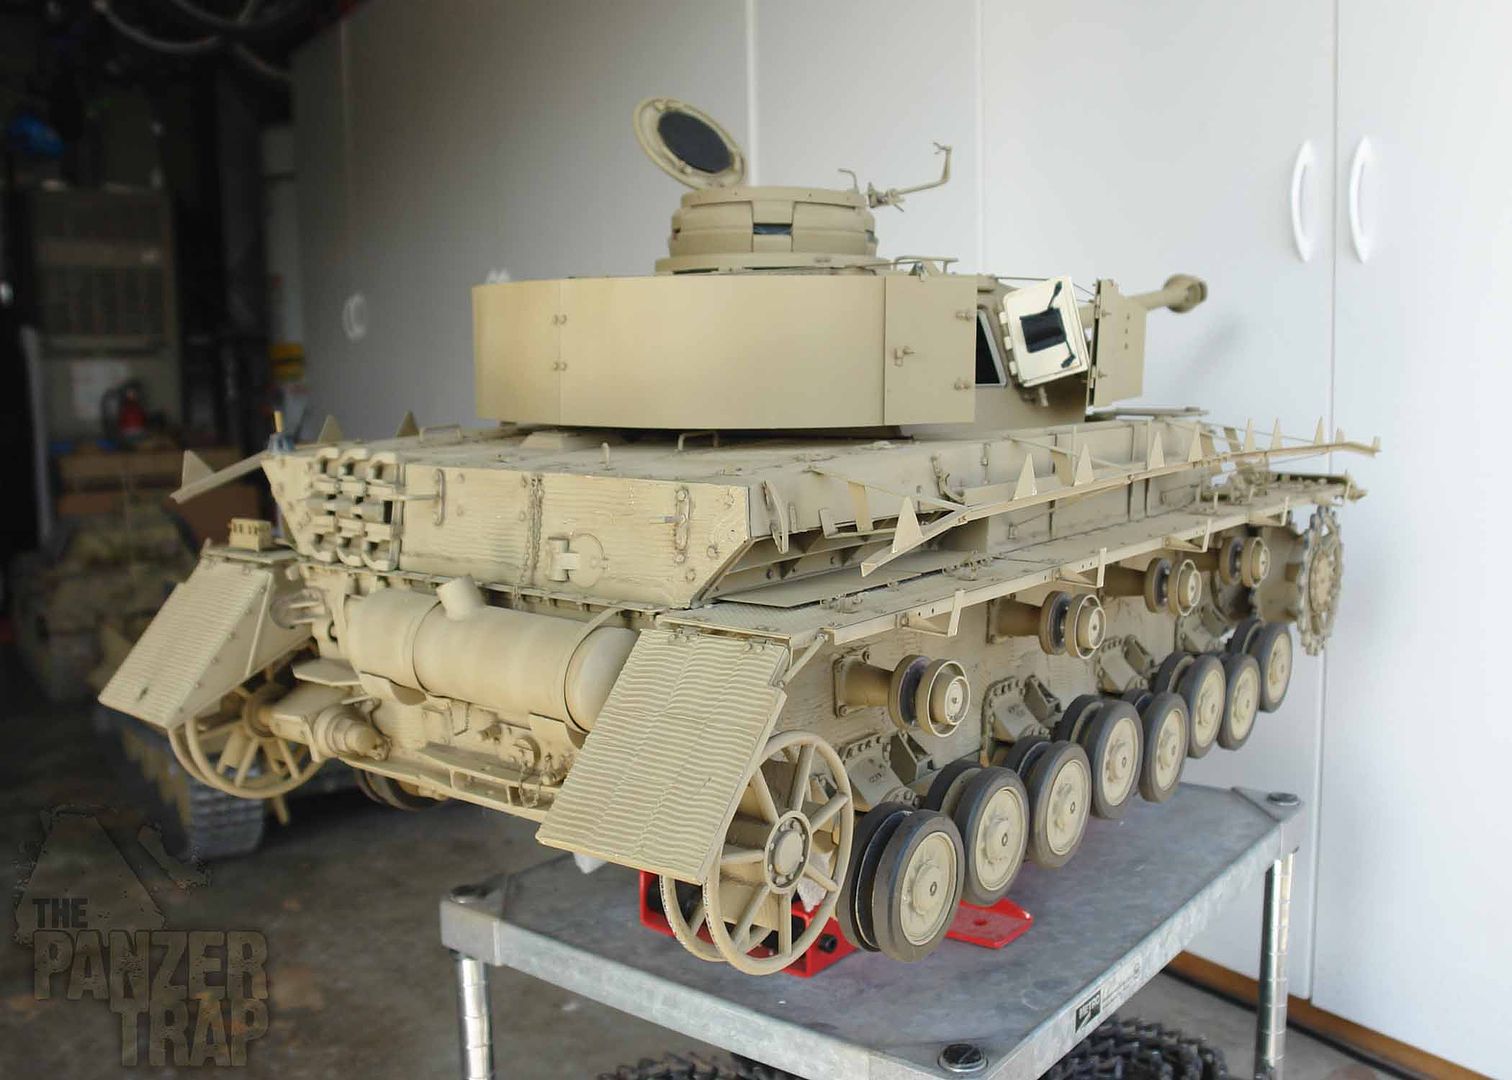
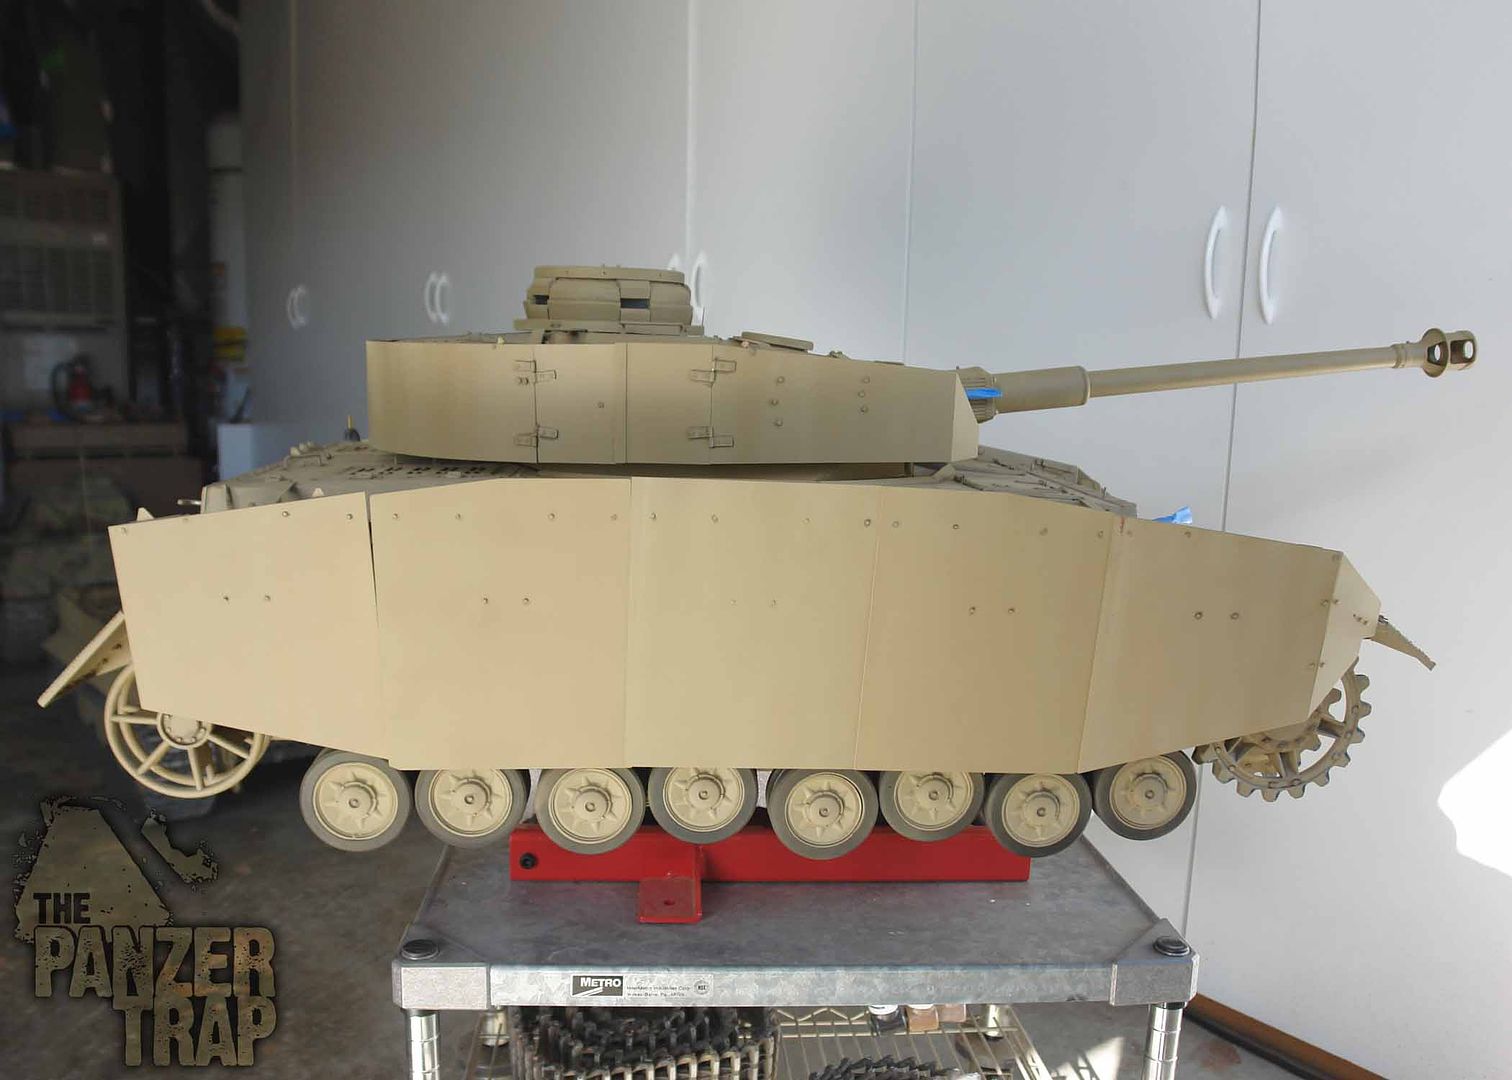
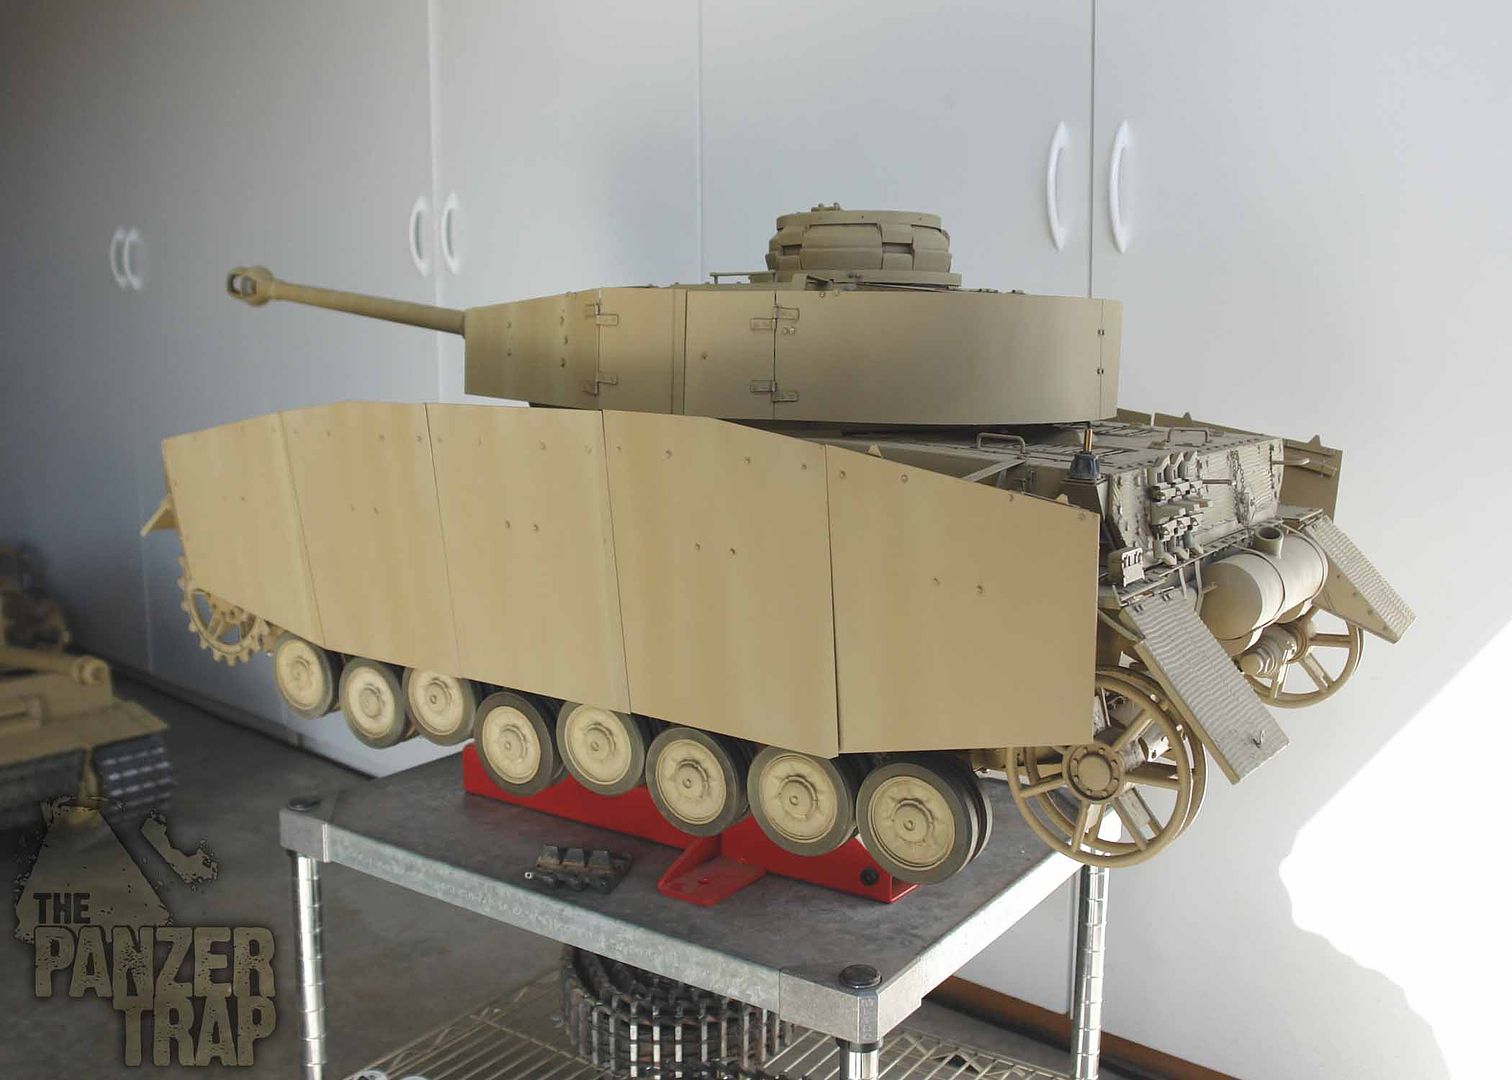
Bought a bunch of paint and supplies to begin the paint work on the Panzer IV. Decided to do a quick rendering like on the Tiger. Mostly just for fun since I still don't know exactly what number it will be and will likely just "wing it" on the camo. Moved the Panzer IV over to the stand and hope to begin in the next few days.
Kind regards
Tim
-
TBowman
- Medlem
- Posts: 186
- Joined: November 23rd, 2010, 11:43 pm
- Location: Northern California
- Contact:
Hi everyone
Away from the Panzer IV for a bit but now back on it.
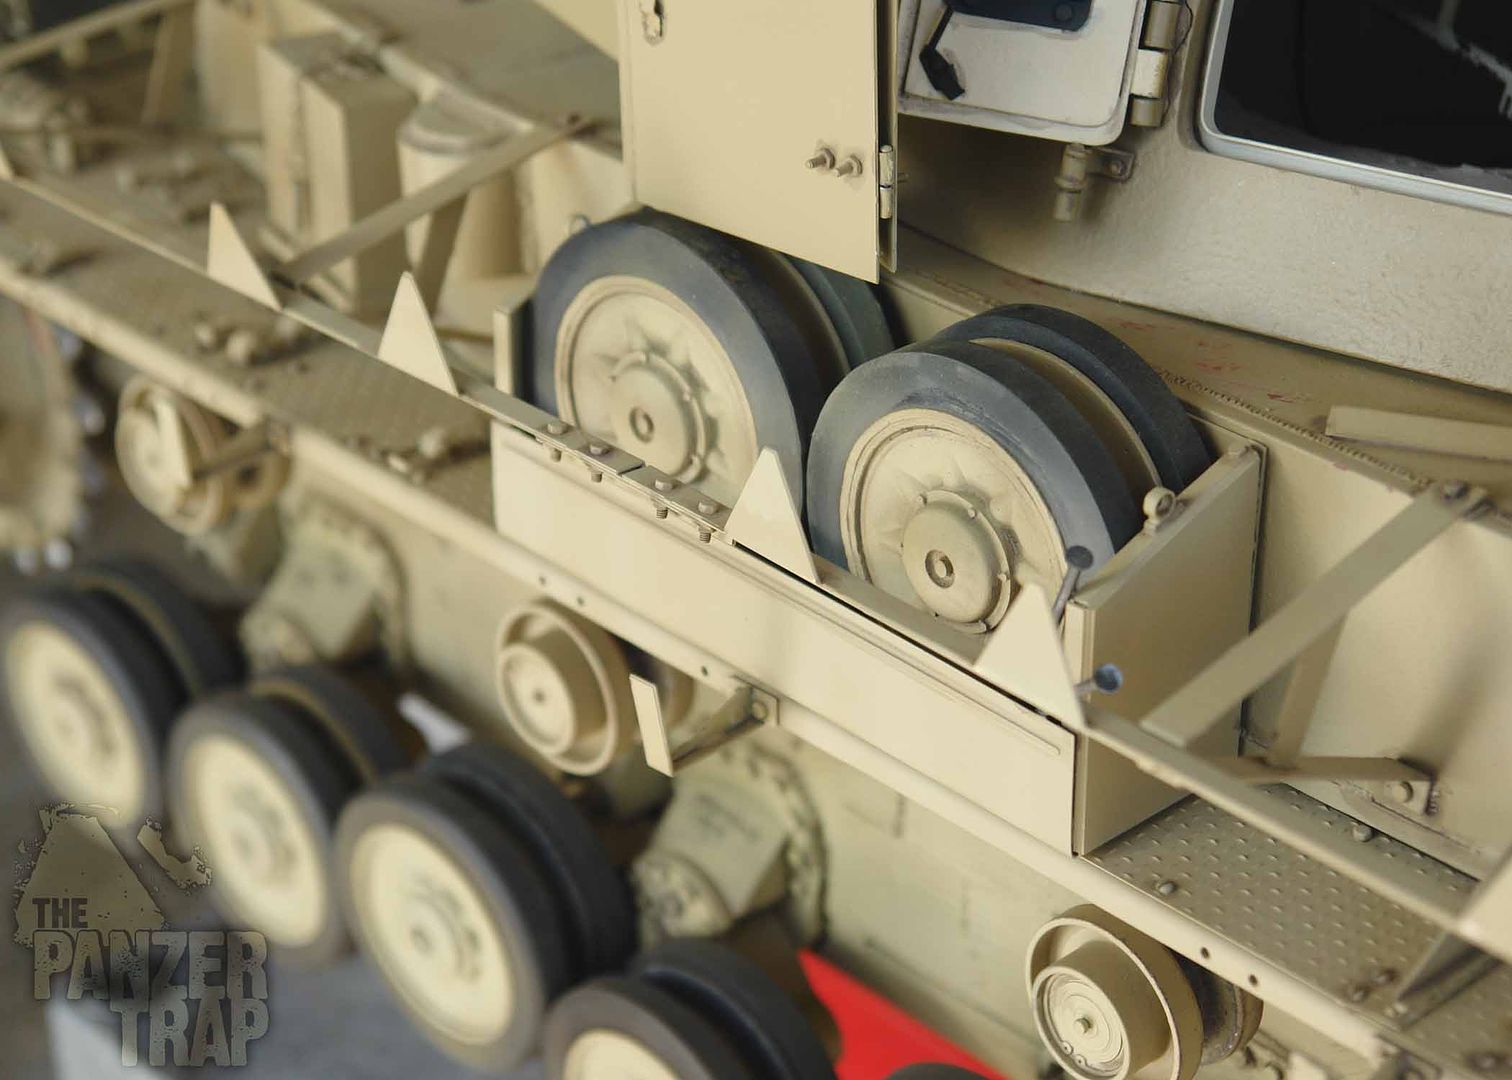
The final paint/weathering work begins starting with a quick wash over all bolts, details, crevices, corners etc. This will be added to or toned down and blended where needed as the camo and later weathering steps continue and is meant to accentuate some of the details. I didn't do much on the road wheels yet as I'm still thinking about what the weathering will be on those.
For this I used a mix of Model Master's dunkelgelb 1943 and schockolade brown and is mostly thinner.


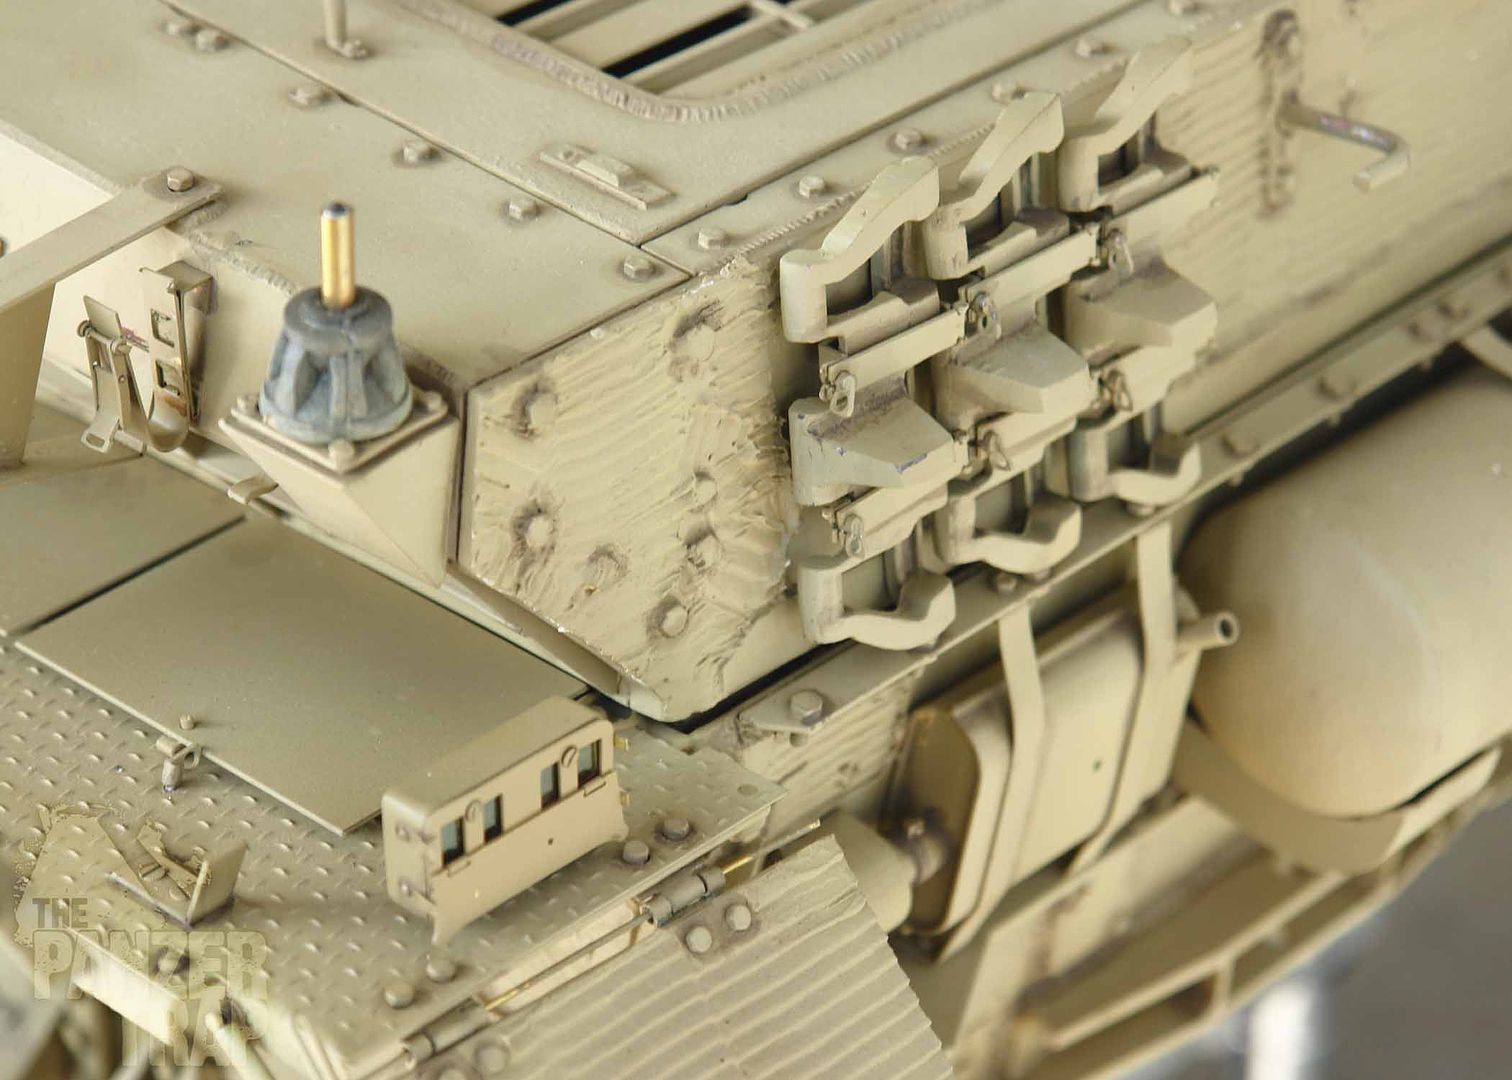
Red and green camo paint is next.
more soon
Tim
Away from the Panzer IV for a bit but now back on it.
The final paint/weathering work begins starting with a quick wash over all bolts, details, crevices, corners etc. This will be added to or toned down and blended where needed as the camo and later weathering steps continue and is meant to accentuate some of the details. I didn't do much on the road wheels yet as I'm still thinking about what the weathering will be on those.
For this I used a mix of Model Master's dunkelgelb 1943 and schockolade brown and is mostly thinner.
Red and green camo paint is next.
more soon
Tim

-
TBowman
- Medlem
- Posts: 186
- Joined: November 23rd, 2010, 11:43 pm
- Location: Northern California
- Contact:
Thanks Pierluigi
Hi everyone
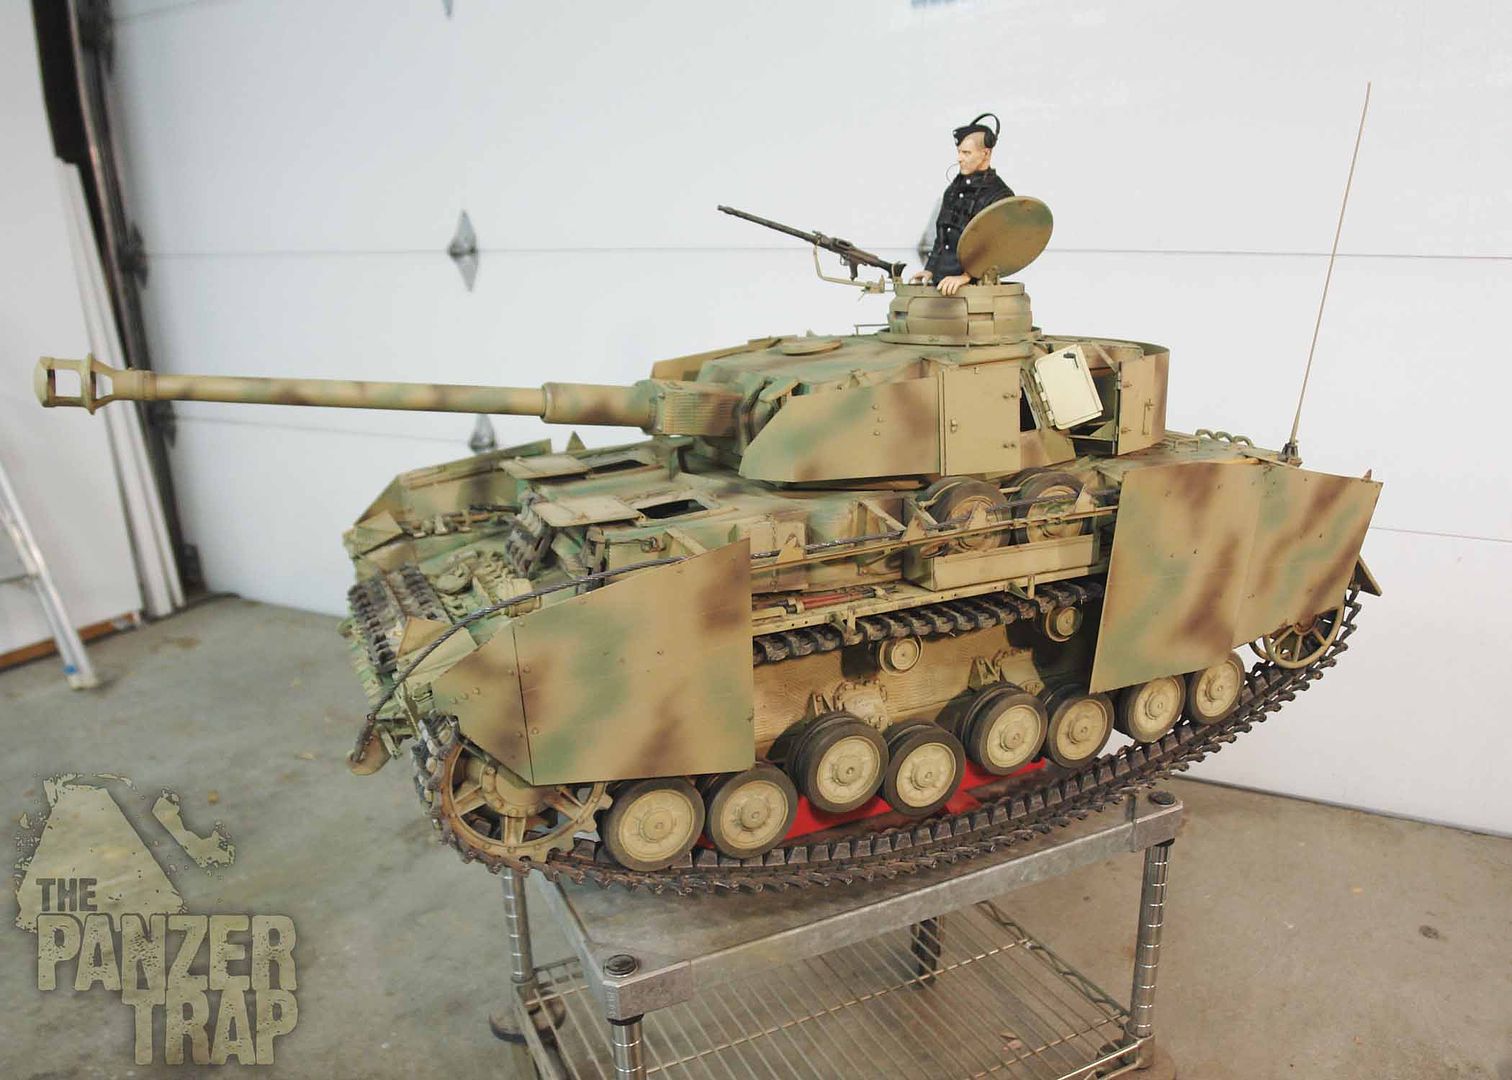
Next step....camouflage. I wanted the coloring on this panzer to be different then the Panther so for the green, I used Model MAster's panzer olivegrun and for the red/brown, Model Master's schacolade braun. The green looked strange to me at first but with the brown applied, I really like the two colors together. This will all be toned down with a wash of thinned dunkelgelb over the whole thing. Many layers of weathering, scratches, nicks etc. to apply so a long ways to go still. Very much a "work in progress"
Last look for me before I paint the color.:eek:
panzergrun is applied
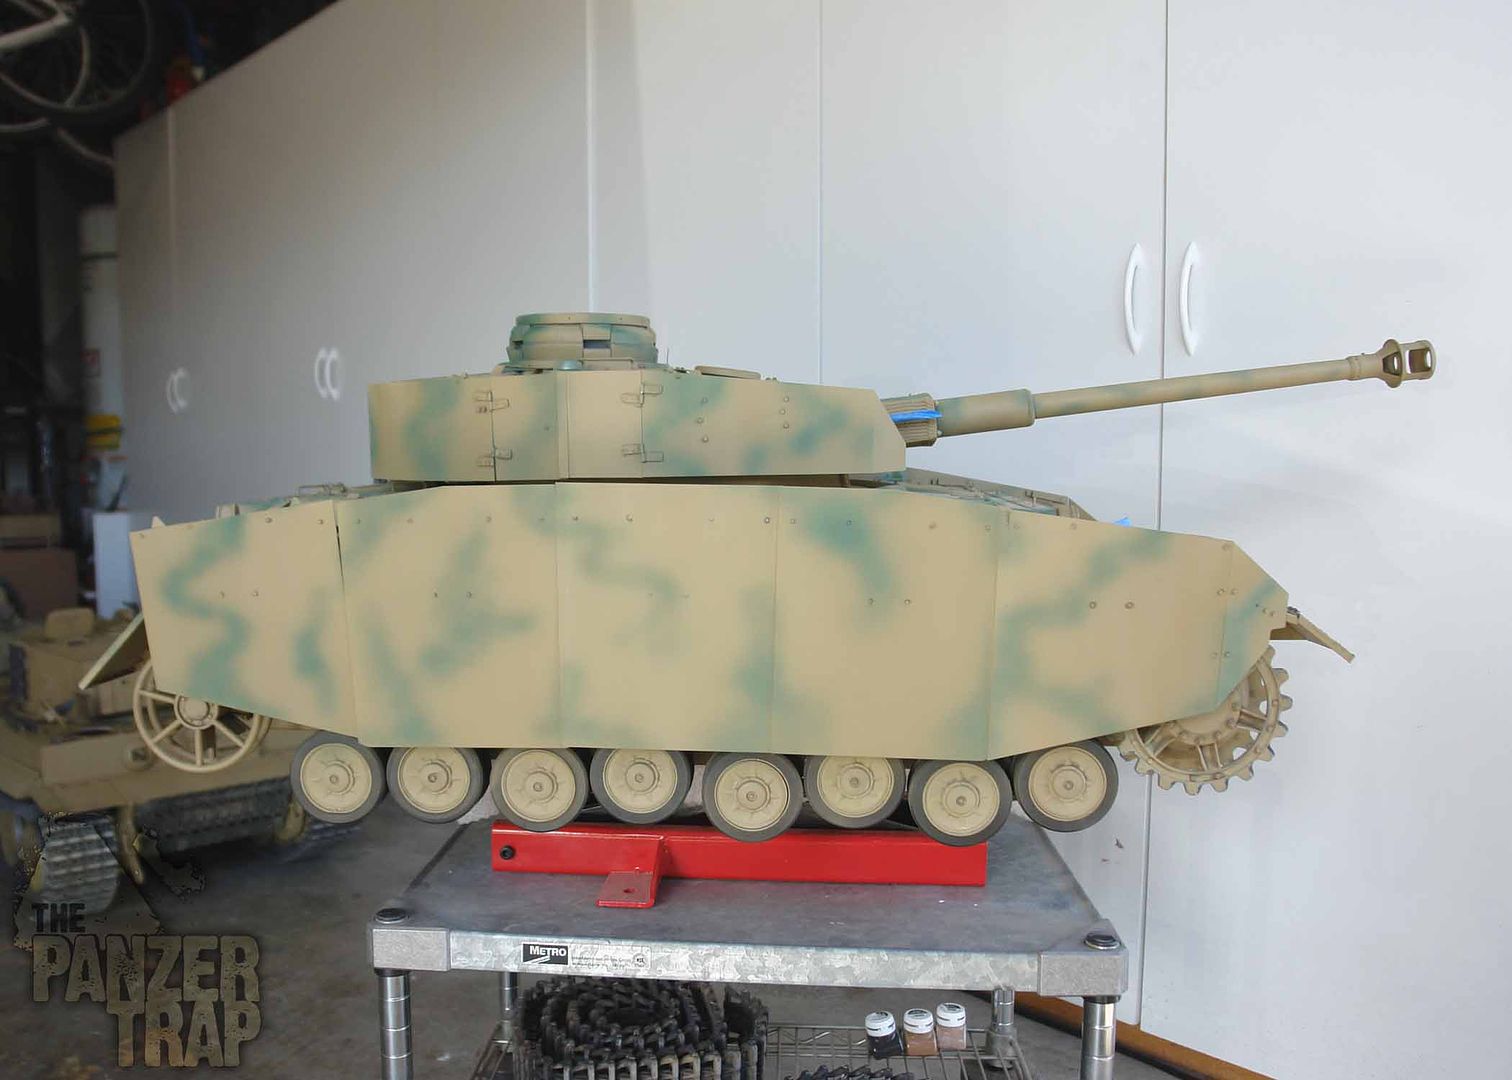
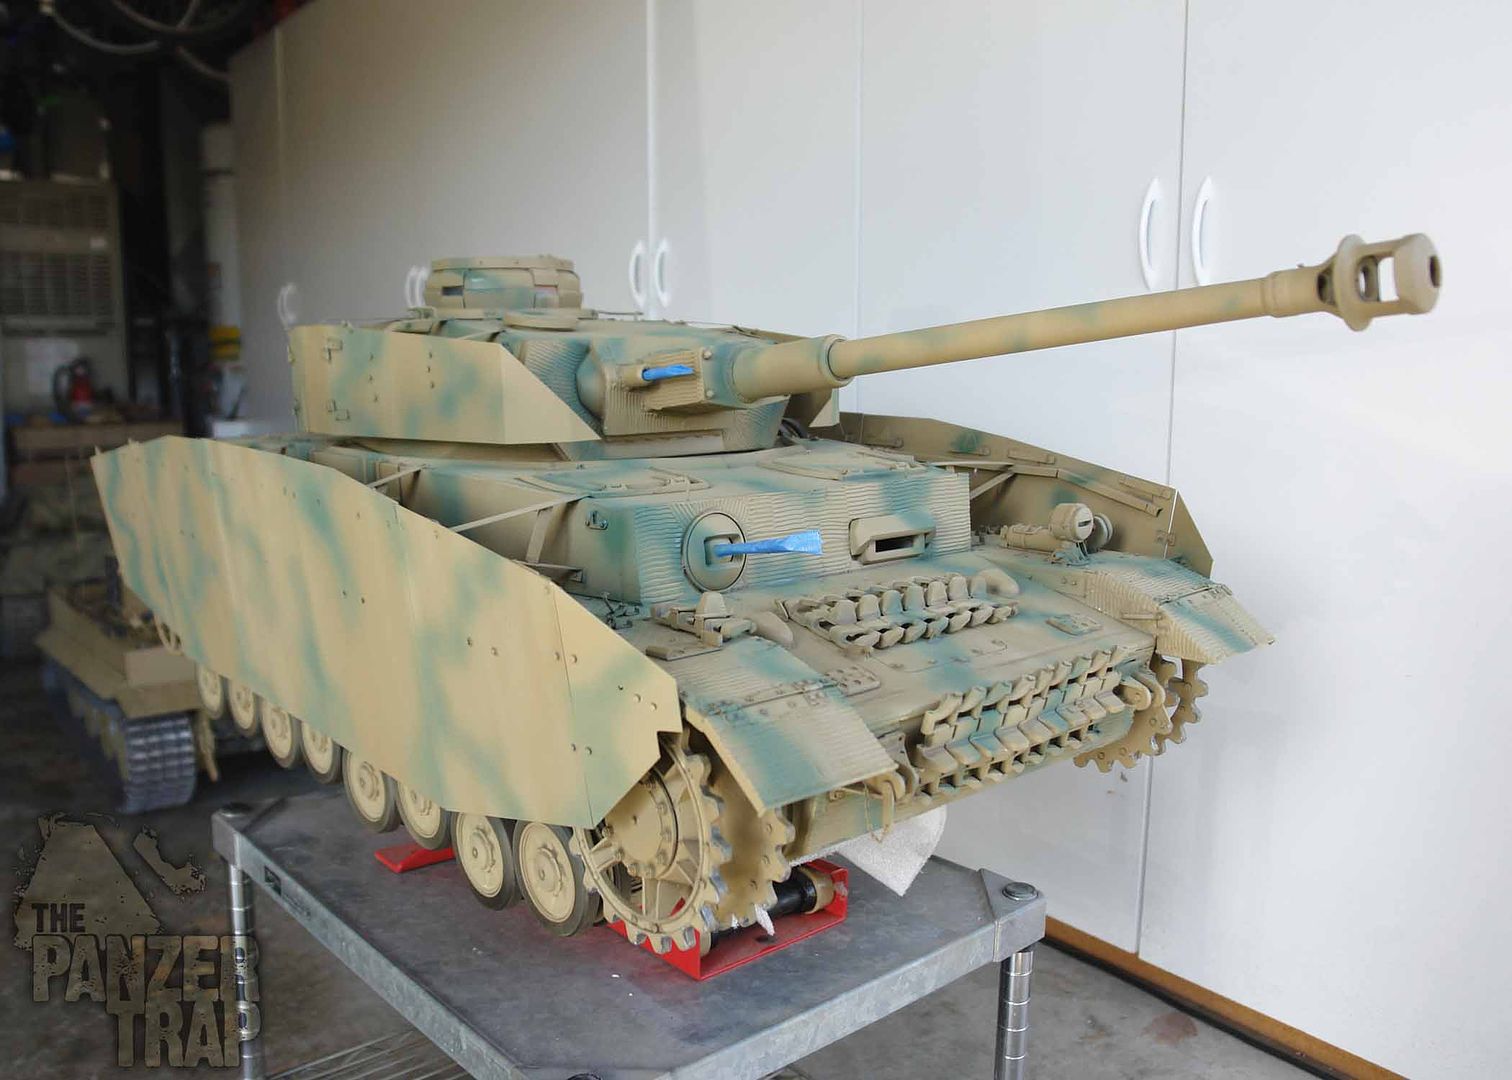

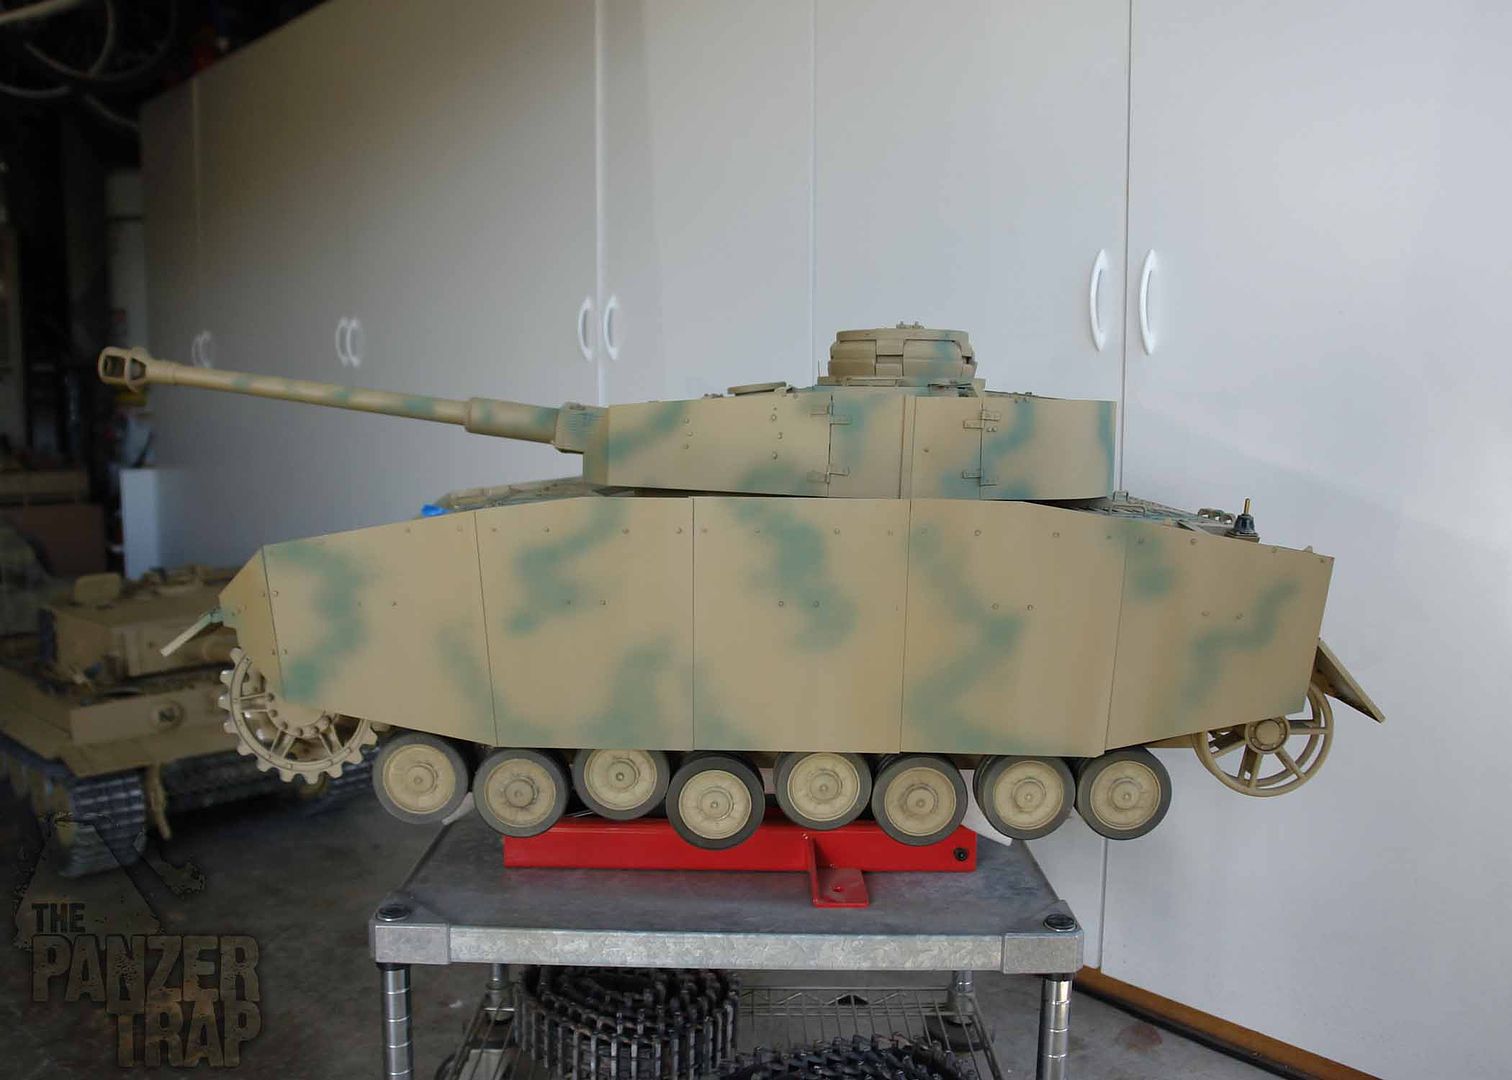
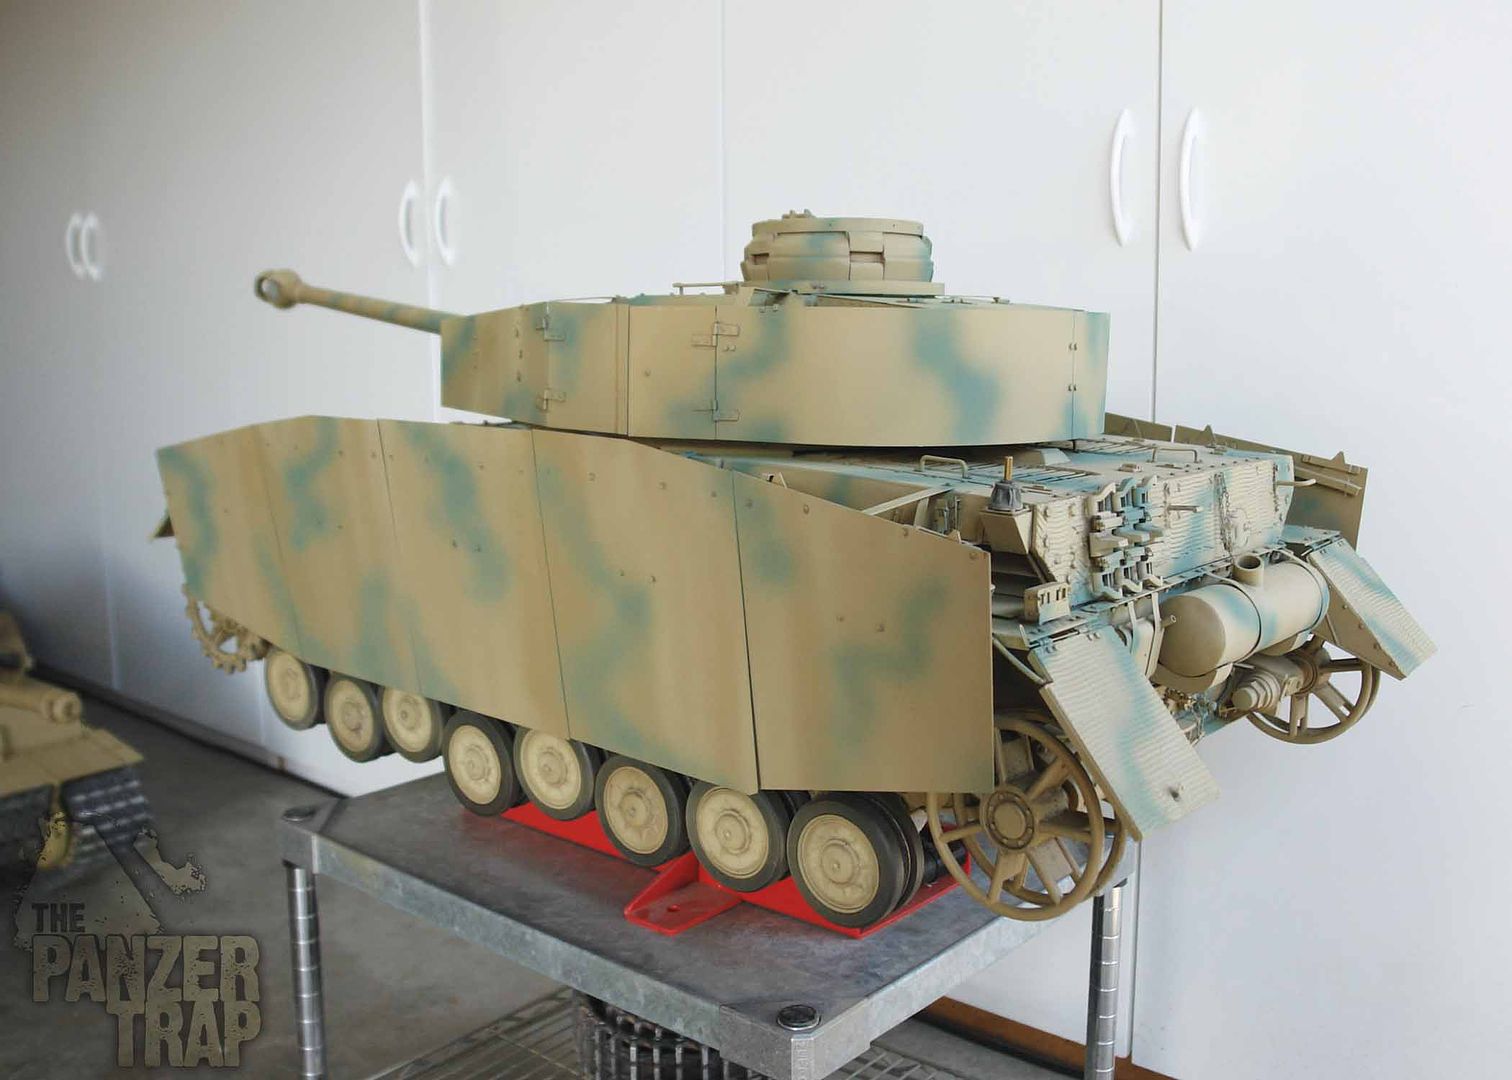
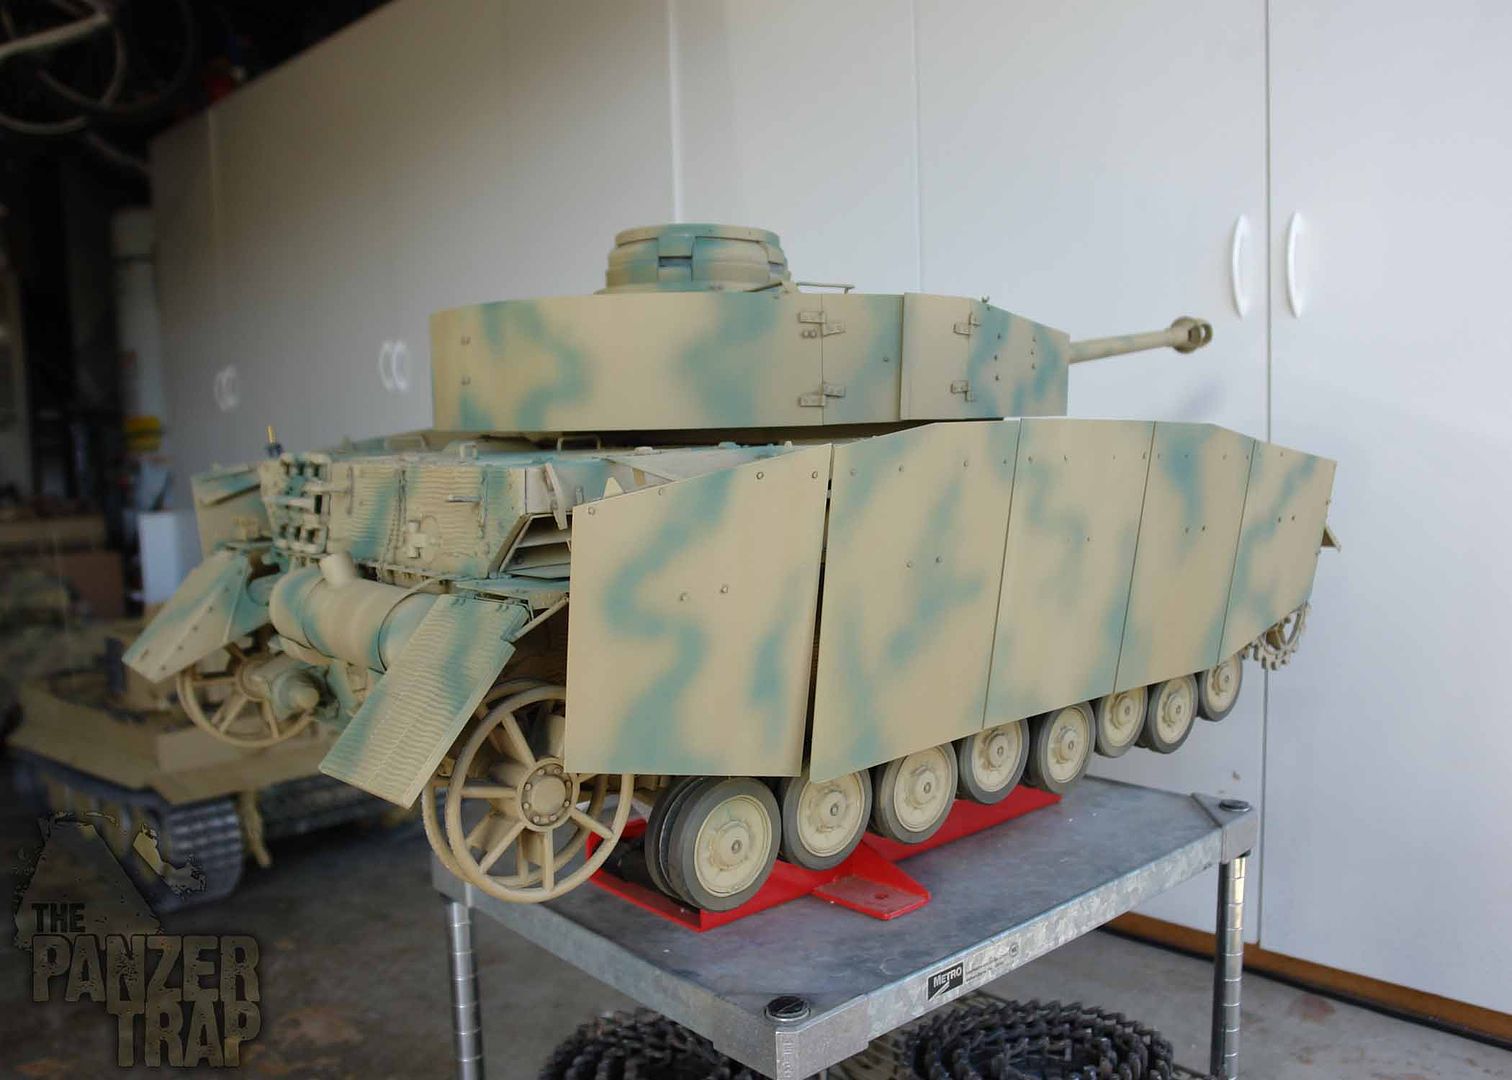
schakolade braun is applied
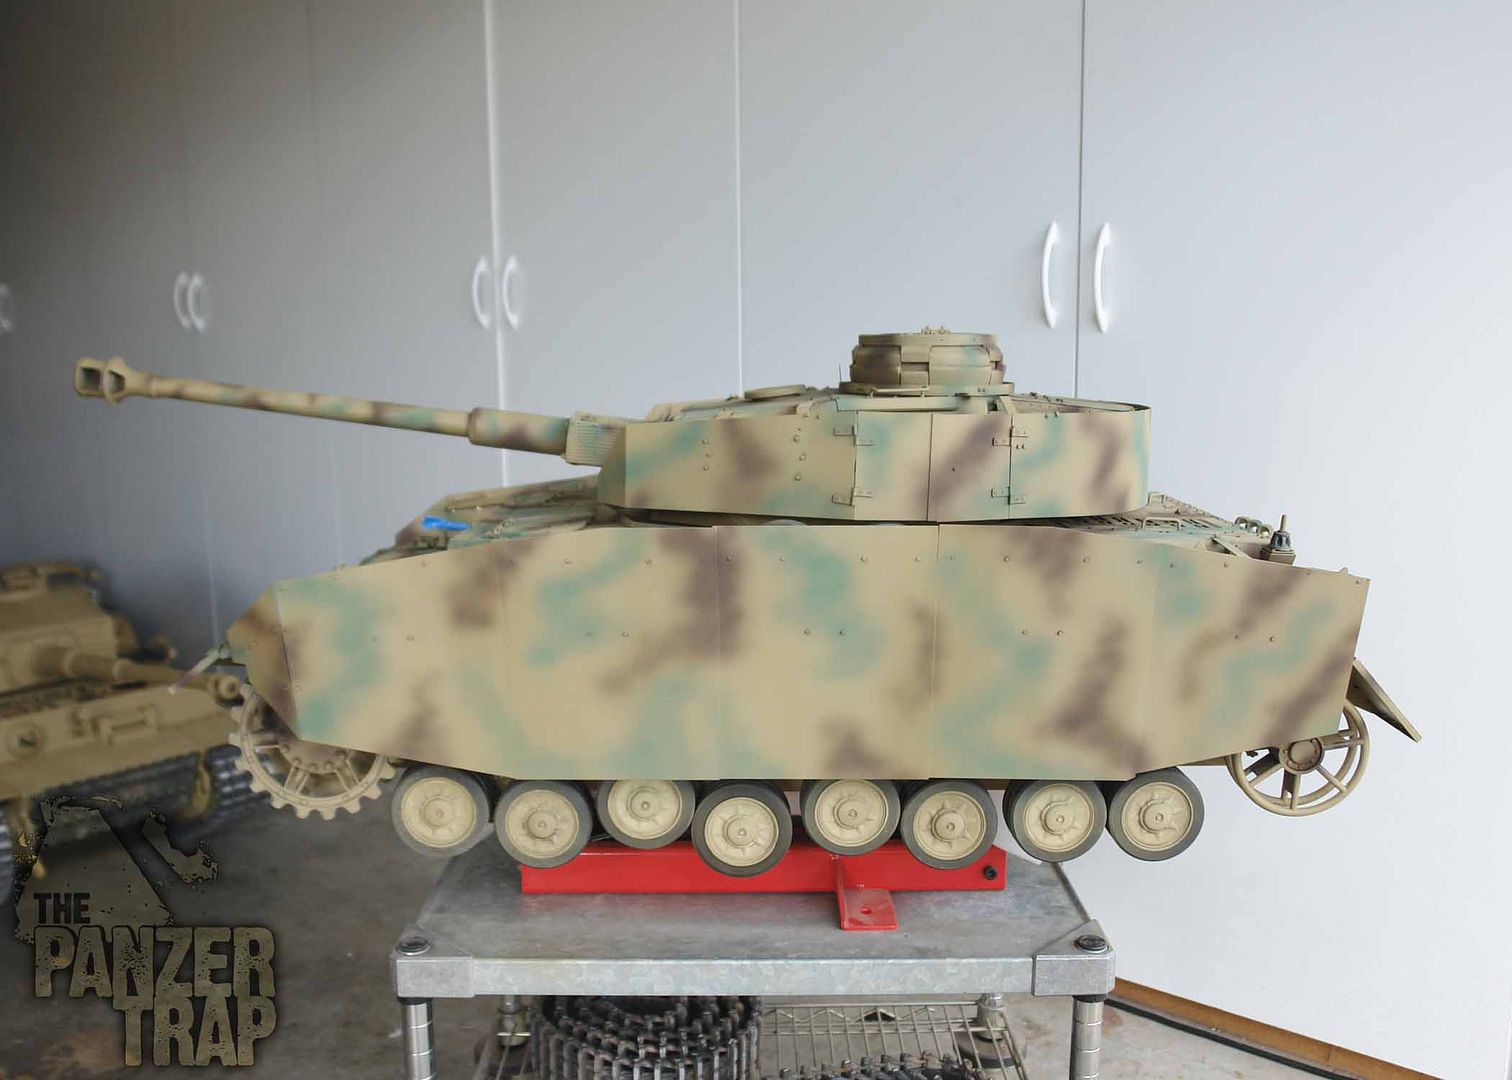
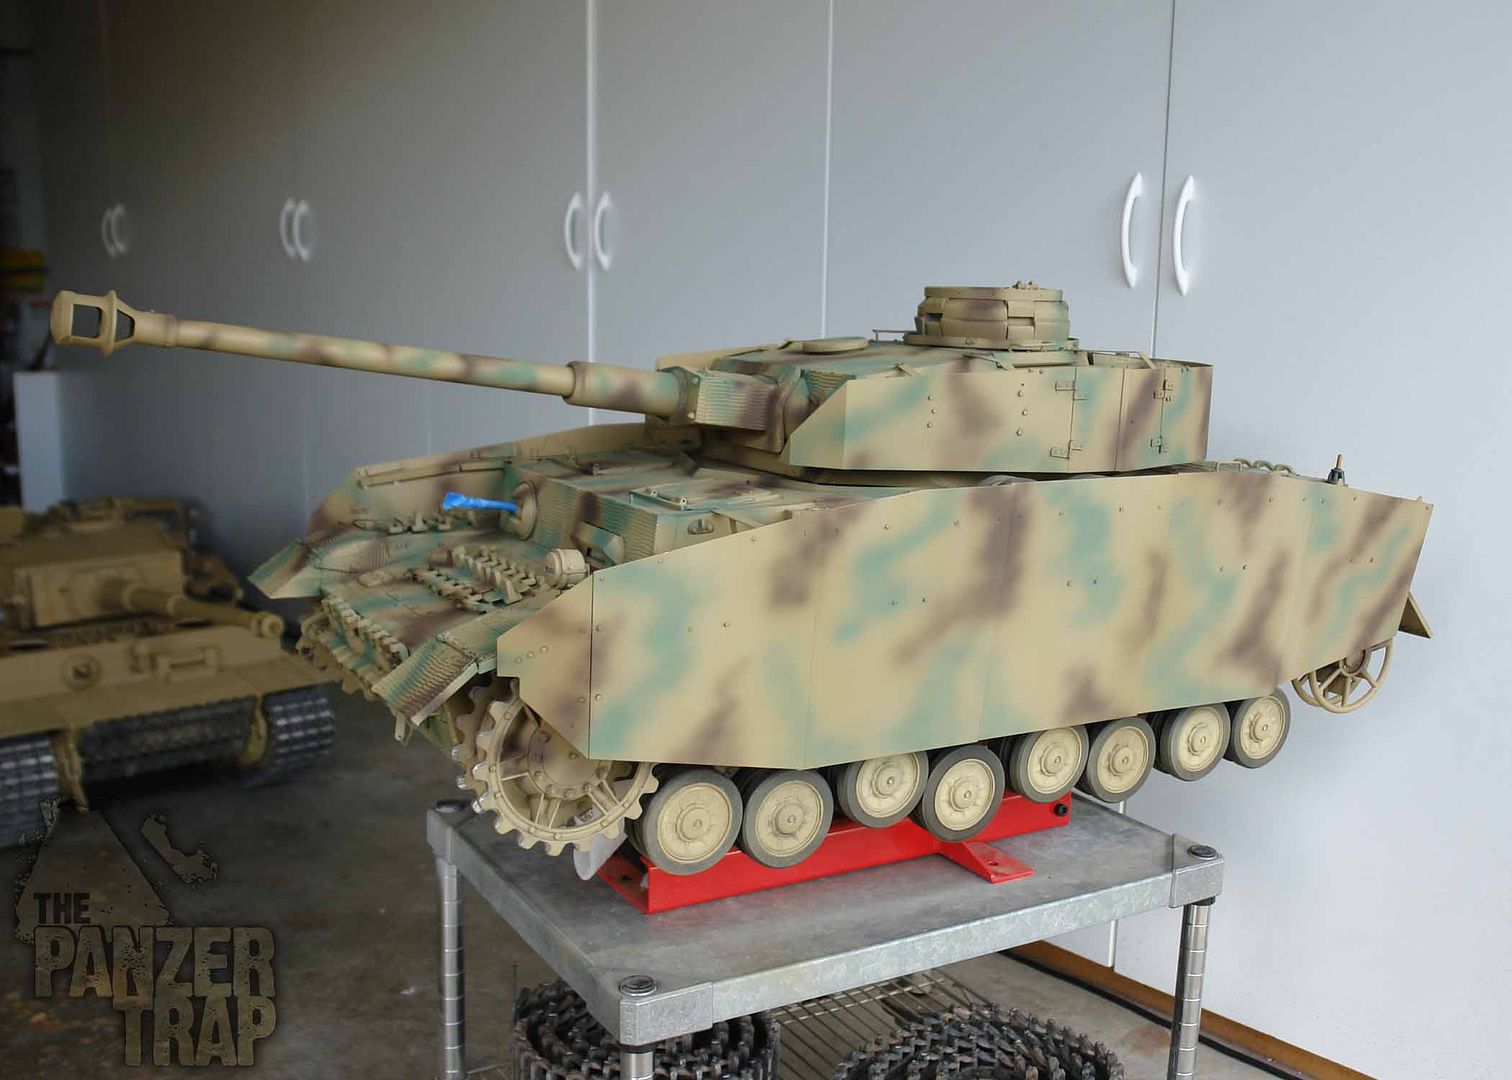
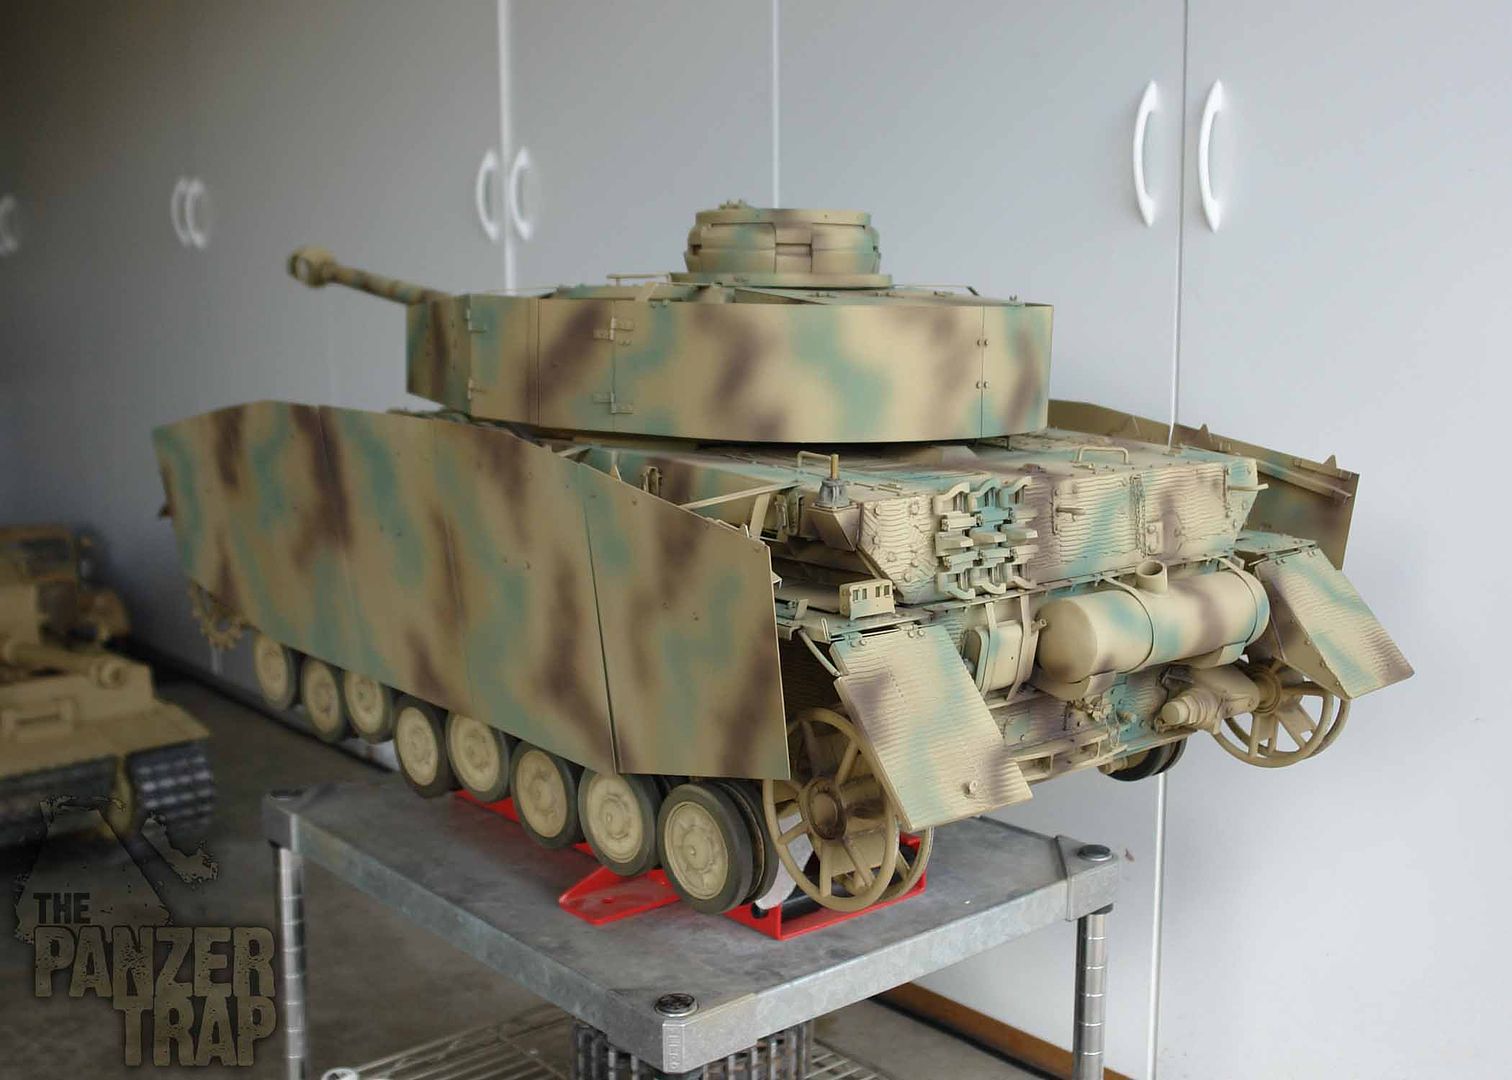
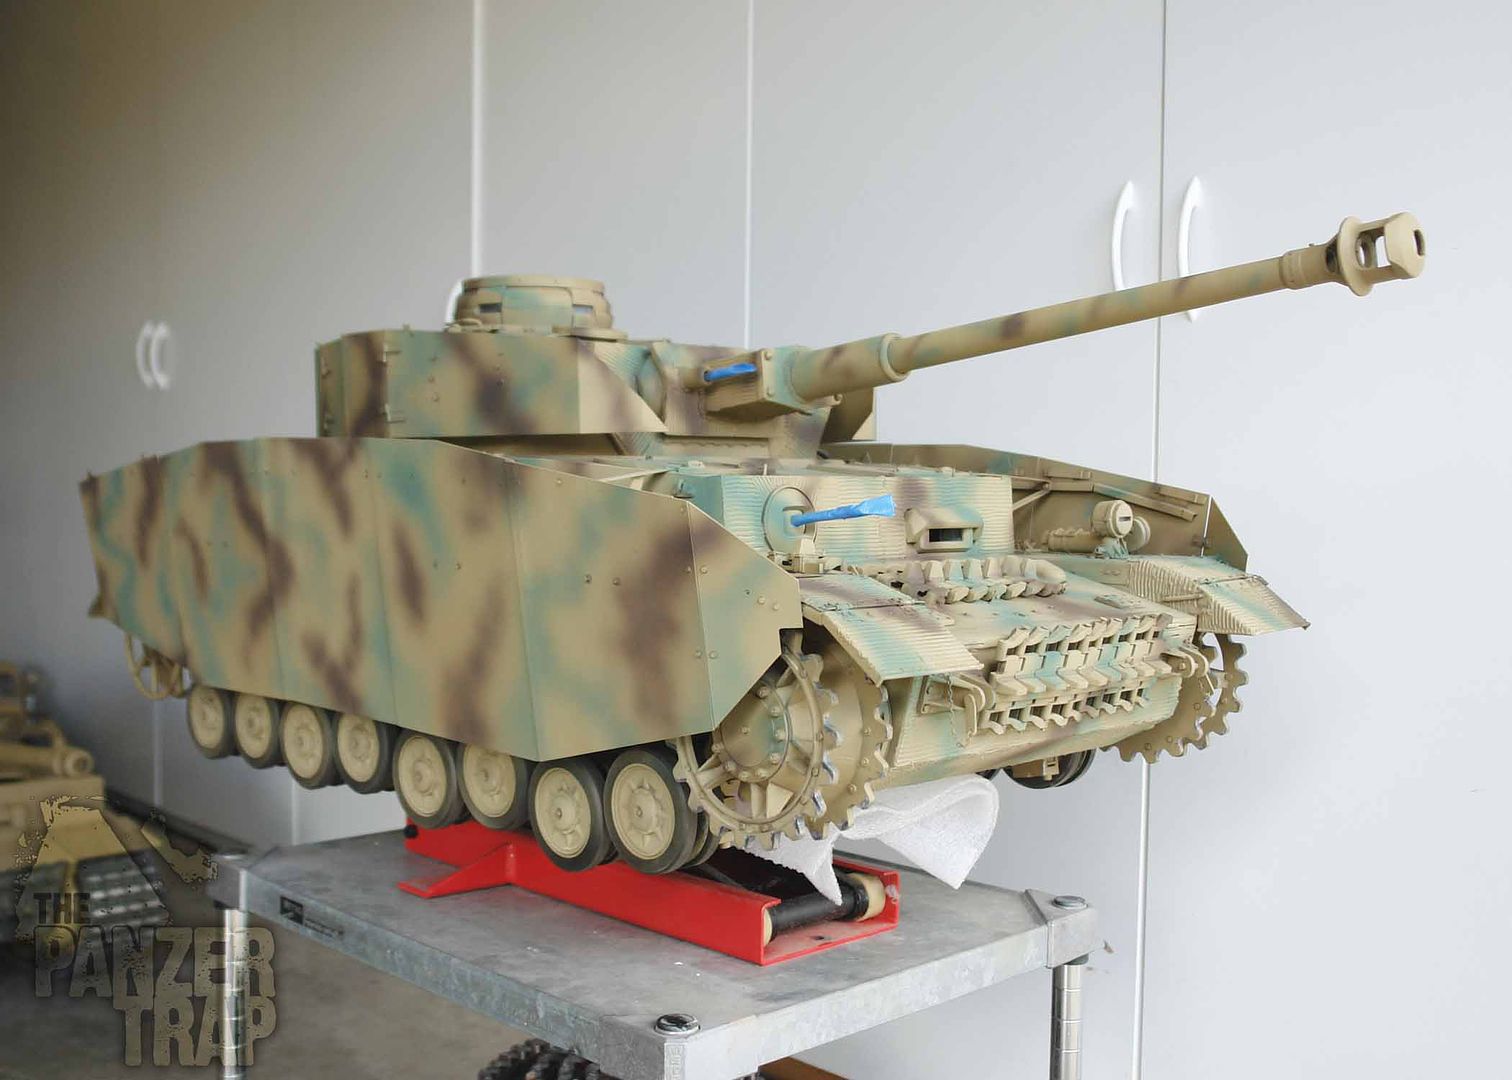
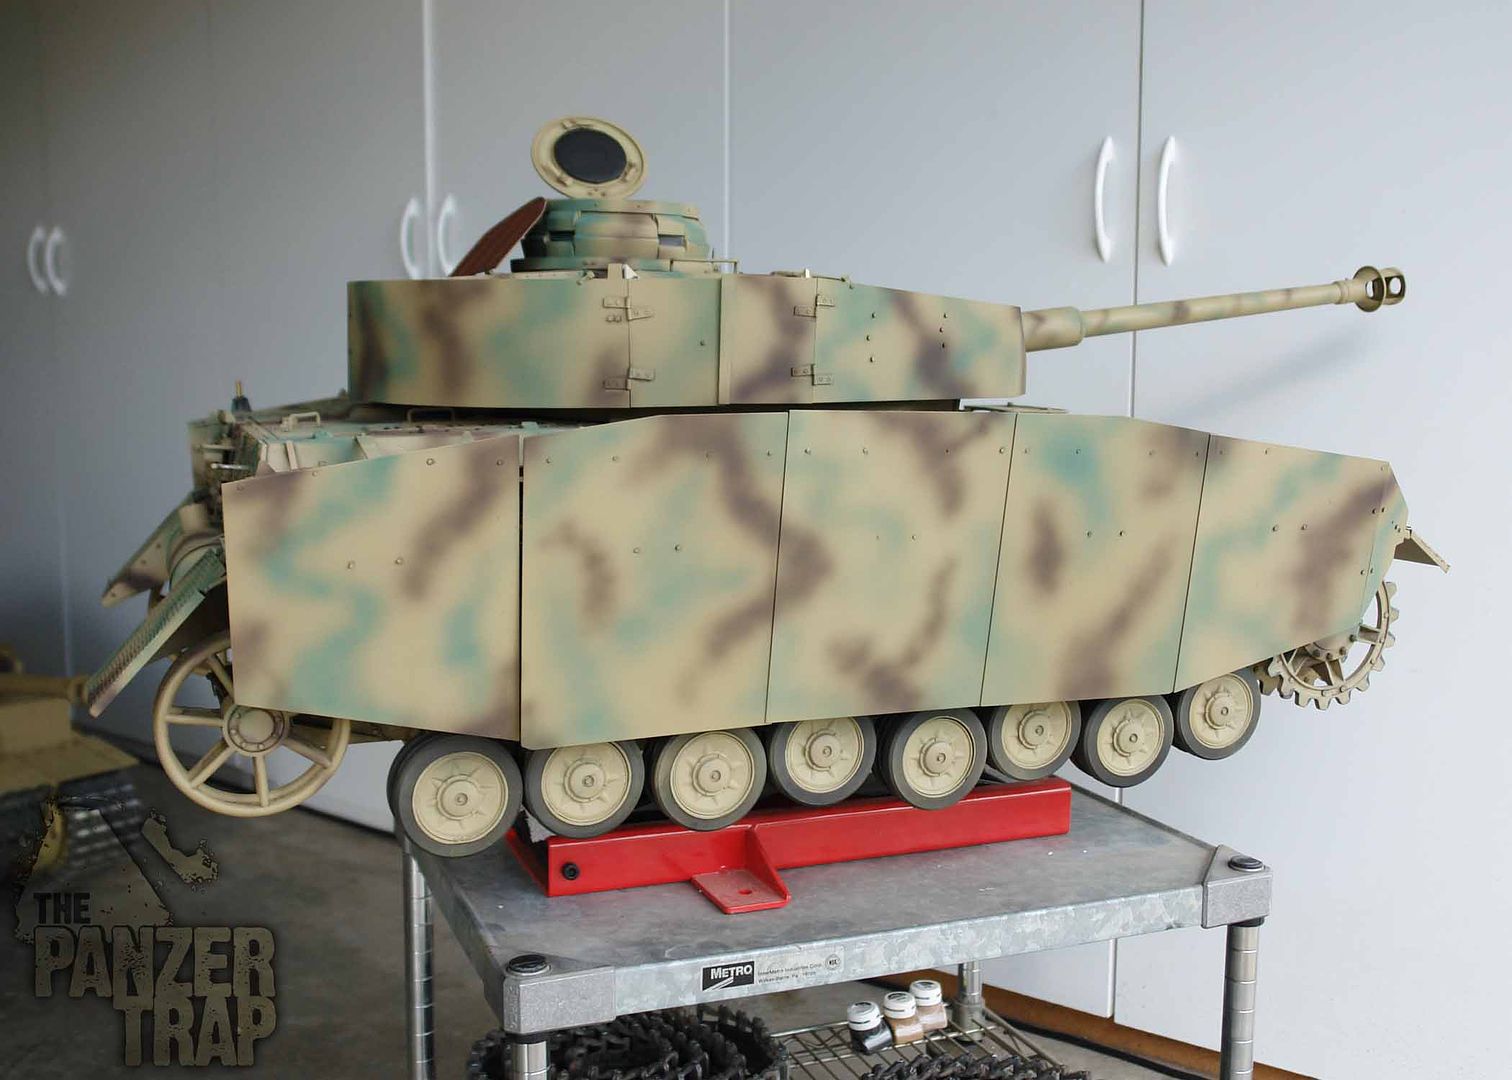
more soon
happy tanking
Tim
Hi everyone
Next step....camouflage. I wanted the coloring on this panzer to be different then the Panther so for the green, I used Model MAster's panzer olivegrun and for the red/brown, Model Master's schacolade braun. The green looked strange to me at first but with the brown applied, I really like the two colors together. This will all be toned down with a wash of thinned dunkelgelb over the whole thing. Many layers of weathering, scratches, nicks etc. to apply so a long ways to go still. Very much a "work in progress"
Last look for me before I paint the color.:eek:
panzergrun is applied
schakolade braun is applied
more soon
happy tanking
Tim
-
TBowman
- Medlem
- Posts: 186
- Joined: November 23rd, 2010, 11:43 pm
- Location: Northern California
- Contact:
Hi friends
Some experimentation with the exhaust muffler wear and tear. Once I started there, I couldn't stop. LOL
These Panzer IVs were fairly new vehicles with the 12SS in Normandy so I wanted to give the muffler a worn look but not the typical "all rust" look. I still have my other one painted that way as a back up though. Will add a few more layers of soot and weather-runs. It's supposed to like like its worn from crew and grenadiers climbing up from the rear of the vehicle. Sorry for the poor photos...night time with bad lighting.

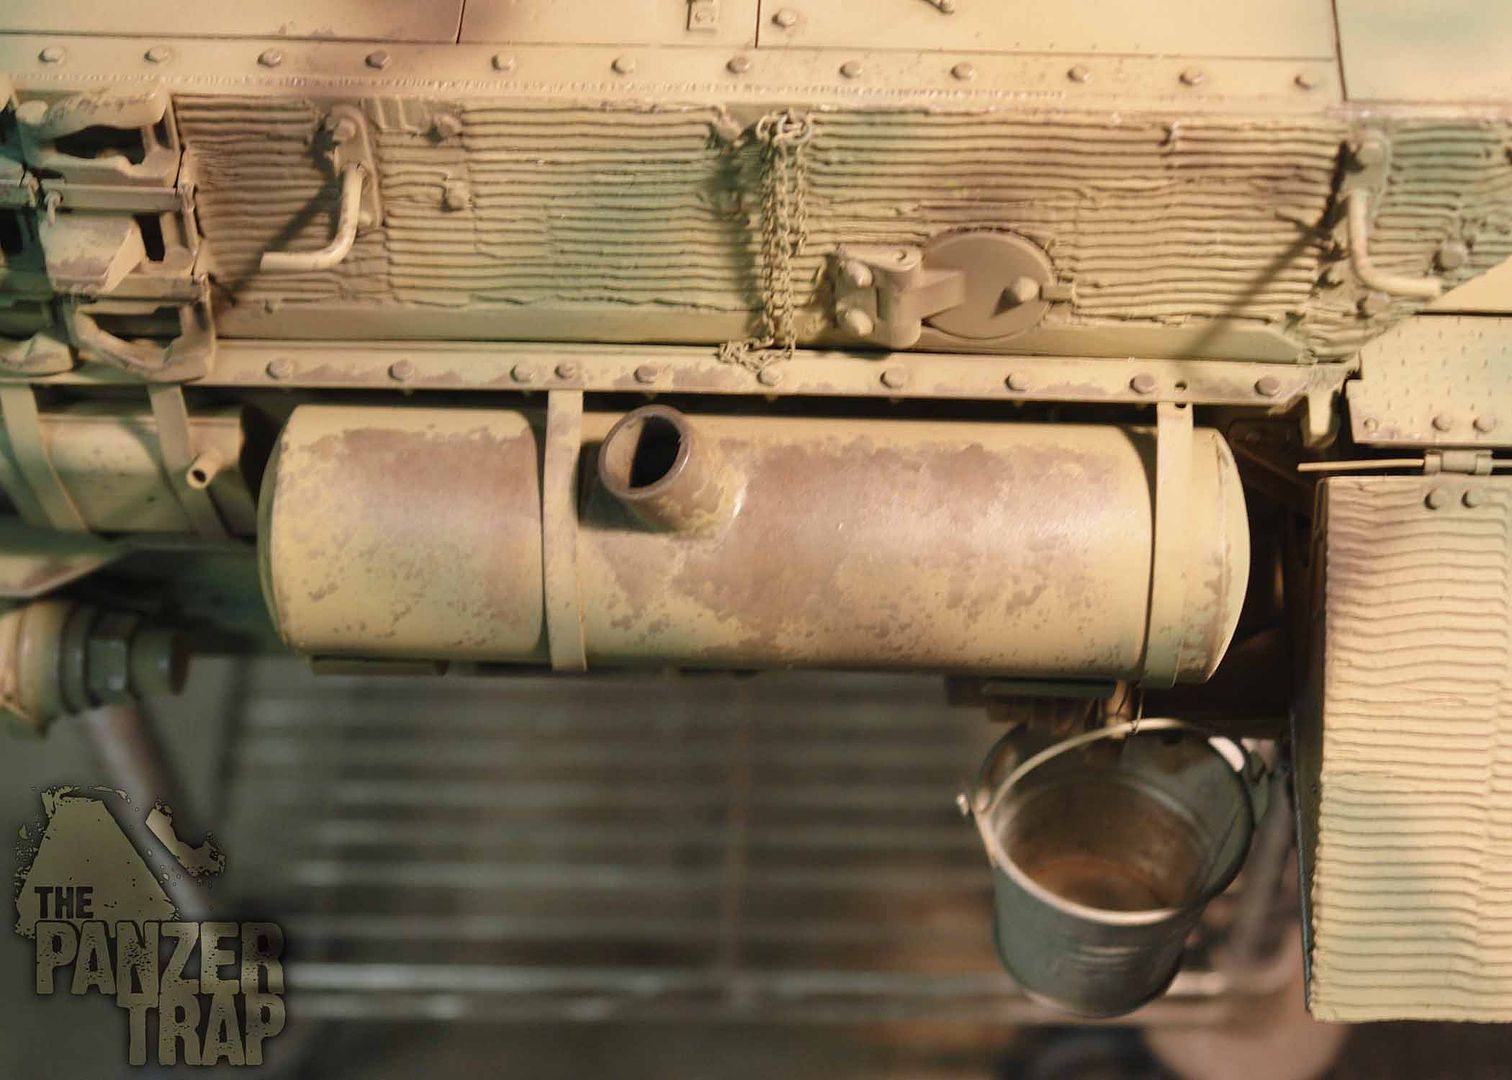
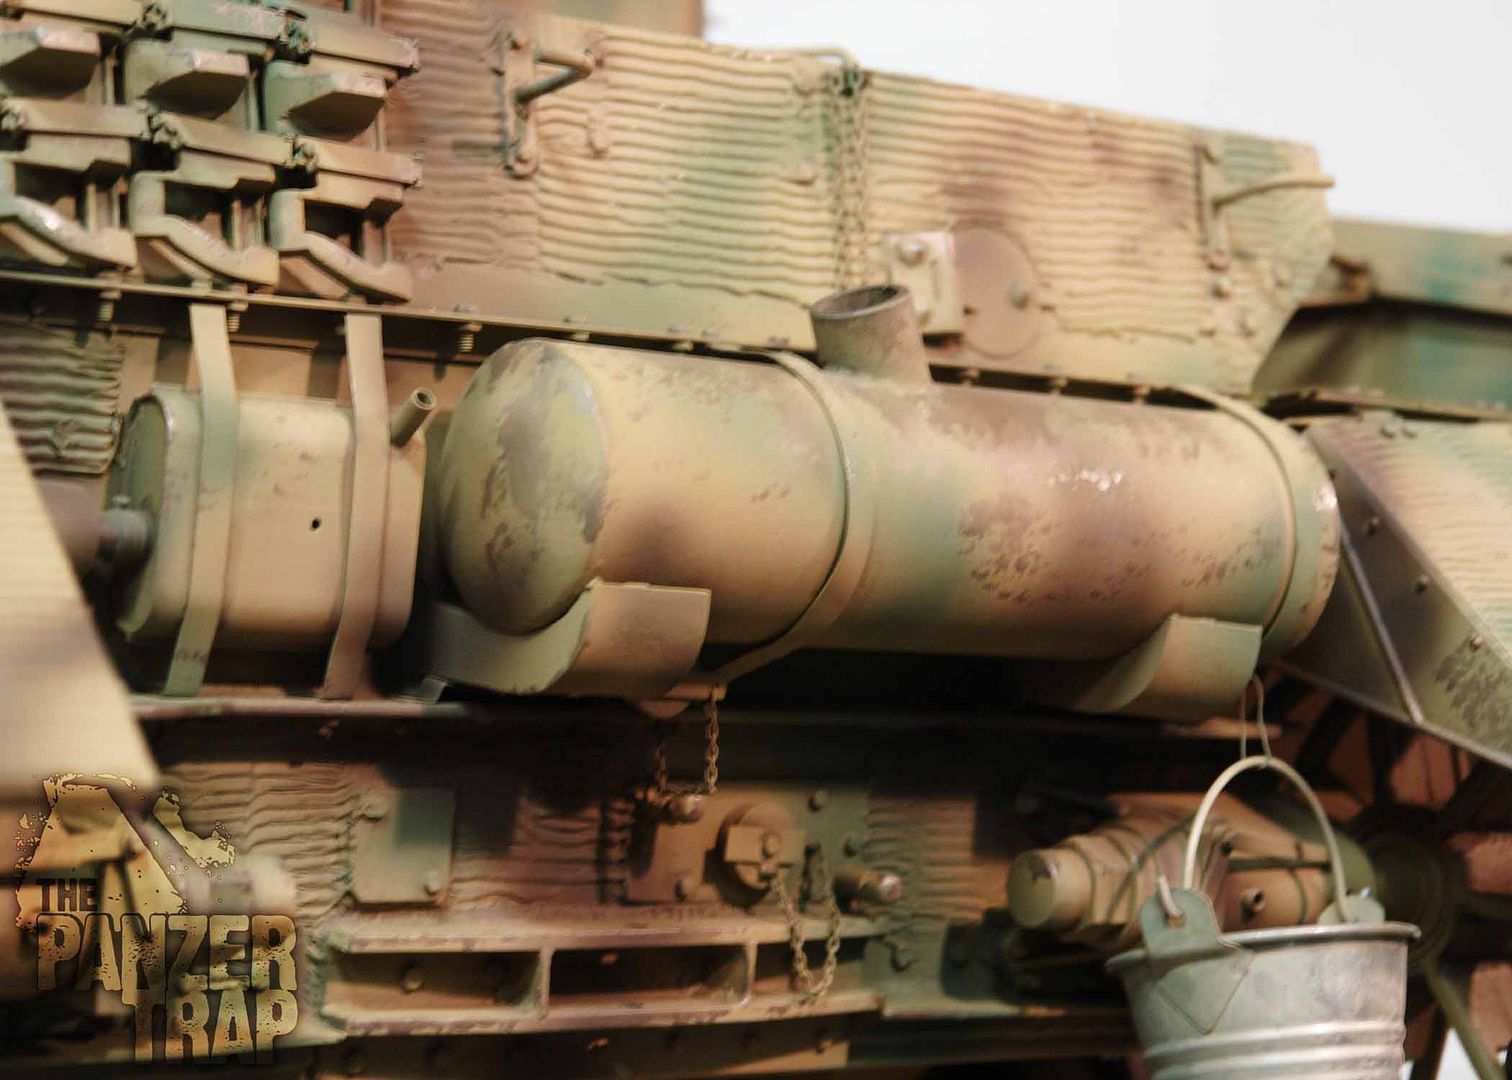
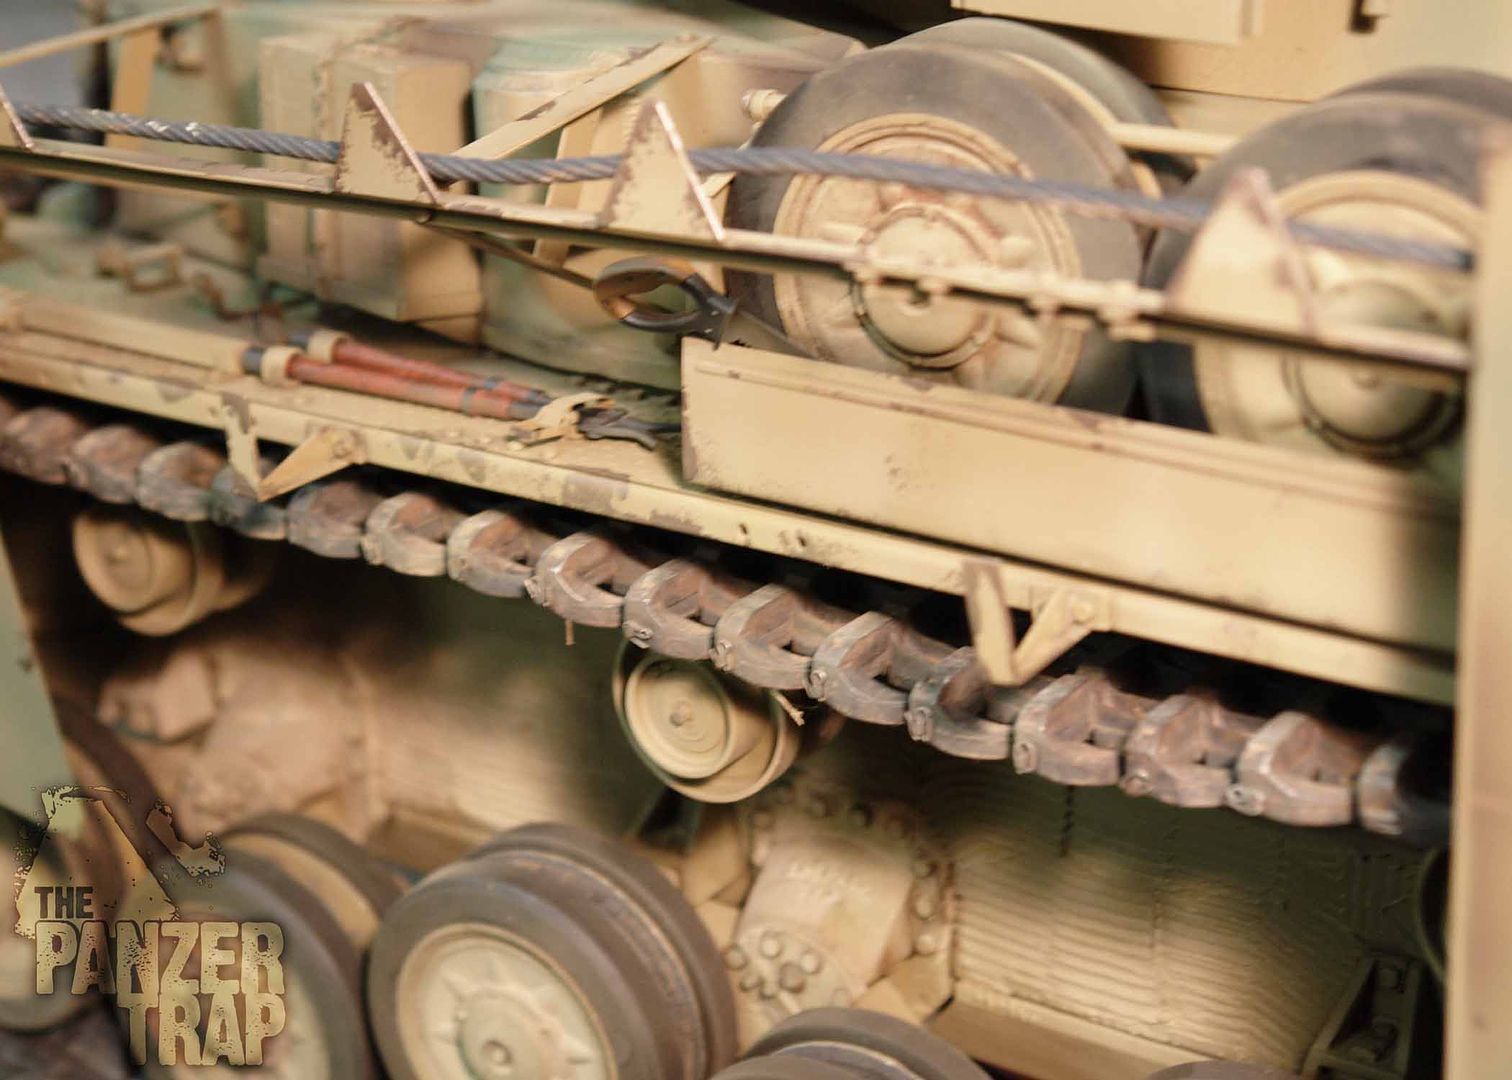
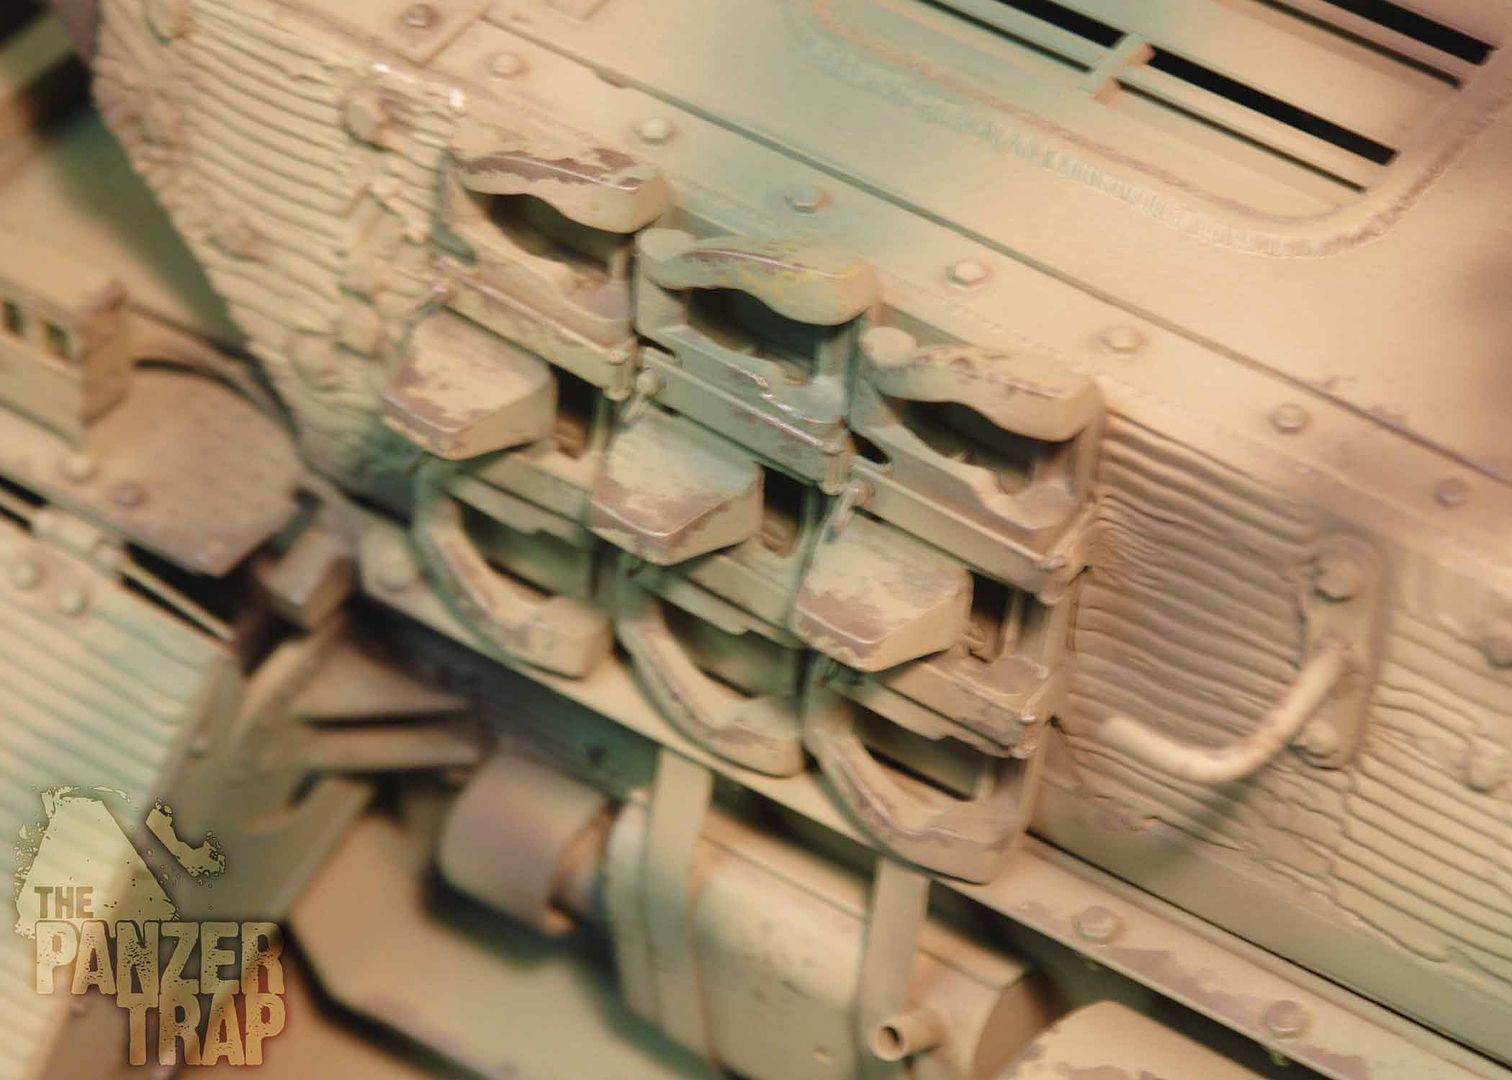
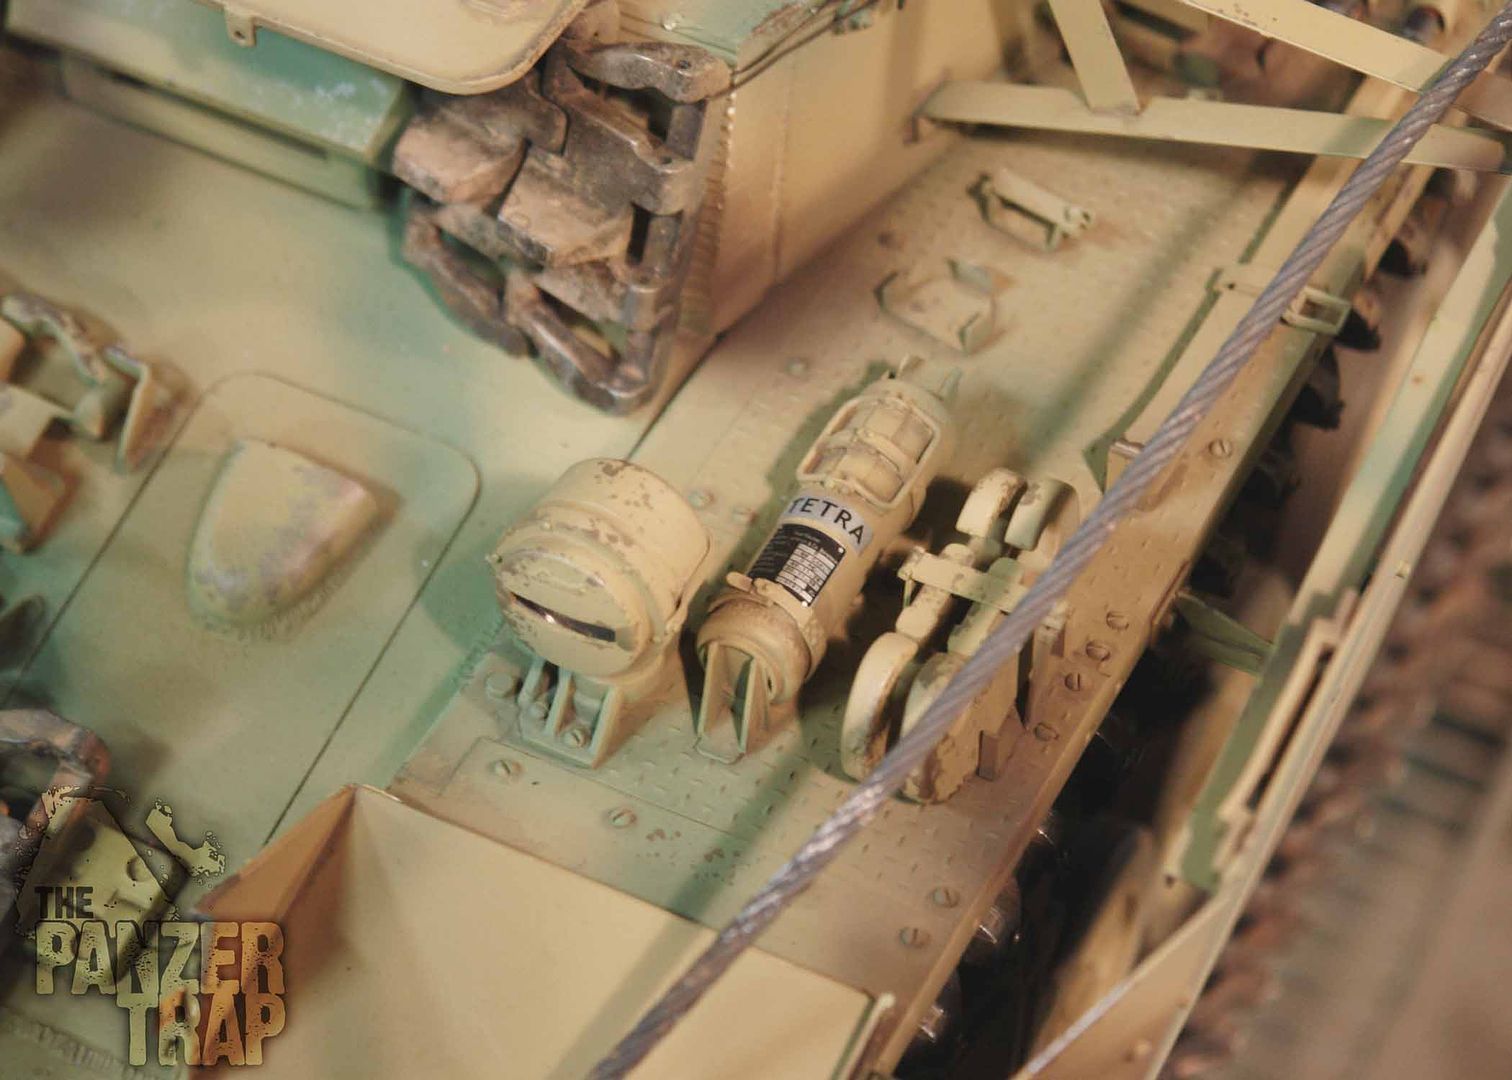

Some more of this and then road dust will be added.
best regards
Tim
Some experimentation with the exhaust muffler wear and tear. Once I started there, I couldn't stop. LOL
These Panzer IVs were fairly new vehicles with the 12SS in Normandy so I wanted to give the muffler a worn look but not the typical "all rust" look. I still have my other one painted that way as a back up though. Will add a few more layers of soot and weather-runs. It's supposed to like like its worn from crew and grenadiers climbing up from the rear of the vehicle. Sorry for the poor photos...night time with bad lighting.
Some more of this and then road dust will be added.
best regards
Tim