Panzerkampfwagen IV Ausf H Project

For you guys who don´t understand Swedish or just prefer English.
Post Reply
TBowman
Medlem
Medlem
Posts: 186
Joined: November 23rd, 2010, 11:43 pm
Location: Northern California
Contact:

Panzerkampfwagen IV Ausf H Project

Post by TBowman »

Hi everyone

New spot on the forum for the Panzer IV.

Latest progress

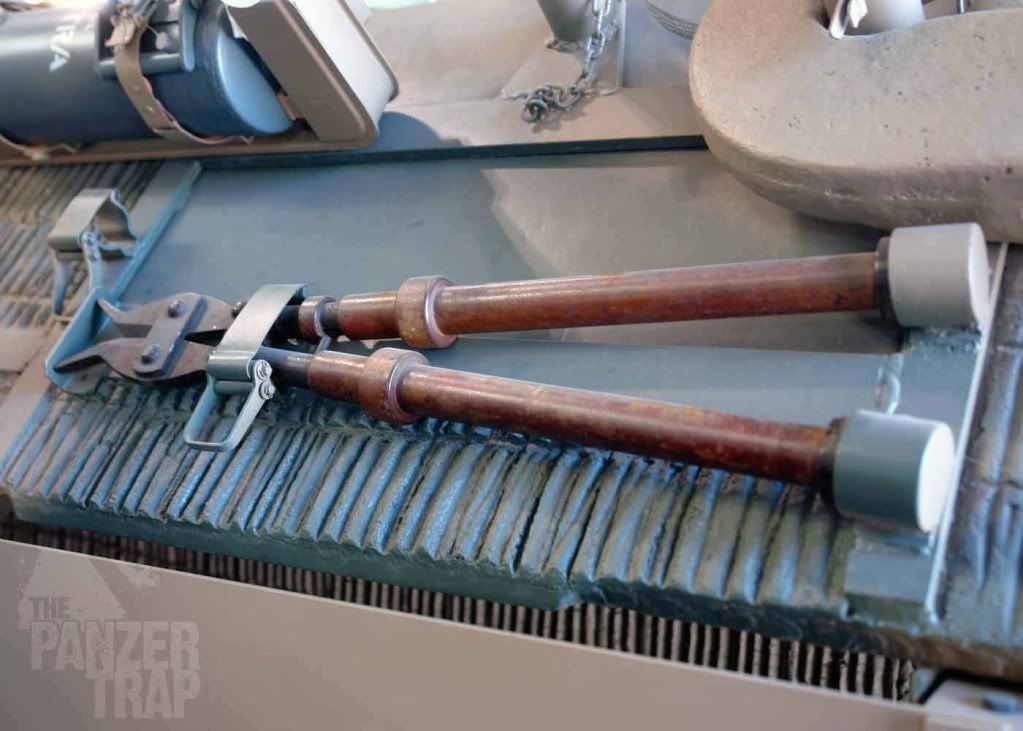
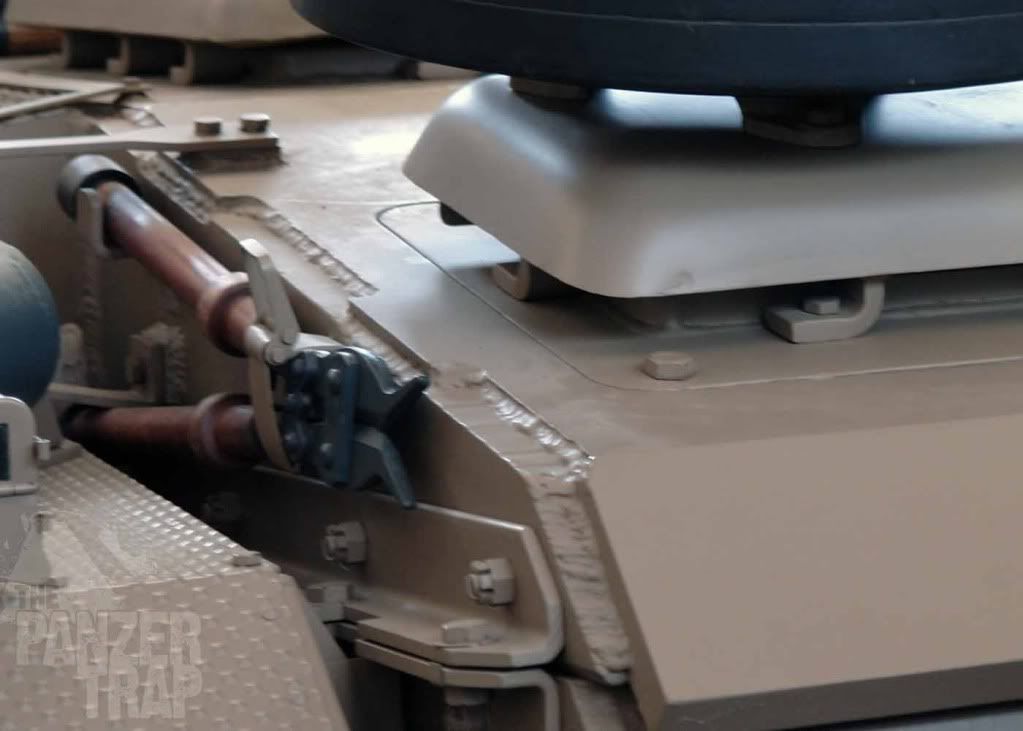
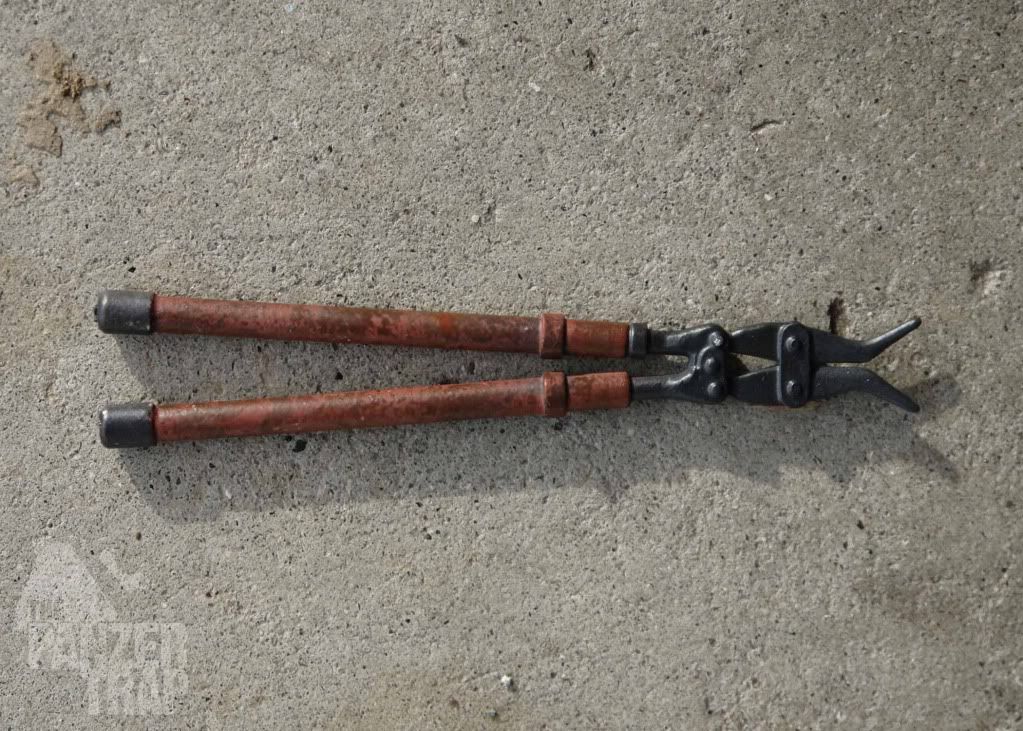
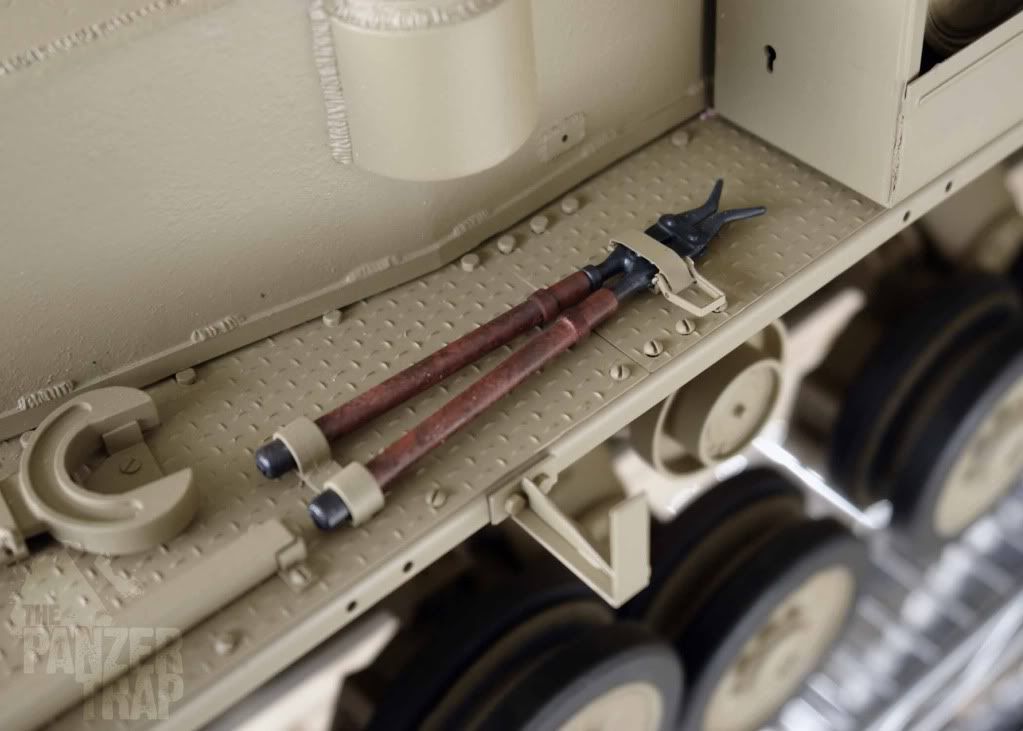
Wire cutters painted a few weeks ago. The material on the real ones I have seen and held seem to be a Bakelite type material.  Has a fiberglass-like feel to it.  
Kent says that they are actually made from a pressed paper with a varnish coating. I used a similar technique to achieve the coloring and look of the material that I had used on the Panthers periscope, prism housings.  Not perfect but good enough. Will receive some weathering along with the rest of the tank when that time comes.
Image

Image

the real thing
Image

Image


Mounted the spare track brackets on the rear plate and the jack block. In these photos you can see the first schurzen brackets mounted. Getting excited now! :o Along with the track links brackets, I also received my rear Notek light(still not mounted) I will be making functional and some other small detail parts to add.

Image

Image

Image

Image

Tim

User avatar
Kent W
Medlem
Medlem
Posts: 719
Joined: August 27th, 2008, 9:31 am
Location: Luleå

Post by Kent W »

Image

/Kent

cahlfors
Veteran
Veteran
Posts: 1810
Joined: December 5th, 2008, 5:52 pm
Location: Stockholm/Vallentuna

Post by cahlfors »

I'm out of words! :shock:

But you are totally wrong about the wire cutters. No human could possibly do them better - the ARE perfect!

Thanks for letting us follow this master build.

/Chris

User avatar
pepppe75
Medlem
Medlem
Posts: 278
Joined: August 27th, 2008, 4:47 pm

Post by pepppe75 »

hi tim!

i totaly agree with kents cat:wink: and chalfors.

and im allso very glad that you letting us follow this master build.

kind regards peppe.

Björn Johansson
Veteran
Veteran
Posts: 1286
Joined: September 19th, 2009, 5:50 pm
Location: Skanör
Contact:

Post by Björn Johansson »

Tim!
You continue to amaze me :salut:

First class work :thumright:
Höres Mvh Björn

TBowman
Medlem
Medlem
Posts: 186
Joined: November 23rd, 2010, 11:43 pm
Location: Northern California
Contact:

Post by TBowman »

Thanks guys

Last night I added the locking tabs for the intake covers and the front, spare track bar. Another thing that needed to be corrected was the jack block. I had mounted it too high the first time. ::) I may go back and remake the intake covers as separate parts and without the small white metal part that is attached to them but for now I am happy.

Image

Image

Image

Image


Tim
Last edited by TBowman on December 8th, 2010, 2:03 am, edited 2 times in total.

cahlfors
Veteran
Veteran
Posts: 1810
Joined: December 5th, 2008, 5:52 pm
Location: Stockholm/Vallentuna

Post by cahlfors »

The detail really amazes! :shock:

I just noticed that the spare rollers have brand new rubber linings, whereas the mounted ones have a more worn-in look. Very convincing! :D

Cheers,
/Chris

TBowman
Medlem
Medlem
Posts: 186
Joined: November 23rd, 2010, 11:43 pm
Location: Northern California
Contact:

Post by TBowman »

Hi Chris

Thanks. The wear on the return rollers is from the very limited run-time it has had. I was originally going to use the rollers with tires but changed my mind as I researched the vehicles that the 12SS were equipped with(not that they were all steel) but I like the look of them after I had machined the correct profiles.. Everything will get an even layer of weathering and dust in the final stages of this project.

Some more photos with the commander's hatch installed(sort of).

Image

Image

Image

Image

Image


Kind regards
Tim

cahlfors
Veteran
Veteran
Posts: 1810
Joined: December 5th, 2008, 5:52 pm
Location: Stockholm/Vallentuna

Post by cahlfors »

cahlfors wrote:the mounted ones have a more worn-in look.
I meant the road wheels... :oops:

/Chris

TBowman
Medlem
Medlem
Posts: 186
Joined: November 23rd, 2010, 11:43 pm
Location: Northern California
Contact:

Post by TBowman »

Hi Chris

aha. The tires on the road wheels were not on purpose. I think the ones that are on the spares are the Blitzkrieg Armour version and the ones on the road wheels are earlier, Spearhead versions.

More experimentation with coloring, on the exhaust muffler this time. Fortunately, I had my second muffler from the Stug IV so I still have my dunkelgelb muffler too to fall back on. :) This will get a coating of dust on top of it with the rest of the panzer but I'm not convinced that this is the look I want. I'm trying to get a more subtle, look and not the 'junk yard' look. Also straightened the antenna.

I'm actually doing all this as procrastination on the zimmerit. :-\

Looks funny when it's the only thing weathered. Does it look too rusty?
Image

Image

Image

Image

Here's part of my Land Rover's exhaust. More modern material but still a good reference.
Image

Image


Tim

cahlfors
Veteran
Veteran
Posts: 1810
Joined: December 5th, 2008, 5:52 pm
Location: Stockholm/Vallentuna

Post by cahlfors »

TBowman wrote:Does it look too rusty?
Depends on the effect you are after. I think it looks very convincing, but obviously like an old muffler on a brand new tank. A little soot on the exhaust would be the dot over i, as we say here. :D

Cheers,
/Chris

User avatar
pepppe75
Medlem
Medlem
Posts: 278
Joined: August 27th, 2008, 4:47 pm

Post by pepppe75 »

hi tim!!!

to me its looked spot on,realy nice!!!!

kind regards peppe :D

TBowman
Medlem
Medlem
Posts: 186
Joined: November 23rd, 2010, 11:43 pm
Location: Northern California
Contact:

Post by TBowman »

Thanks Chris and peppe for your input.

I spent some time fabricating the schurzen brackets for the turret and lower hull as well as a few of the schurzen. Some minor things toto still but very happy with the look. Starting to look like a real Normandy panzer IV now! :)

Image

Image

Image

Image

Image

Image

Tim
Last edited by TBowman on December 14th, 2010, 12:56 am, edited 1 time in total.

Björn Johansson
Veteran
Veteran
Posts: 1286
Joined: September 19th, 2009, 5:50 pm
Location: Skanör
Contact:

Panzer IV

Post by Björn Johansson »

Hi Tim
It sure do.

Great looking vehicle
thats for sure :thumright:

Enjoy it every time you post something
new.
Höres Mvh Björn

TBowman
Medlem
Medlem
Posts: 186
Joined: November 23rd, 2010, 11:43 pm
Location: Northern California
Contact:

Post by TBowman »

Hi everyone

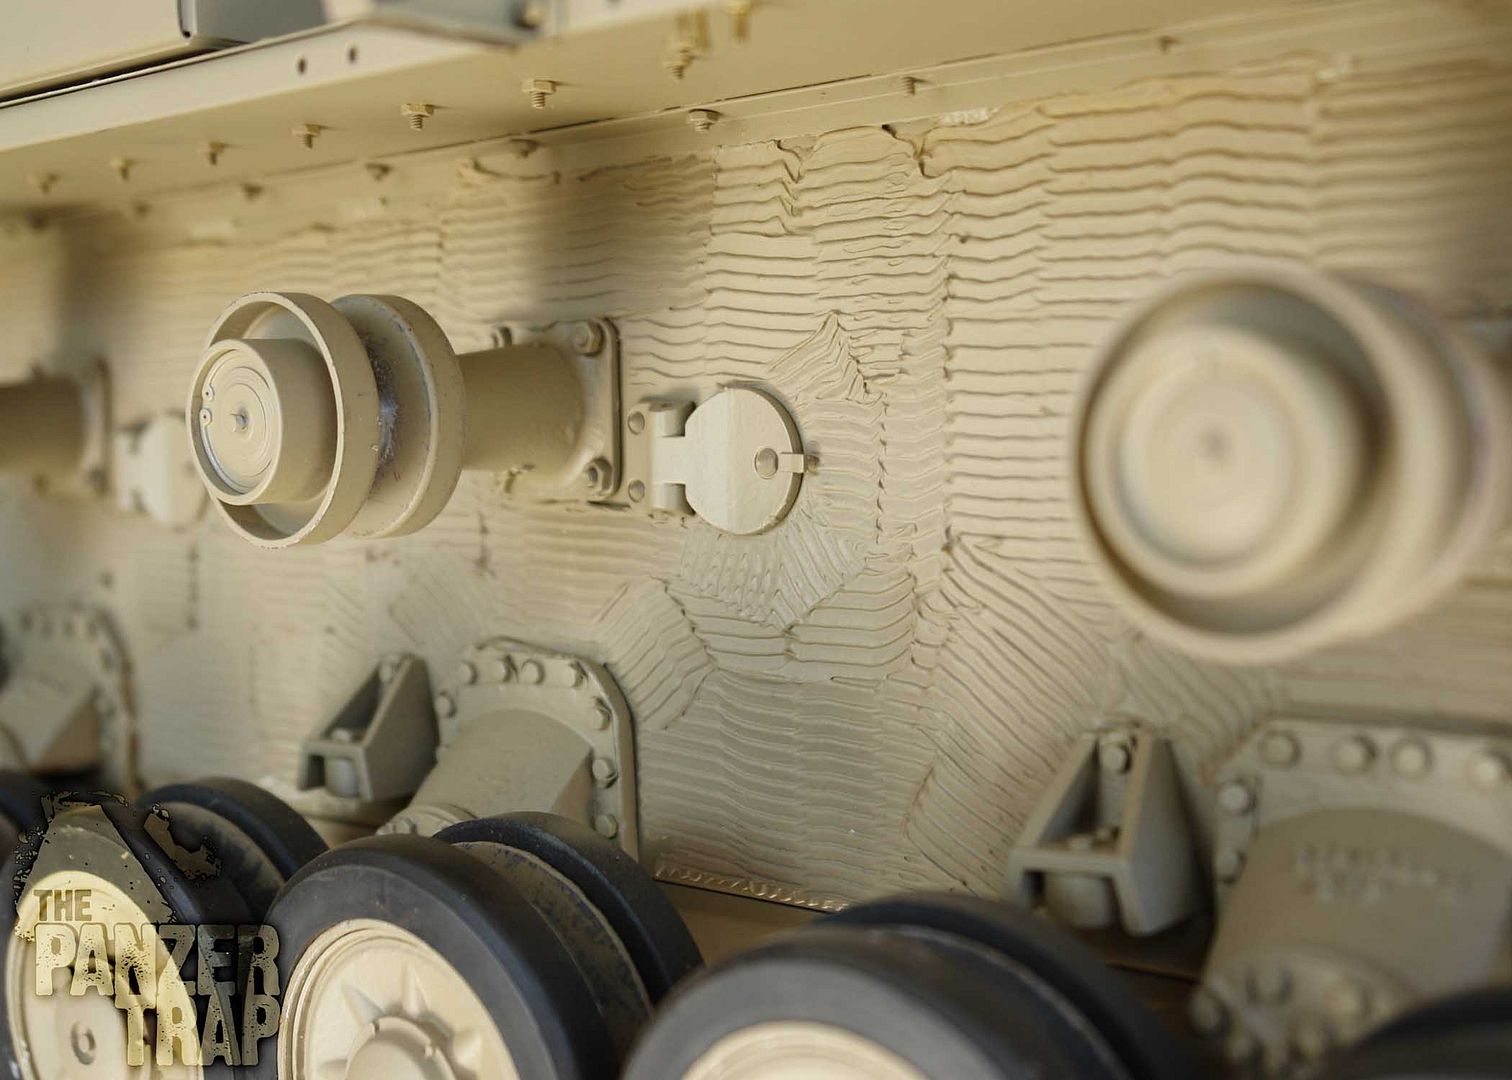
Well, after procrastinating as long as I could, I decided to jump in and take care of the first steps with applying the zimmerit to the lower hull sides.  After some experimentation with dying the material to get a more subdued grey(without much success), decided to apply it in the same manner as the Panther's....straight out of the container.

Here it is without paint.

Image

Image

Image

and with first coat of paint.

Image

Image

Image

Image

Image

Image

more soon
Tim
Last edited by TBowman on January 24th, 2011, 8:40 pm, edited 2 times in total.

Return to “English”