Panzerkampfwagen IV Ausf H Project

For you guys who don´t understand Swedish or just prefer English.
Post Reply
TBowman
Medlem
Medlem
Posts: 186
Joined: November 23rd, 2010, 11:43 pm
Location: Northern California
Contact:

Post by TBowman »

Vision Port cut-out and fitting
Image

Image

Image

Image

Image

Parts are installed and test for function
Image

Image

Image

Ran into a slight glitch and the top of the swing-arm hits the turrets interior wall due to the thick, reinforcing of fiberglass there. The port closes about 90% of the way and I will rectify that problem when I finish the blending and zimmerit and final installation of the parts.

First layer of blending the part into the turret's front plate
Image

Tim

Björn Johansson
Veteran
Veteran
Posts: 1286
Joined: September 19th, 2009, 5:50 pm
Location: Skanör
Contact:

Panzer IV

Post by Björn Johansson »

I like that! :thumright:
Höres Mvh Björn

User avatar
johan1
Veteran
Veteran
Posts: 1263
Joined: July 22nd, 2008, 6:59 pm
Location: Trelleborg
Contact:

Post by johan1 »

My god :shock: you work like an Egyptian slave on that tank
/Johan

TBowman
Medlem
Medlem
Posts: 186
Joined: November 23rd, 2010, 11:43 pm
Location: Northern California
Contact:

Post by TBowman »

'Egyptian slave' LOL

Turret front ready for zimmerit and side door frames installed. Main gun is next. Feel like I'm making progress now.

Image

Image

Image

Image

Image

Image

Tim

User avatar
Kent W
Medlem
Medlem
Posts: 719
Joined: August 27th, 2008, 9:31 am
Location: Luleå

Post by Kent W »

Hi Tim,

Well that is 1:1? :wink:
I am out of words as there is no end of happiness looking at your build.
Simply breathtaking :!:

Kindest regards
Kent

Björn Johansson
Veteran
Veteran
Posts: 1286
Joined: September 19th, 2009, 5:50 pm
Location: Skanör
Contact:

Panzer IV

Post by Björn Johansson »

Echo what Kent says.

Real joy to look at you´r fantastic
build. World champion in building
1/6 vehicle´s thats you Tim :salut:

Saving every picture to my Bowman library
its a huge inspiration source for me.
Höres Mvh Björn

TBowman
Medlem
Medlem
Posts: 186
Joined: November 23rd, 2010, 11:43 pm
Location: Northern California
Contact:

Post by TBowman »

Thank you guys

You have no idea how much I appreciate your interest and comments.

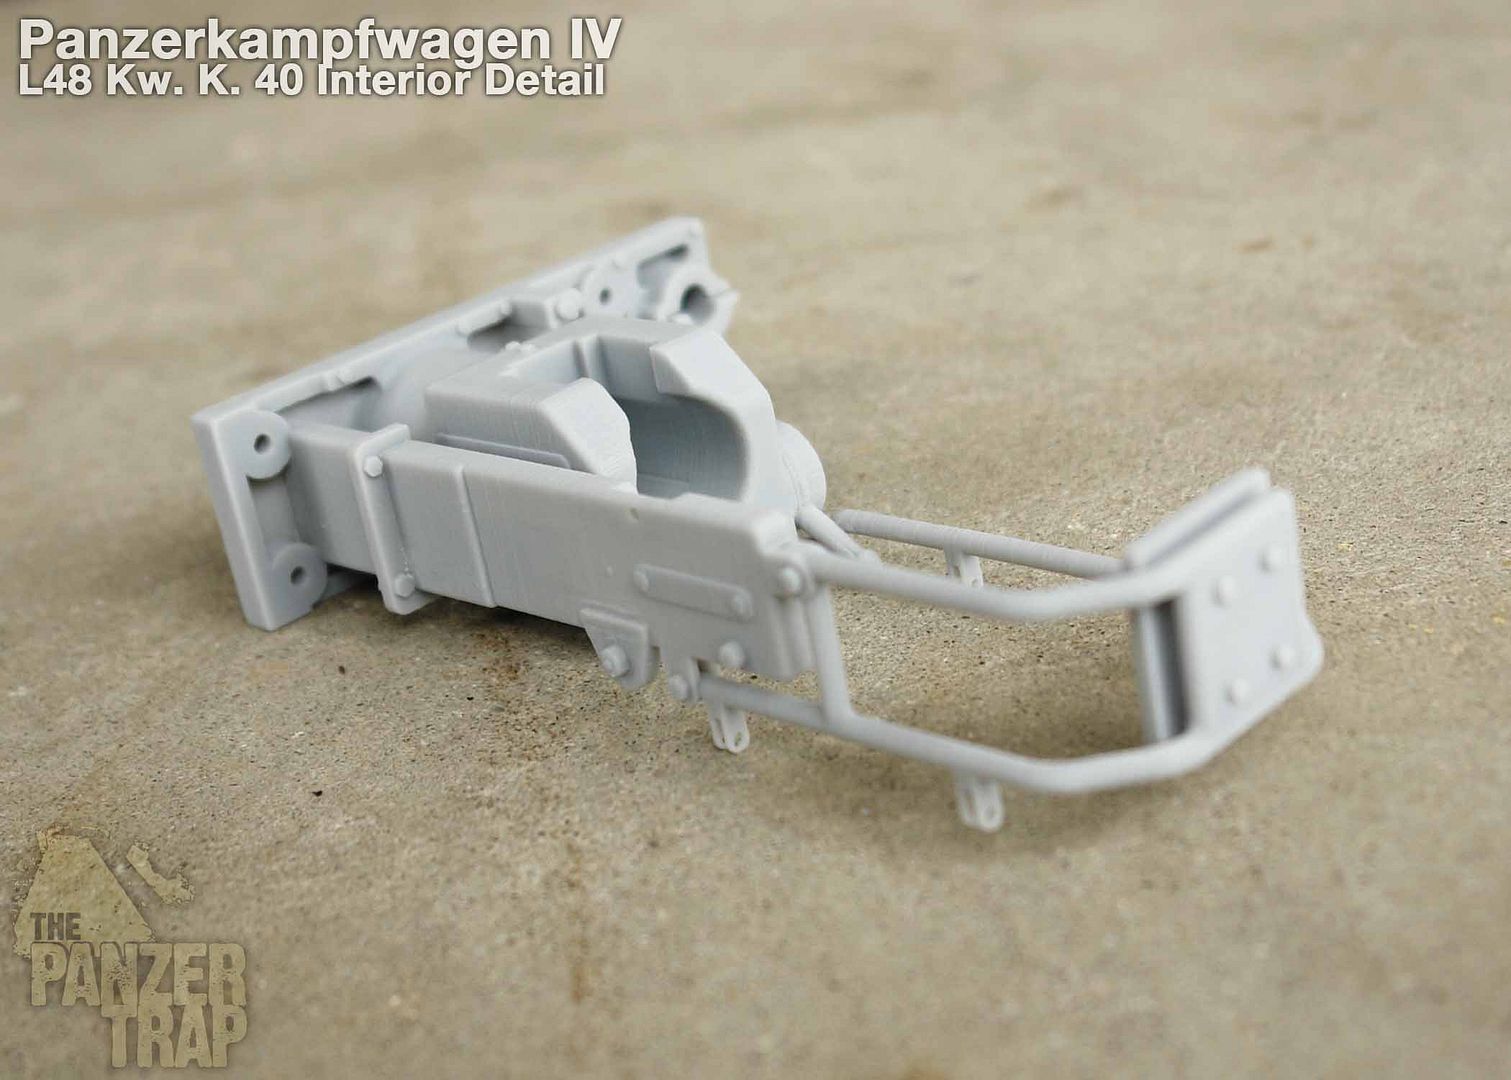
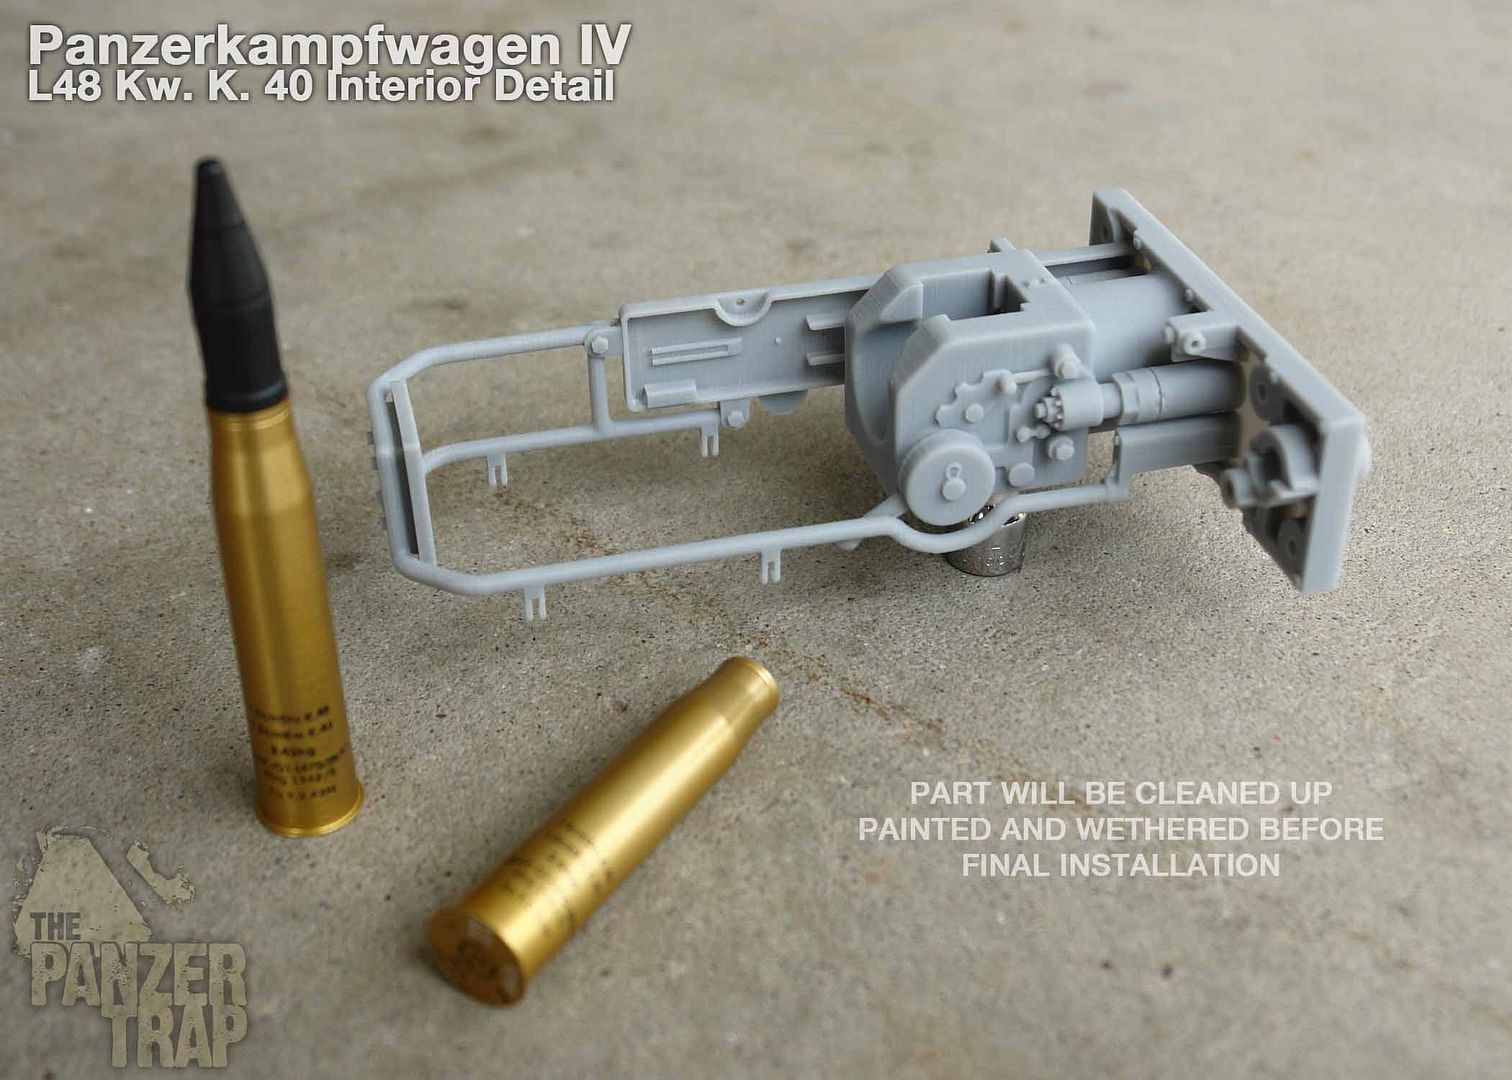
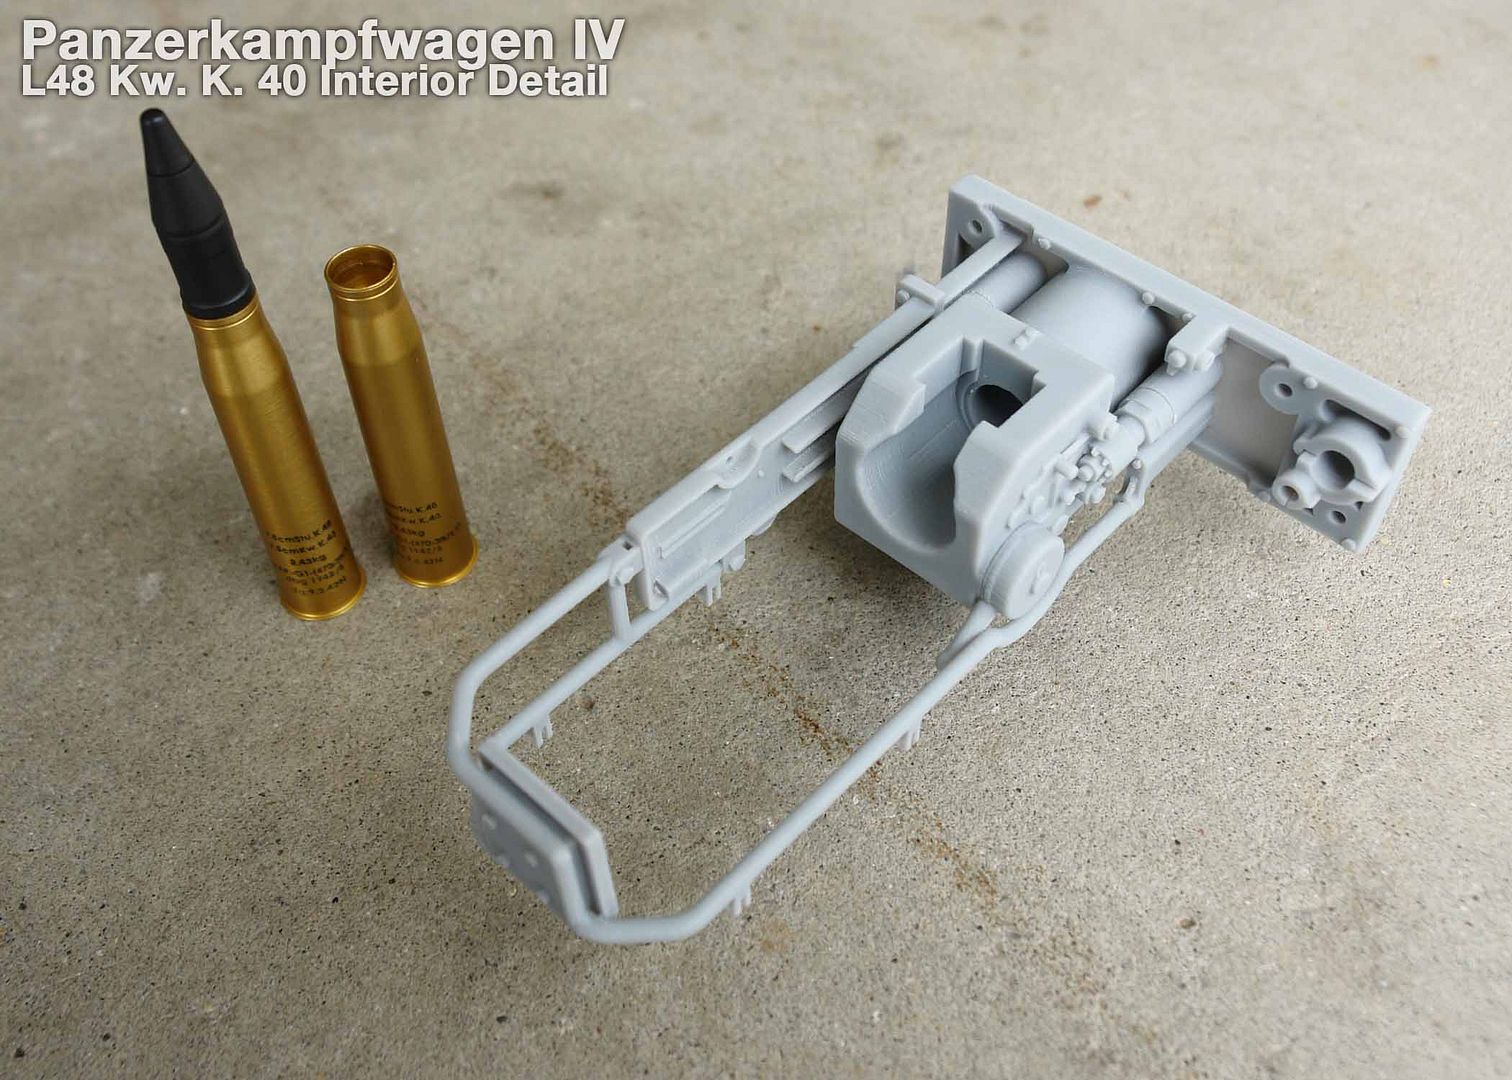
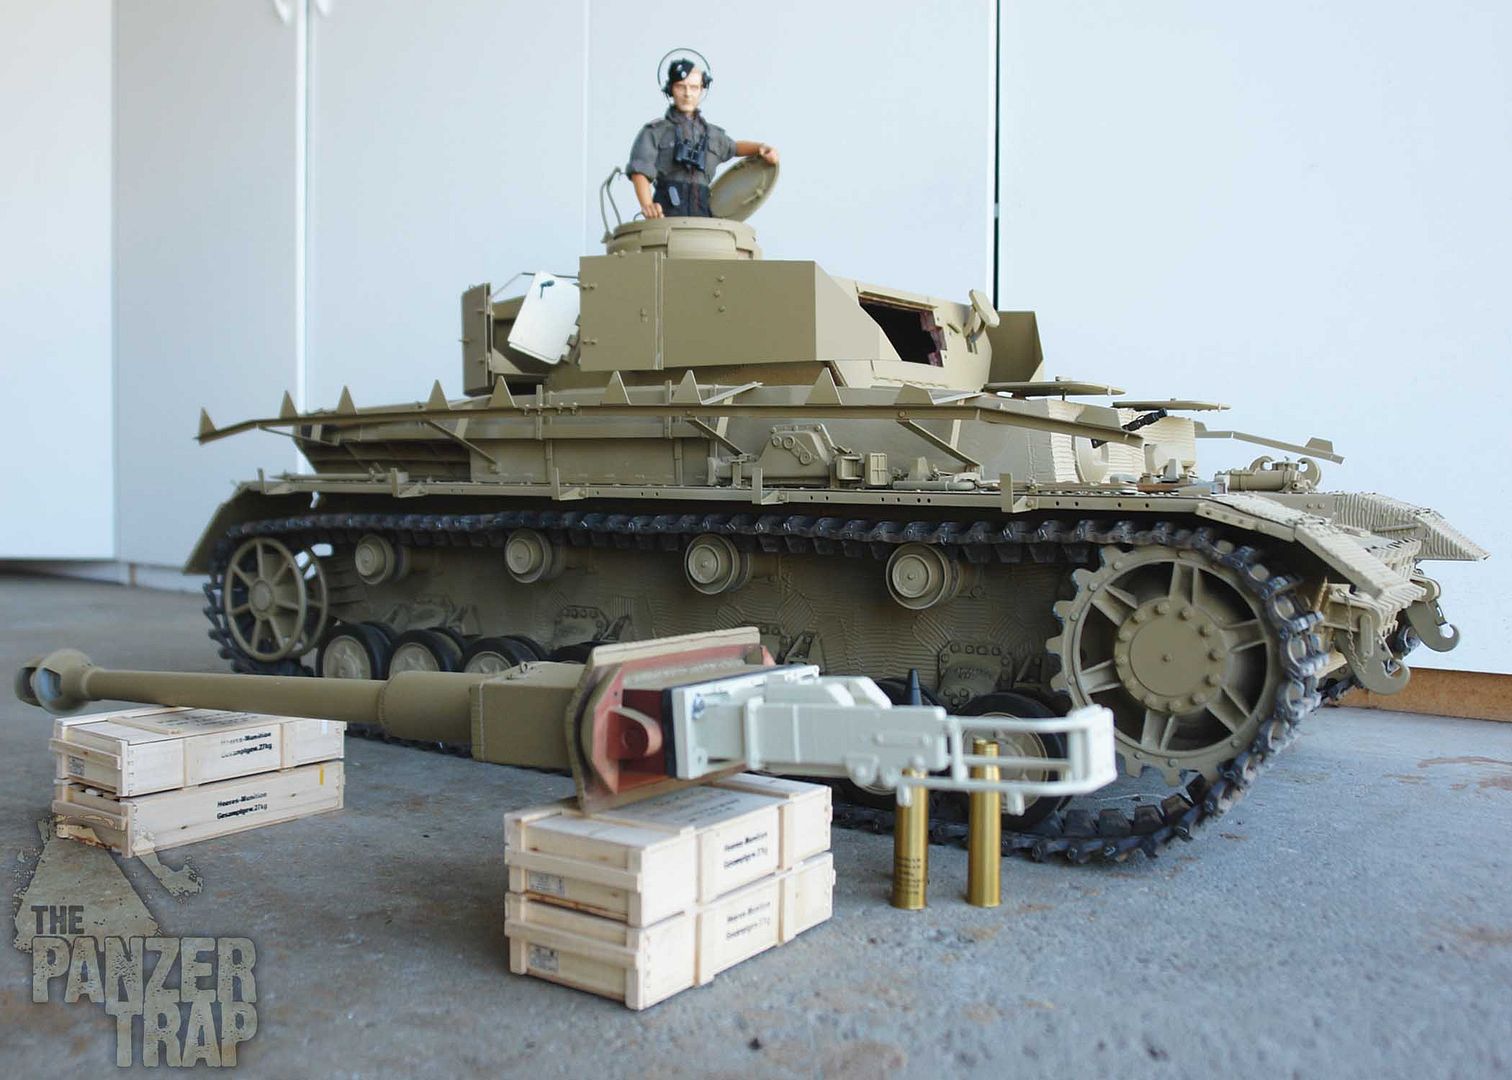
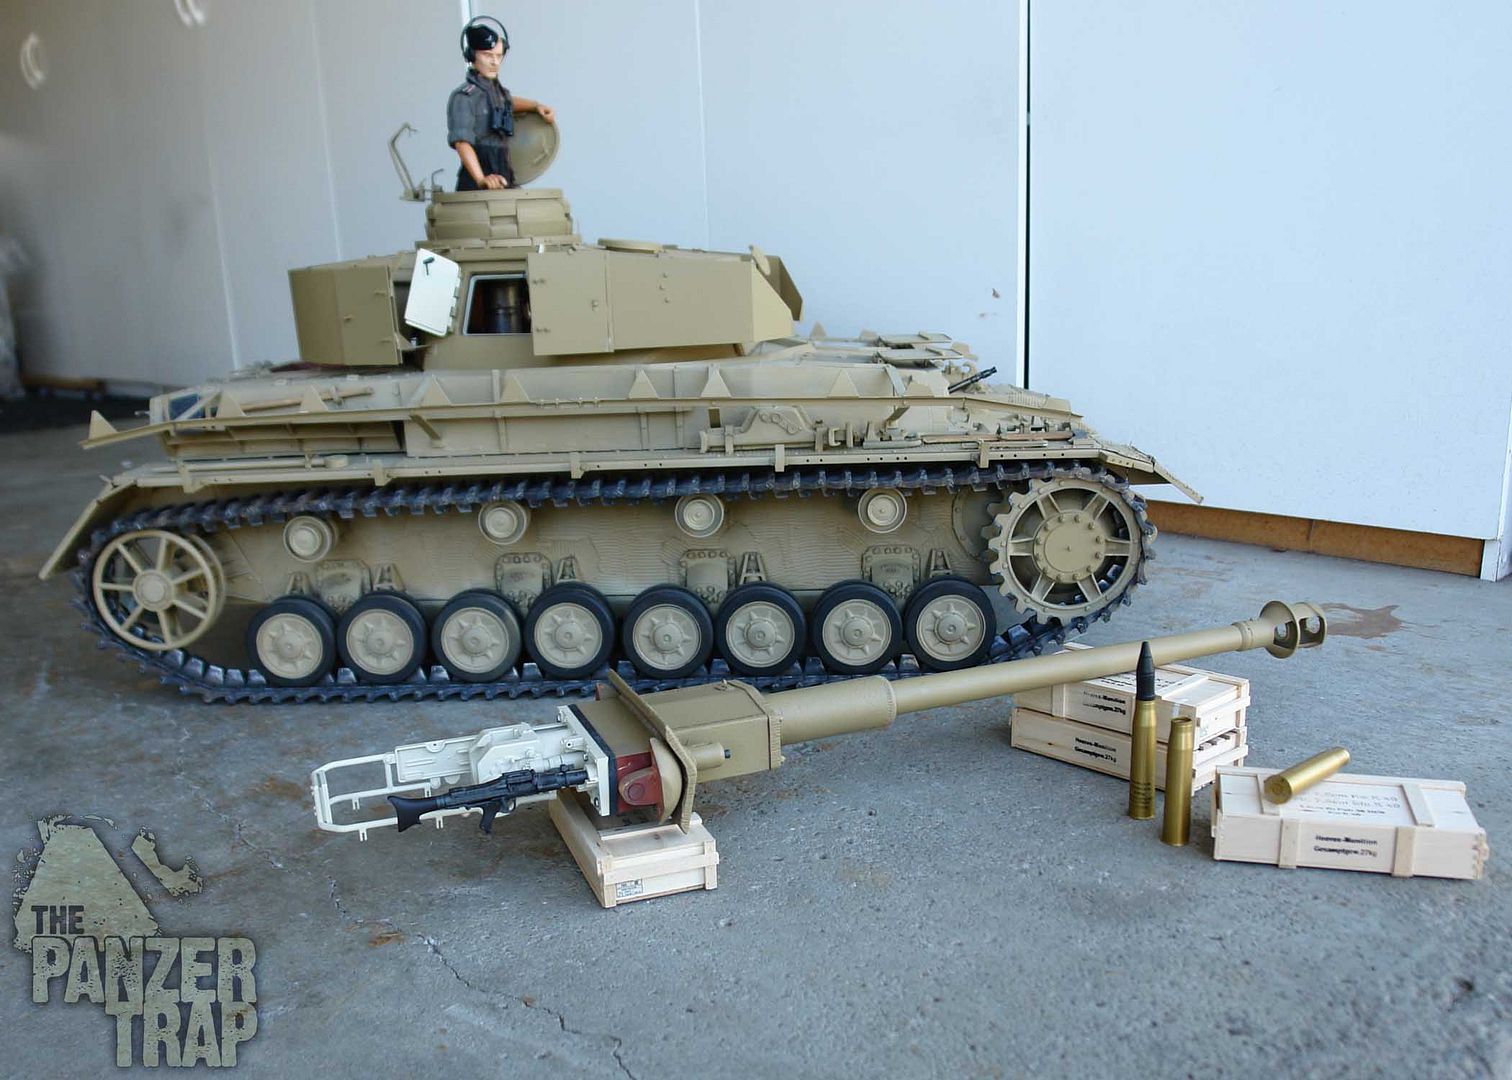
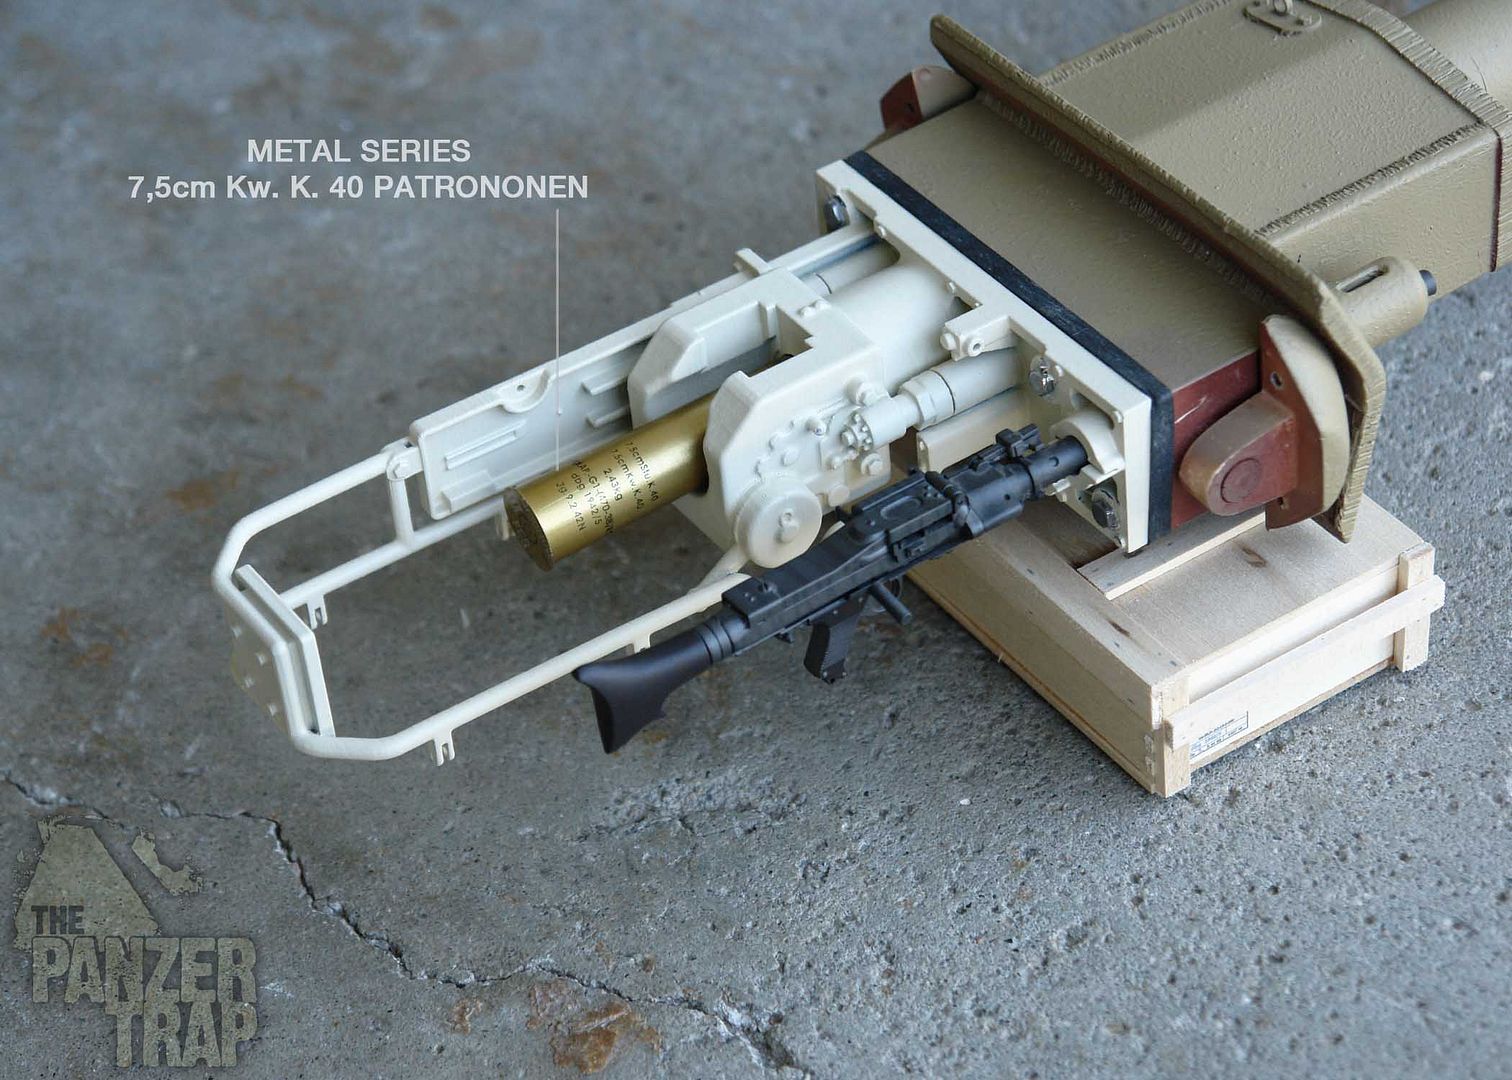
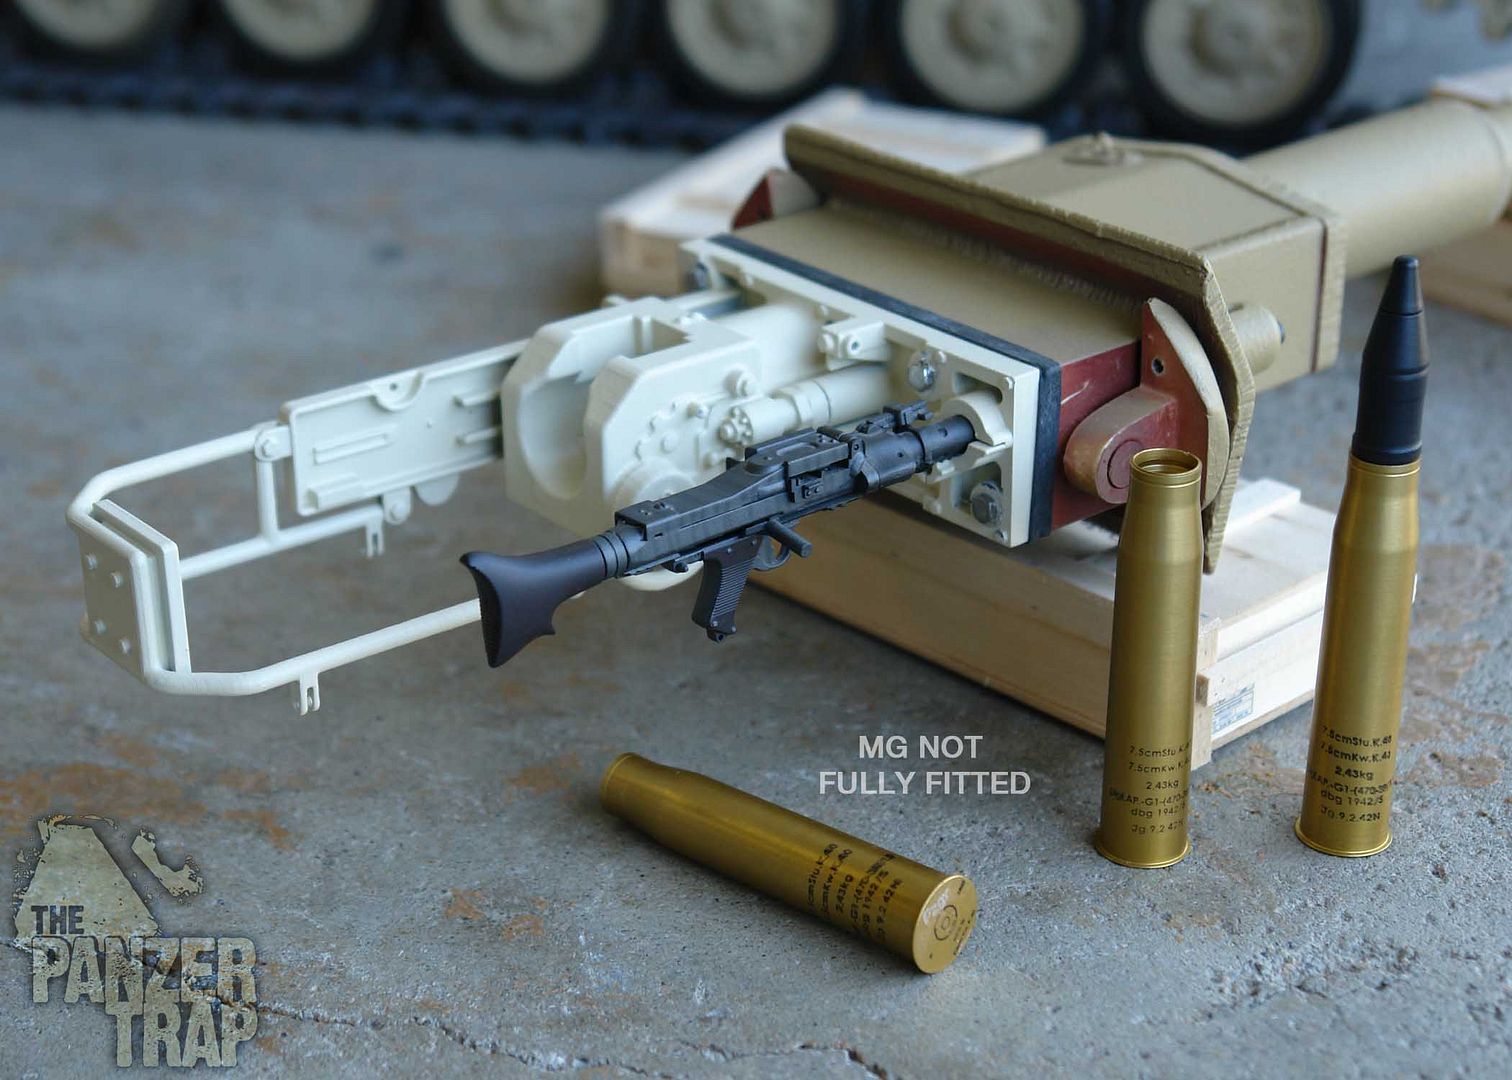
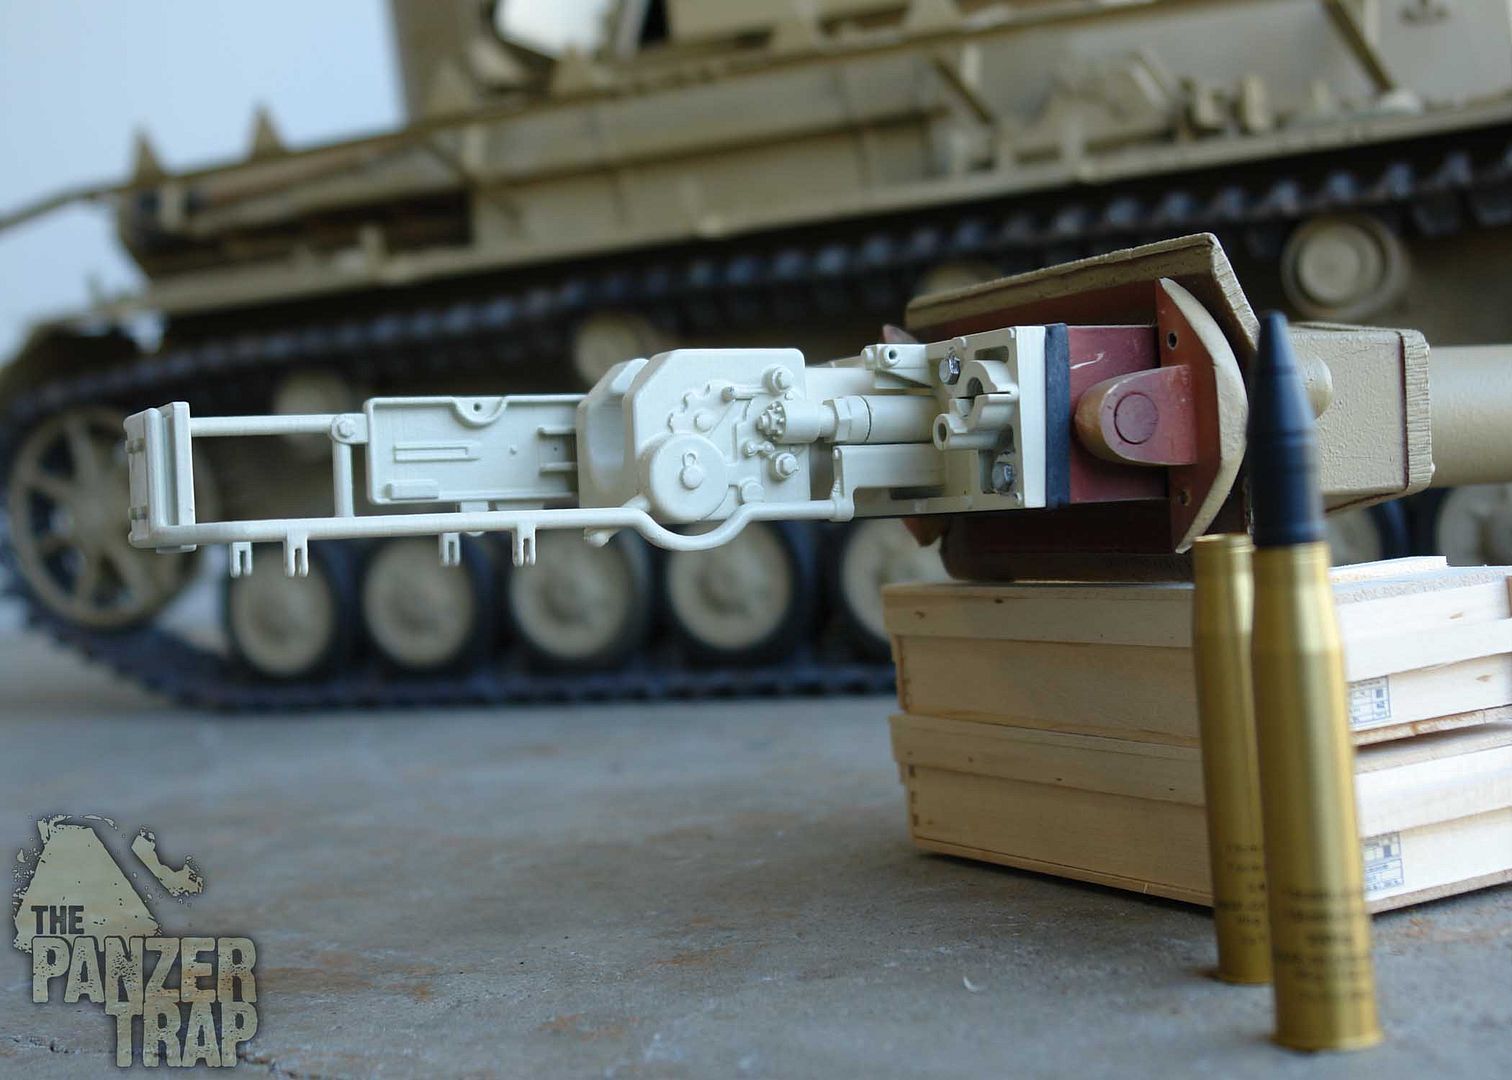
Some photos of the interior detail part for the main gun. This will be cleaned up, painted and weathered so I can get it installed. The spent-casing basket will hopefully be added but need to check clearance.

Image

Image

Image

Image

happy building!
Tim

Björn Johansson
Veteran
Veteran
Posts: 1286
Joined: September 19th, 2009, 5:50 pm
Location: Skanör
Contact:

Post by Björn Johansson »

:silent: :shock: :silent:

Just out off words.

Amazing
(they must have 48 hours on a day/night in USA
maybe we could have the formula??? please please)
Höres Mvh Björn

TBowman
Medlem
Medlem
Posts: 186
Joined: November 23rd, 2010, 11:43 pm
Location: Northern California
Contact:

Post by TBowman »

Hi Bjorn

Just lots of coffee! :D

Interior gun gets a base coat of elfenbein and is mounted to the main gun. Spent casing basket frame, paint and weathering still to come. Hopefully this weekend I can get the gun in and zimmerit on!

Yes Kent, the stock will be removed from the coax MG. : )

Image

Image

Image

Image

Image

Image

regards
Tim

cahlfors
Veteran
Veteran
Posts: 1810
Joined: December 5th, 2008, 5:52 pm
Location: Stockholm/Vallentuna

Post by cahlfors »

:shock:

Björn Johansson
Veteran
Veteran
Posts: 1286
Joined: September 19th, 2009, 5:50 pm
Location: Skanör
Contact:

PANZER IV

Post by Björn Johansson »

Whoo !! :!:
Incredible :!: :salut:

Piece off art you got there.

Keep up you´r fantastic work.
Höres Mvh Björn

TBowman
Medlem
Medlem
Posts: 186
Joined: November 23rd, 2010, 11:43 pm
Location: Northern California
Contact:

Post by TBowman »

Thanks all for the interest and comments.

Was finally able to apply the last bit of zimmerit to the turret front and gun mantlet.

Image

Painted
Image

Image

The gun's zimmerit
Image

Image

Image

Next will be finishing the interior gun and getting the assembly mounted.
more soon
Tim

TBowman
Medlem
Medlem
Posts: 186
Joined: November 23rd, 2010, 11:43 pm
Location: Northern California
Contact:

Post by TBowman »

Hi everyone

Some quick weathering on the interior gun so I could get it mounted back on the turret with the new zimmerit coating. Also tested the traverse motor for the turret and painted the turret's interior. Still procrastinating on the lights.

Image

Image

Image

Image

Image

Interior Gun
Image

Image

Image

Image

Image

Image

Image

Image

Tim

Björn Johansson
Veteran
Veteran
Posts: 1286
Joined: September 19th, 2009, 5:50 pm
Location: Skanör
Contact:

Panzer IV

Post by Björn Johansson »

Hi Tim
Holy smoke! Incredible.

Just like the real thing :!:

Love it!
Höres Mvh Björn

cahlfors
Veteran
Veteran
Posts: 1810
Joined: December 5th, 2008, 5:52 pm
Location: Stockholm/Vallentuna

Post by cahlfors »

I particularly like the weathered interior gun - indistinguishable from the real thing. And imagine - there is still more detail inside than the glimpse you get looking in through the hatch! :shock:

This is really stunning work! And the pace you crank out new wonders with! I still don't get it! :shock: The weather must be horrible in SoCal. :wink:

Your secret admirer, 8)
/Chris

Return to “English”