


Hi Tim,
Well done, look like the real thing simply stunning!
Did you use the Mike Stannard tools for this?
That is one heck of a beautiful Panzer IV
Eye candy!
Kind regards
Kent
Panzerkampfwagen IV Ausf H Project


-
Björn Johansson
- Veteran

- Posts: 1290
- Joined: September 19th, 2009, 5:50 pm
- Location: Skanör
- Contact:
Panzer IV
Hi Tim
As said so many times before a real
masterpiece.
Totaly awesome in all its detail.
I enjoy every post off this build.
Envy you´r skill, you´r research
and knowledge off WW II tanks.
Its so impressive.
I can understand
that you and Kent,Peter M are so close
friends even though you´r at great distance.
As said so many times before a real
masterpiece.
Totaly awesome in all its detail.
I enjoy every post off this build.
Envy you´r skill, you´r research
and knowledge off WW II tanks.
Its so impressive.
I can understand
that you and Kent,Peter M are so close
friends even though you´r at great distance.
Höres Mvh Björn
-
TBowman
- Medlem

- Posts: 186
- Joined: November 23rd, 2010, 11:43 pm
- Location: Northern California
- Contact:
Thank you guys for the nice comments. Very kind of you.
Hi my friend Kent. Yes I did use Mike's zimm tools. I know some feel they are a waste of money and would rather use a saw blade or something but Mike's have the correct profile and look much more in scale to me. Just my opinion.
some more detail photos.


Hope to have some more soon.
Tim
Hi my friend Kent. Yes I did use Mike's zimm tools. I know some feel they are a waste of money and would rather use a saw blade or something but Mike's have the correct profile and look much more in scale to me. Just my opinion.
some more detail photos.
Hope to have some more soon.
Tim
Hi my friend,
I am with you regarding Mikes zimm tools, they are very good (have a set myself)
They are accurate and Mike has done some heavy research before he made them.
I recommend them to everyone.
Btw, the zimm close up is as close to 1:1 that it will ever be
I am deeply impressed here! (not the first time...and not the last... )
)
Kind regards
Kent
I am with you regarding Mikes zimm tools, they are very good (have a set myself)
They are accurate and Mike has done some heavy research before he made them.
I recommend them to everyone.
Btw, the zimm close up is as close to 1:1 that it will ever be
I am deeply impressed here! (not the first time...and not the last...
)Kind regards
Kent
-
TBowman
- Medlem
- Posts: 186
- Joined: November 23rd, 2010, 11:43 pm
- Location: Northern California
- Contact:
Painting the track links (first steps)
Decided to start on the finish of the tracks for the Panzer IV and thought I would post a 'step by step' for those interested. Because I am working today, I can only do little bits at a time. ::) The split pins will be added prior to the weathering stages.
Step One is cleaning the links if needed. I don't do anything fancy here, merely brush off and remnants of metal left from the pin hole drilling and any other loose stuff.
Step Two is painting the base colors to get the links to a more factory fresh coloring(again, this is up to personal preference and this is only what works for me)
before paint

flat black primer is applied

flat, dark grey is sprayed on lightly and randomly as well.


Before and after.


Will post the next steps as soon as I get a chance to do them.
Tim
Decided to start on the finish of the tracks for the Panzer IV and thought I would post a 'step by step' for those interested. Because I am working today, I can only do little bits at a time. ::) The split pins will be added prior to the weathering stages.
Step One is cleaning the links if needed. I don't do anything fancy here, merely brush off and remnants of metal left from the pin hole drilling and any other loose stuff.
Step Two is painting the base colors to get the links to a more factory fresh coloring(again, this is up to personal preference and this is only what works for me)
before paint
flat black primer is applied
flat, dark grey is sprayed on lightly and randomly as well.
Before and after.
Will post the next steps as soon as I get a chance to do them.
Tim
-
Björn Johansson
- Veteran
- Posts: 1290
- Joined: September 19th, 2009, 5:50 pm
- Location: Skanör
- Contact:
Panzer IV
Hi Tim
Most say that looking at those close
up picture on the zimmerit makes
one belive its a full scale tank.
That is exellent work.
Also much appreciate the tutorial on
track treatment .
Most say that looking at those close
up picture on the zimmerit makes
one belive its a full scale tank.
That is exellent work.
Also much appreciate the tutorial on
track treatment .
Höres Mvh Björn
-
TBowman
- Medlem
- Posts: 186
- Joined: November 23rd, 2010, 11:43 pm
- Location: Northern California
- Contact:
Thanks Peppe and Bjorn
Some more random dusting with the flat black paint across the track links and it was time for the split pins.

Basic Materials for Weathering
With a lot of experimenting with various colors, I've found these to work quite well for most weathering needs. There are hundreds of MIG pigments and some are hard to tell apart even though they have different names. So, to keep it simple, I use these three most. Dry Mud the most, then Dark Mud, followed by European Dust. The last one is very red and almost looks too much like rust so I only use it mixed with the others and very sparingly.


A view of the actual colors.

Will start application in the next installment.
Happy Tanking
Tim
Some more random dusting with the flat black paint across the track links and it was time for the split pins.
Basic Materials for Weathering
With a lot of experimenting with various colors, I've found these to work quite well for most weathering needs. There are hundreds of MIG pigments and some are hard to tell apart even though they have different names. So, to keep it simple, I use these three most. Dry Mud the most, then Dark Mud, followed by European Dust. The last one is very red and almost looks too much like rust so I only use it mixed with the others and very sparingly.
A view of the actual colors.
Will start application in the next installment.
Happy Tanking
Tim

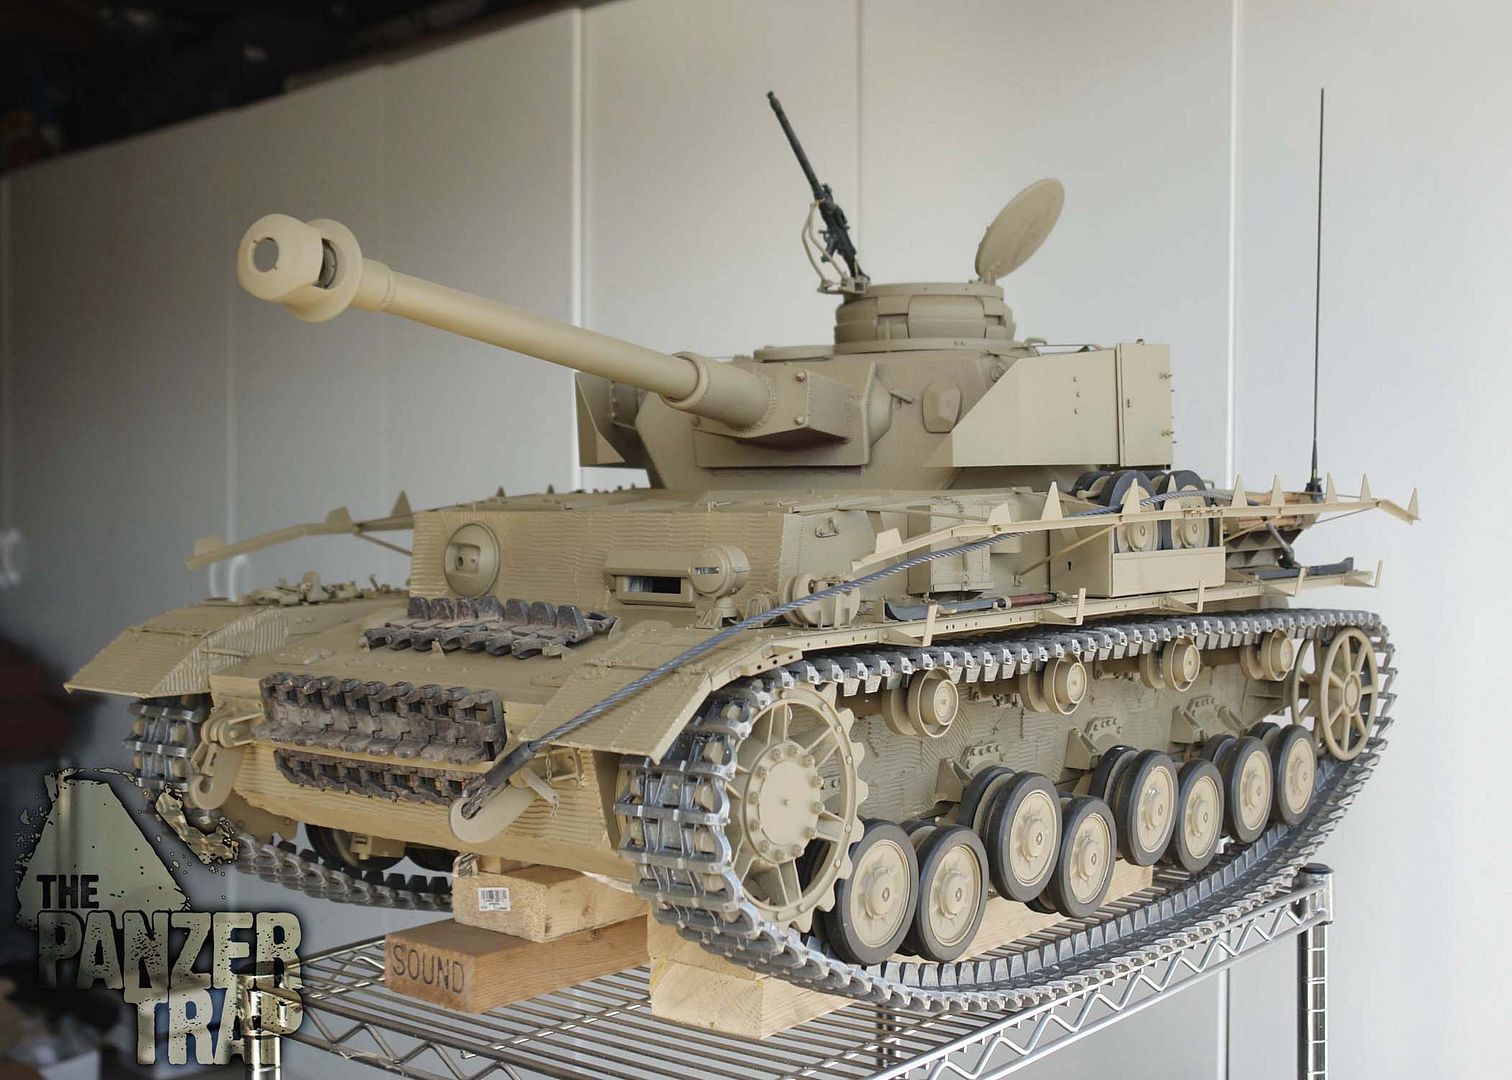


 I laughed so hard when I read that, that I almost forgot to appreciate the stunning workmanship you put into this beautiful model. It really looks awesome with the details coming on!